The Real Estate Report Card highlights key housing market data, including appreciation rates, renter demographics, supply and demand, median home price, income, and affordability. You can use this report during client conversations, open houses, or when helping clients evaluate potential purchase areas to illustrate the long-term opportunity in homeownership.
Watch the video or follow the steps below to create and customize a Real Estate Report Card.
Creating a Real Estate Report Card
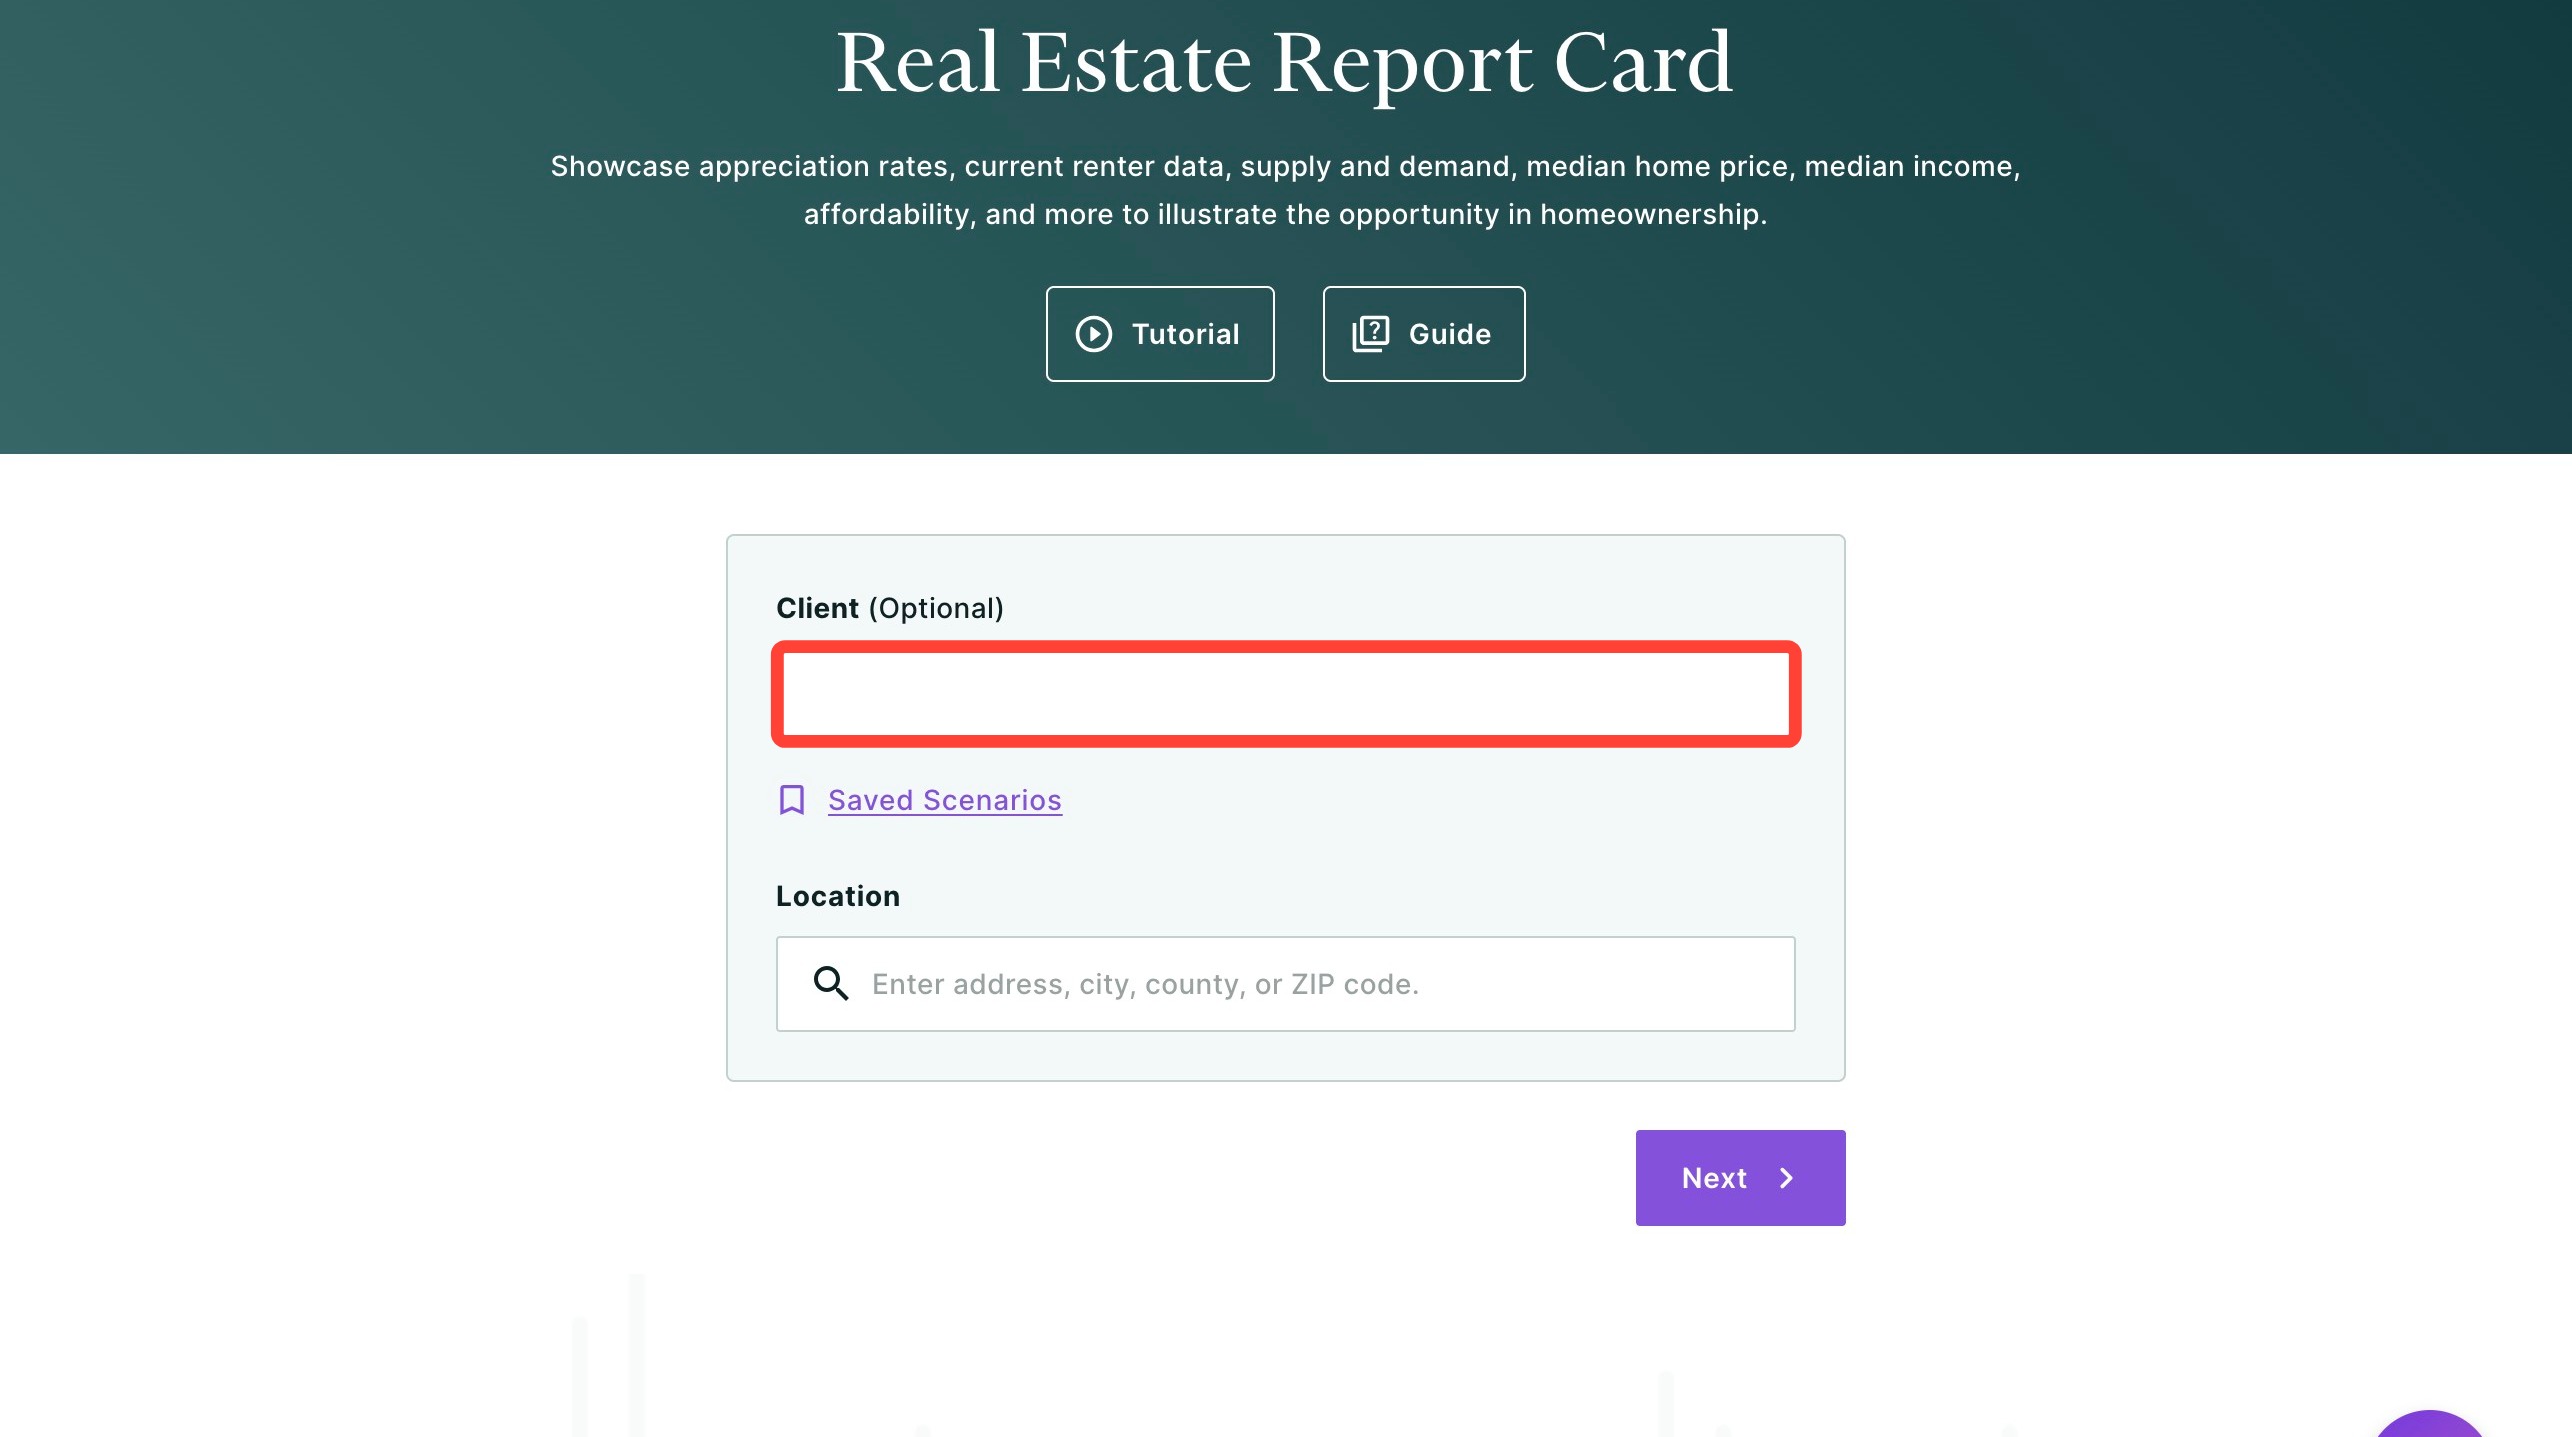
To create a Real Estate Report Card, you only need to enter a location. You can also create a report for a client by selecting an existing client from the drop-down list or adding a new client. Reports created for clients can be accessed later in your Client Manager.
Creating a Real Estate Report Card for a Client (Optional)
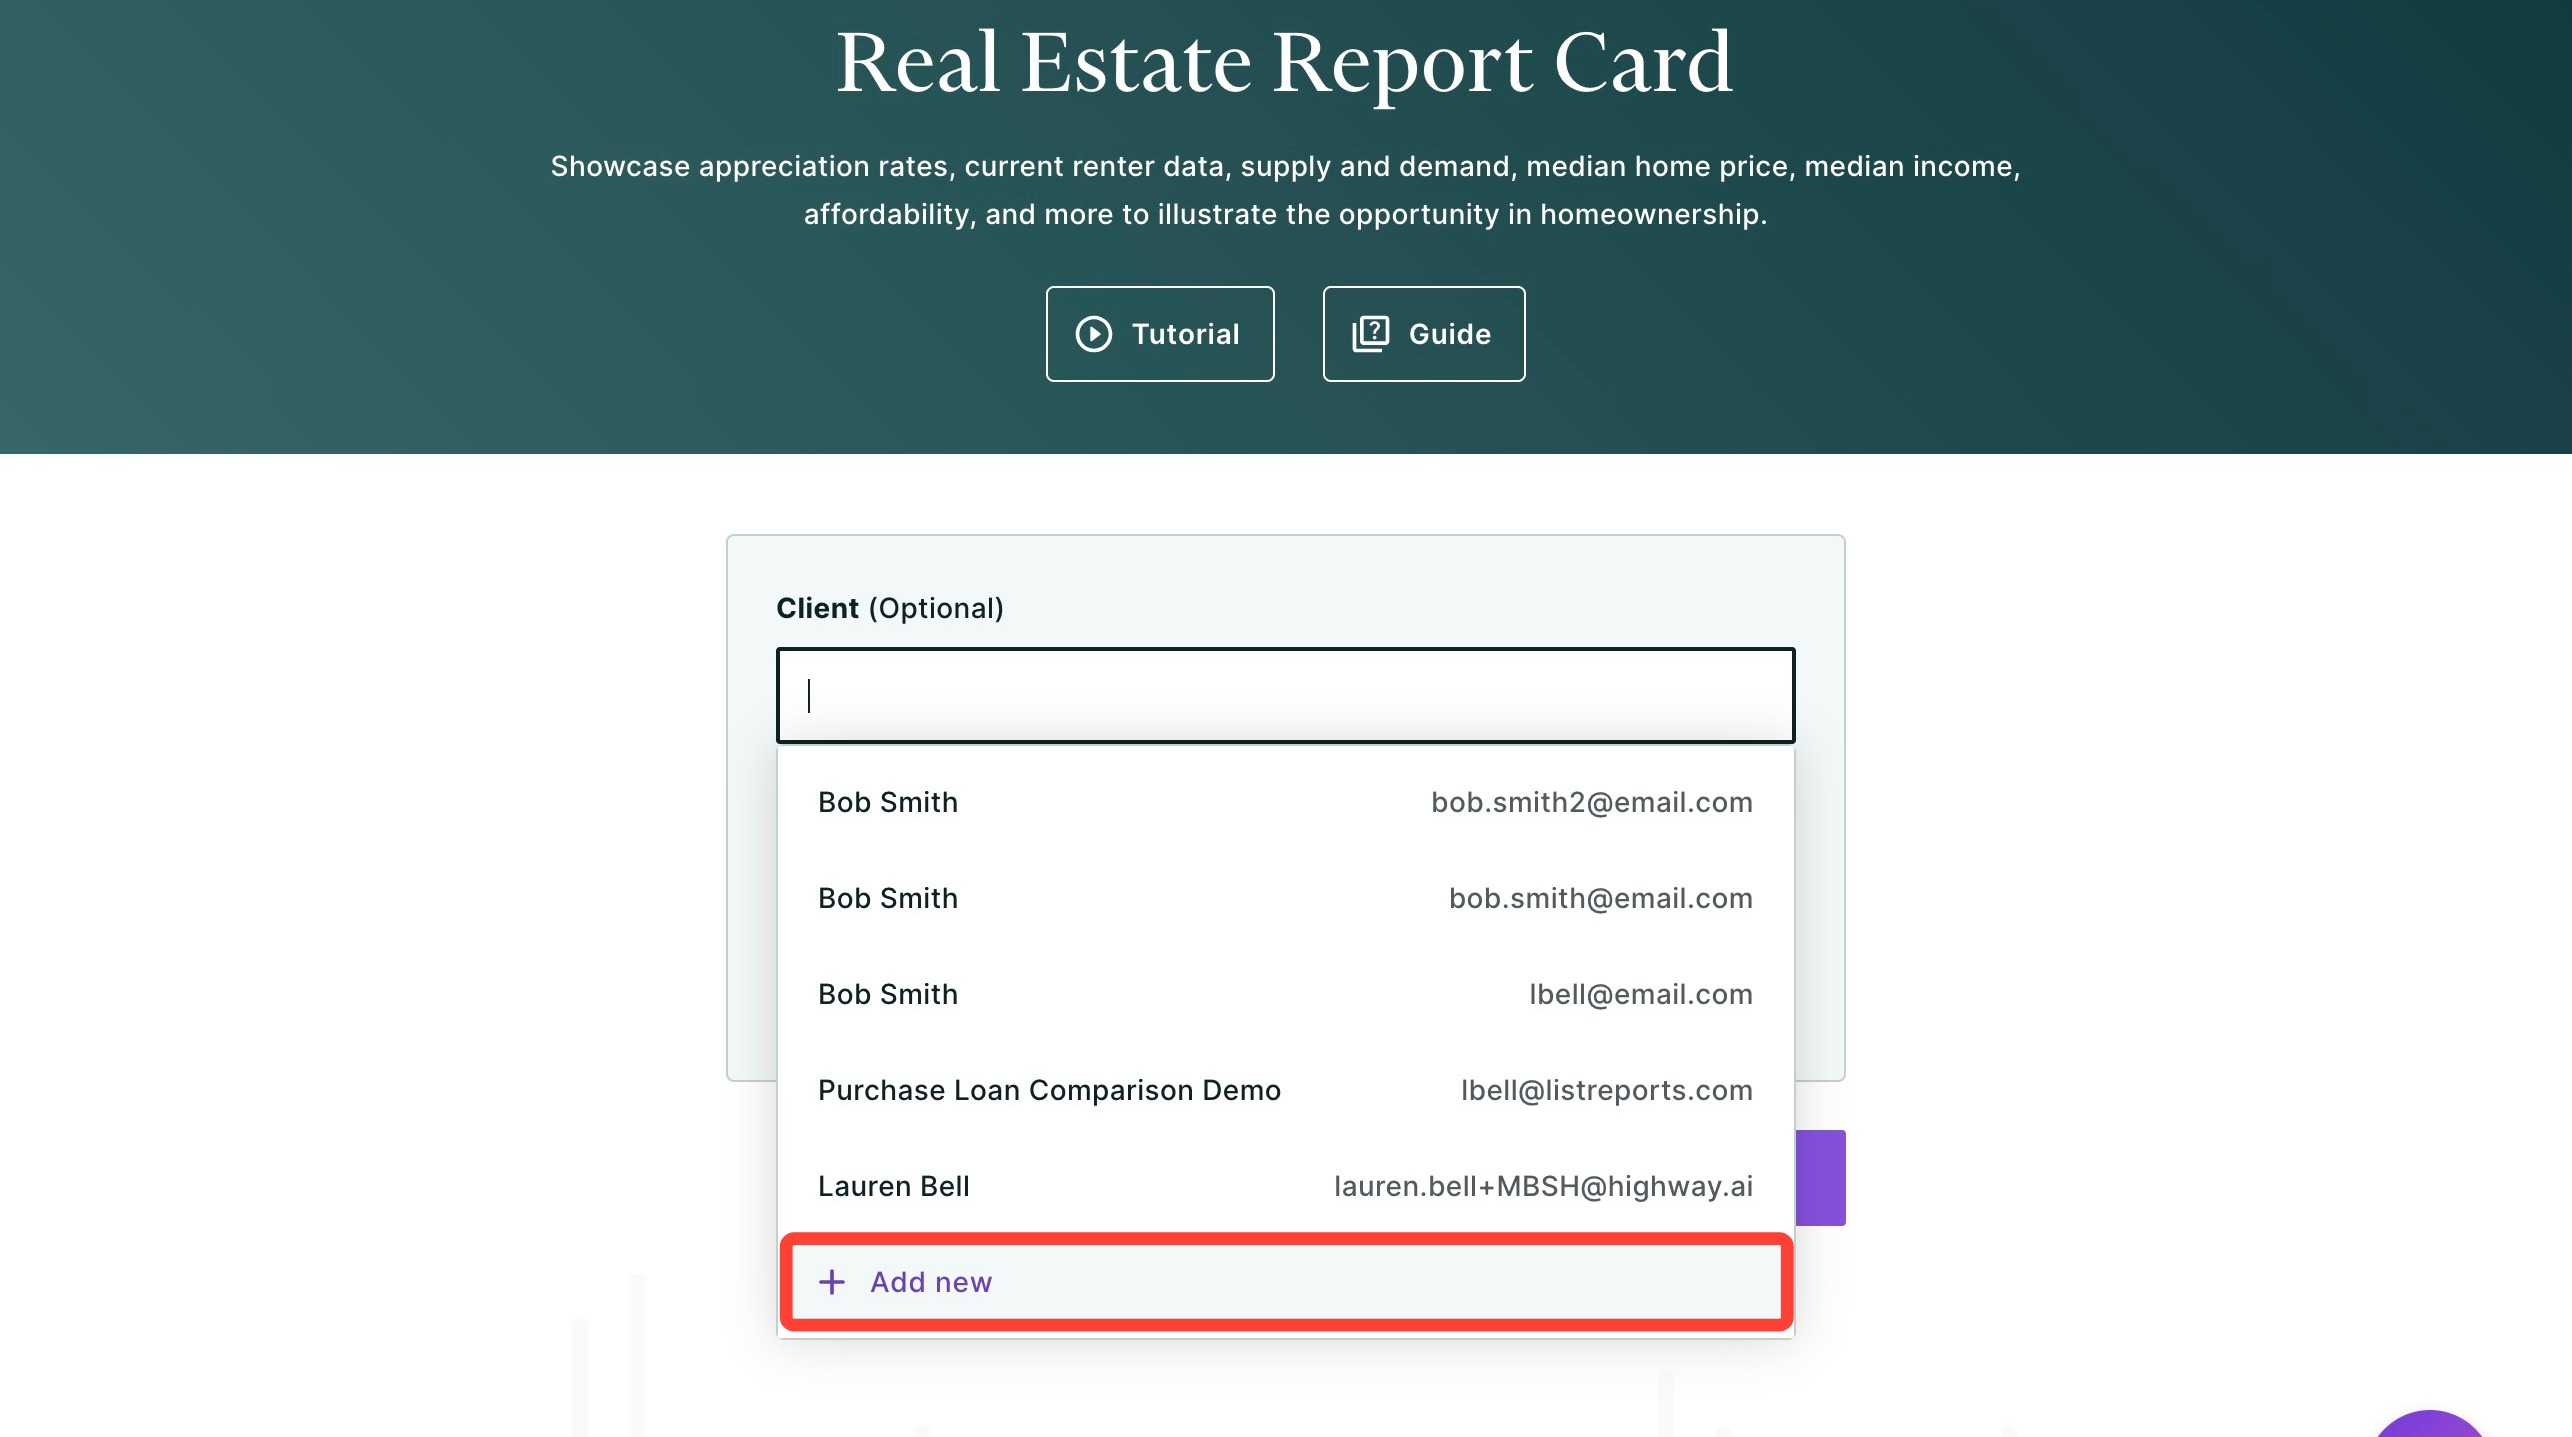
To select a client, begin typing their name in the field below and select them from the drop-down.
- To add a new client, select + Add new from the drop-down.
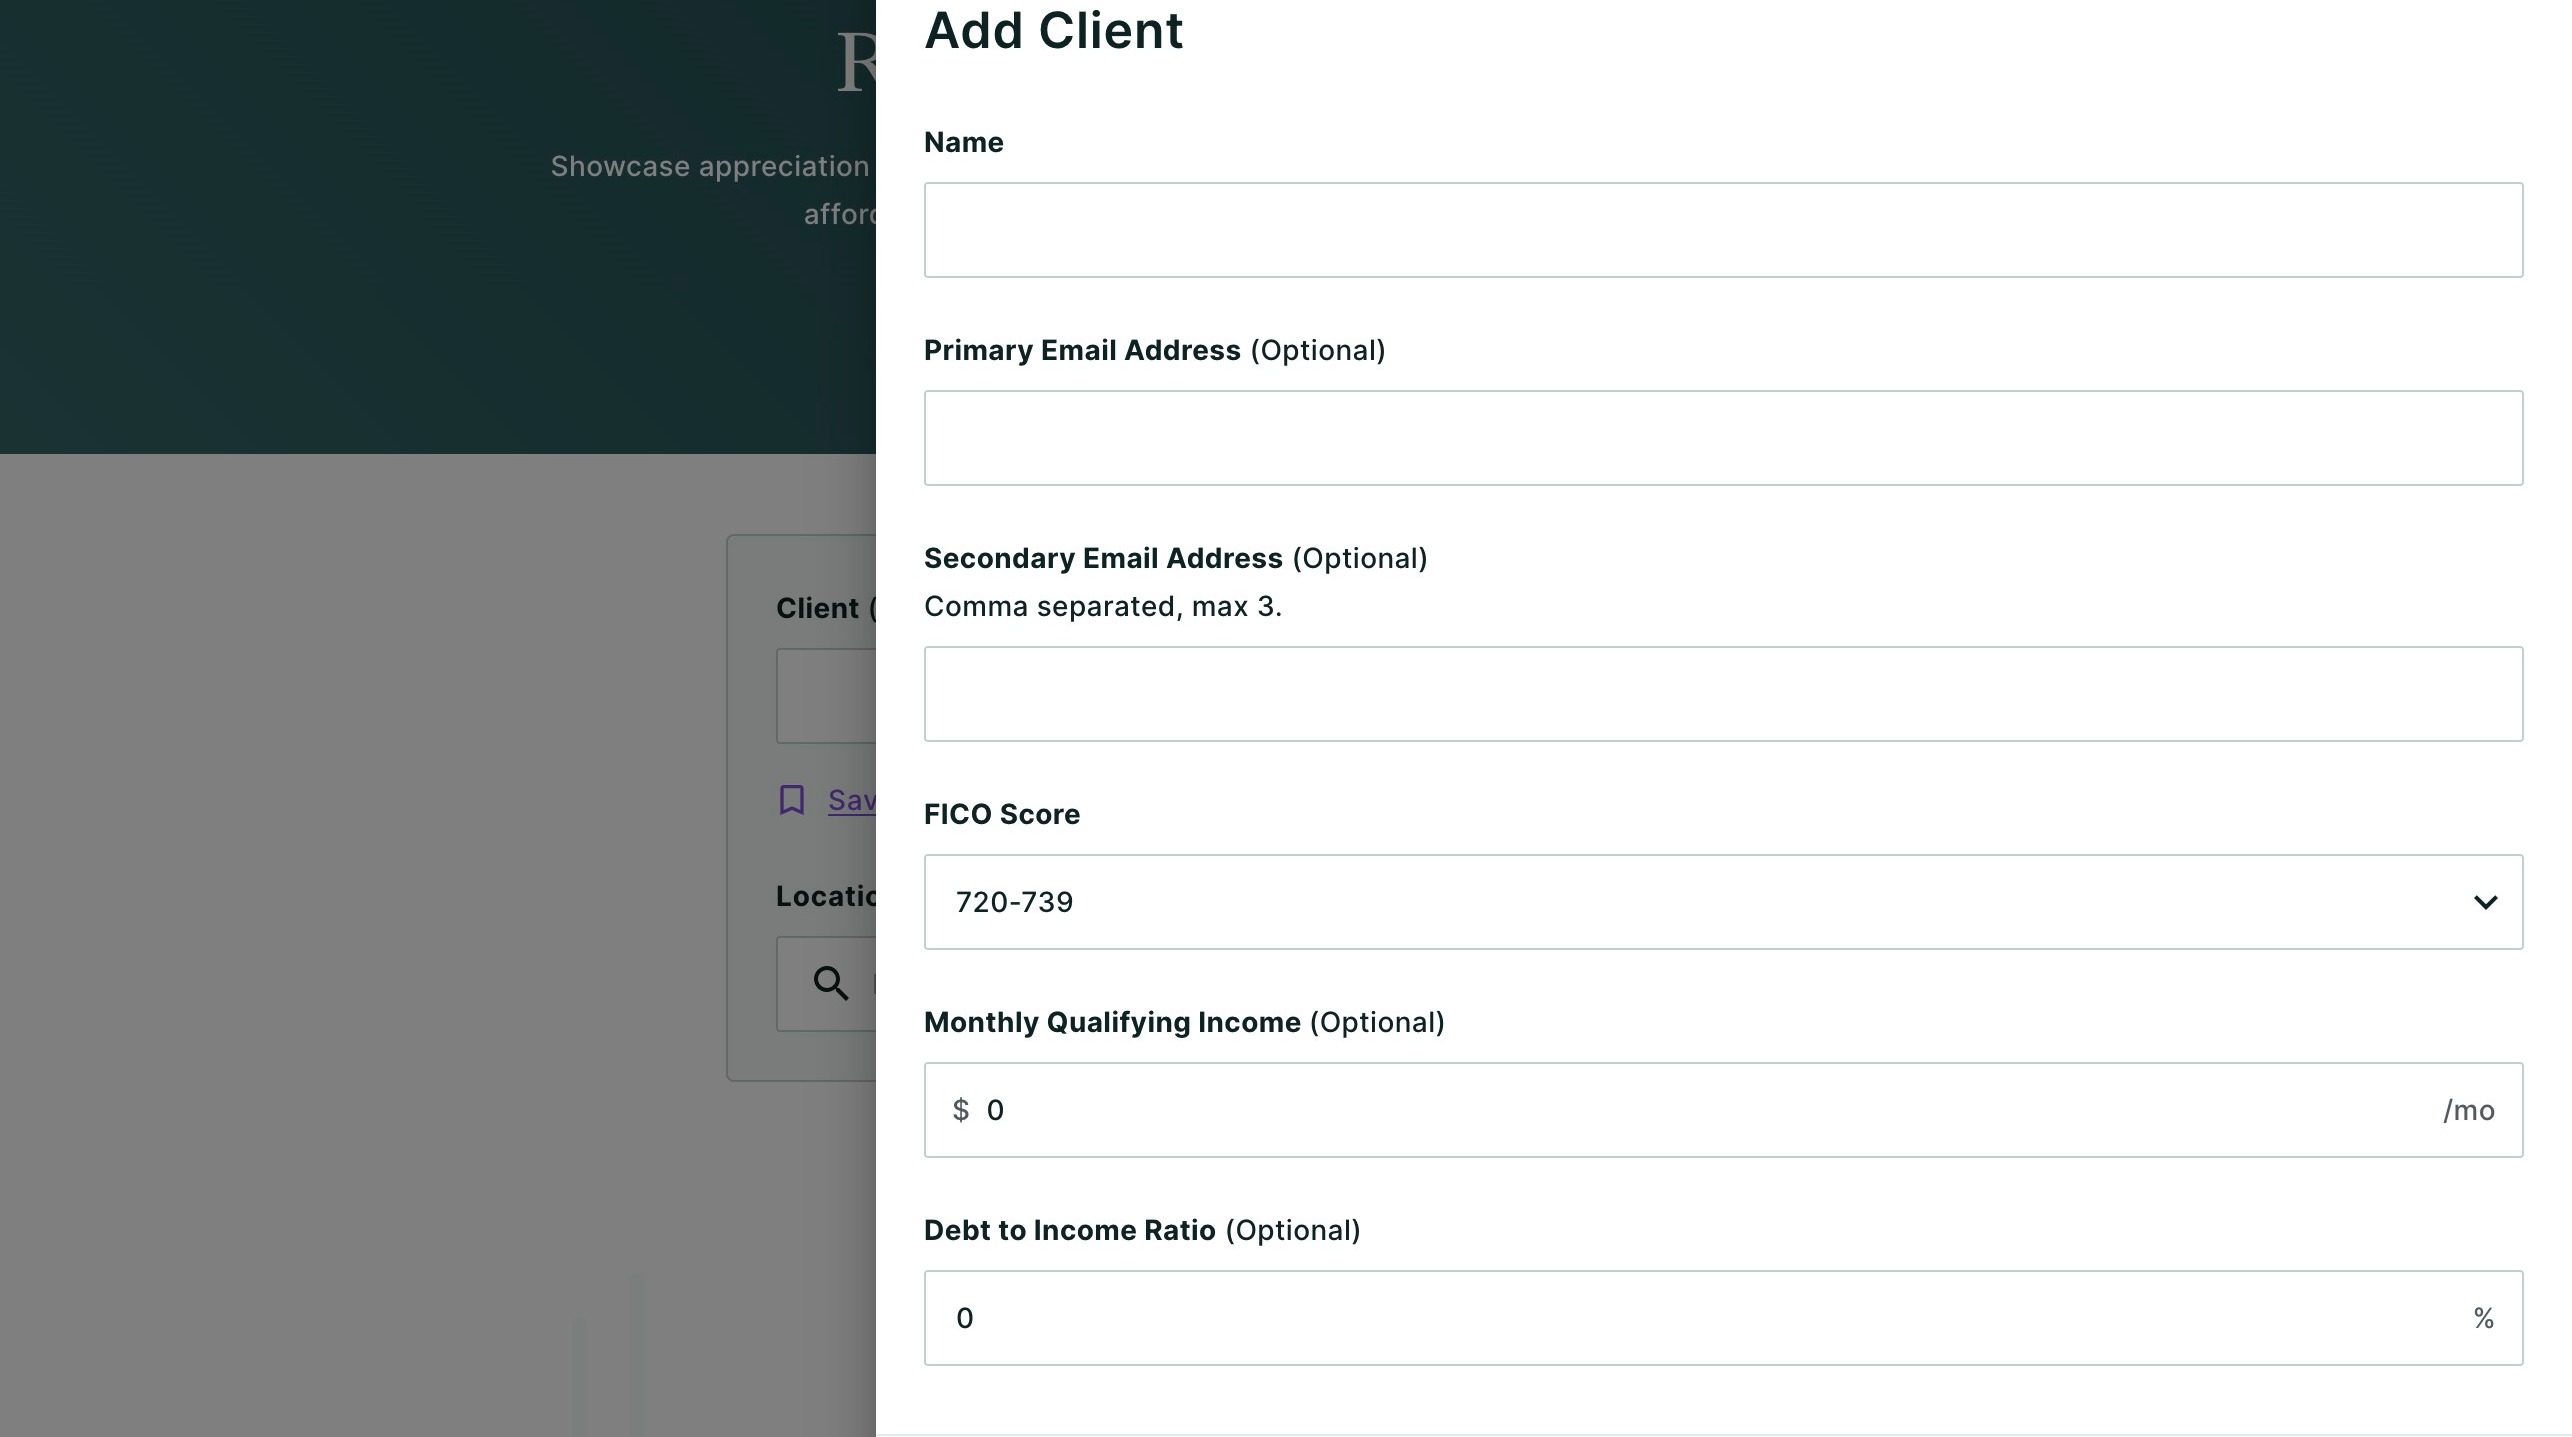
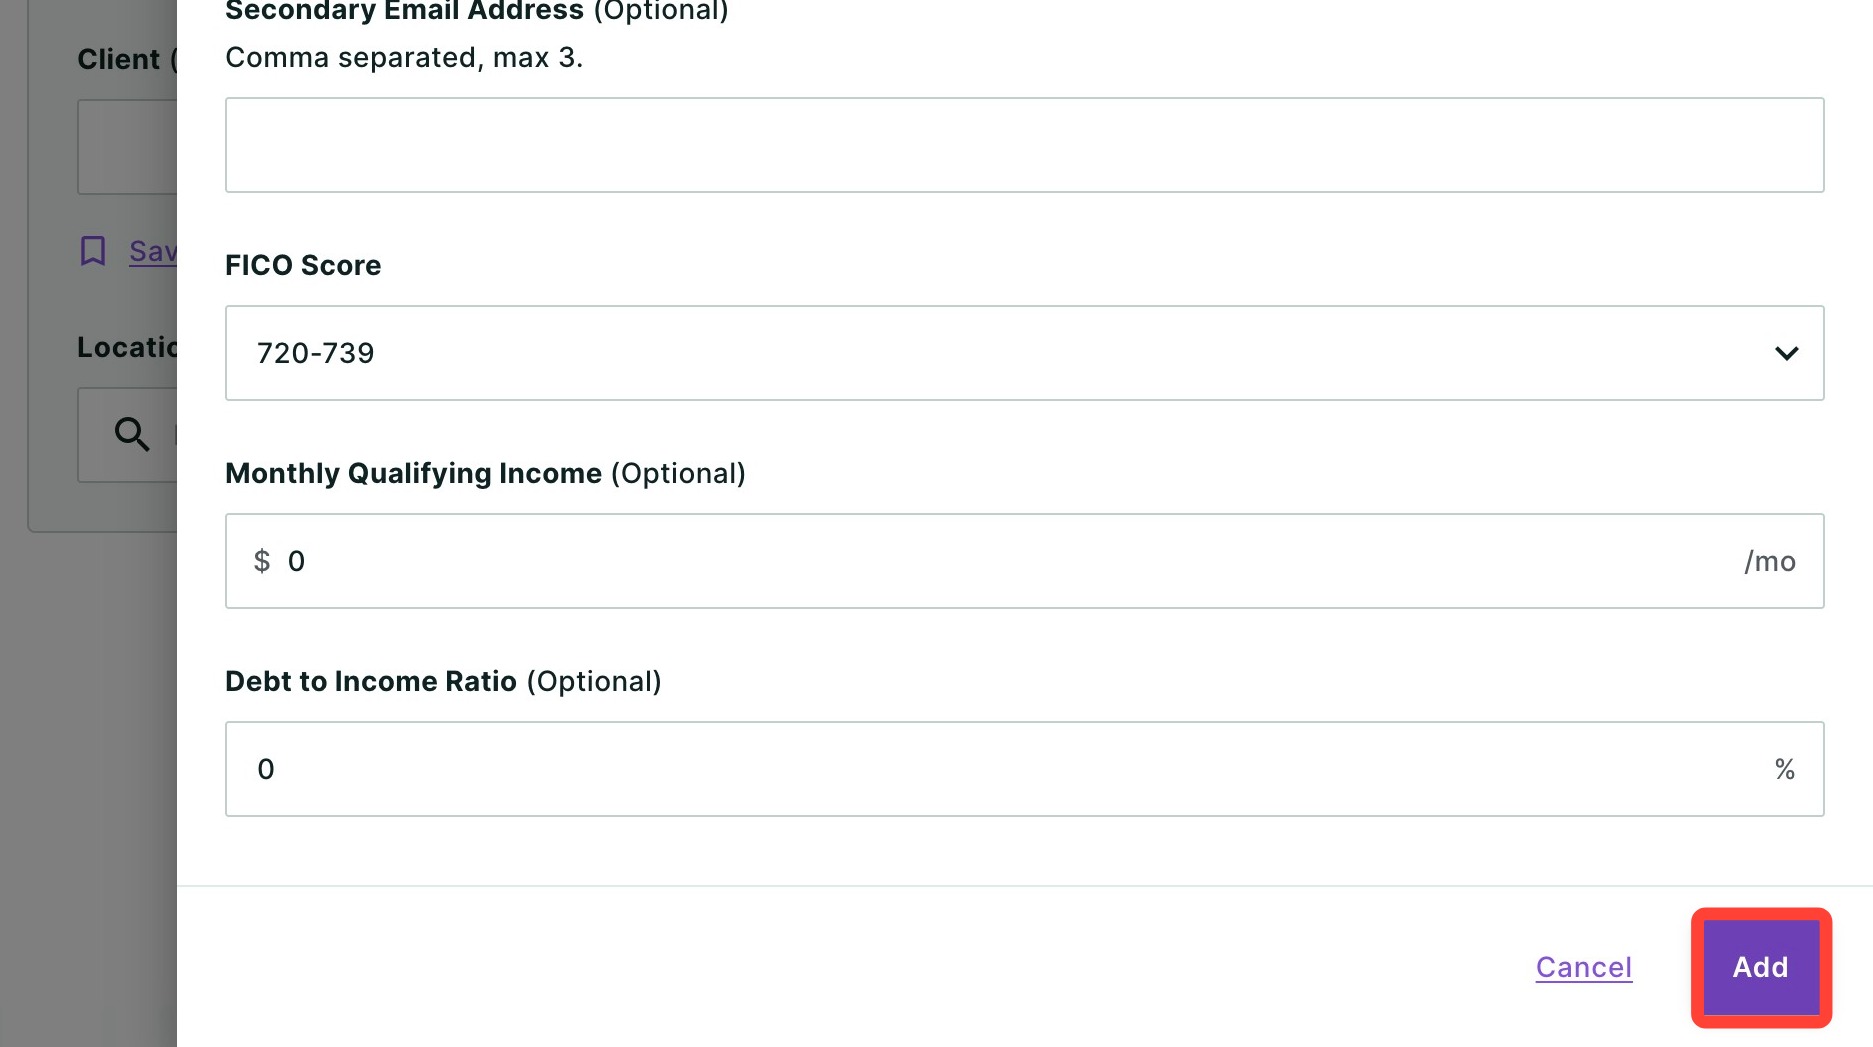
- Next, fill in your client's information. Name and FICO score are required fields.
- Click Add.
- Continue following the steps below to select a location.
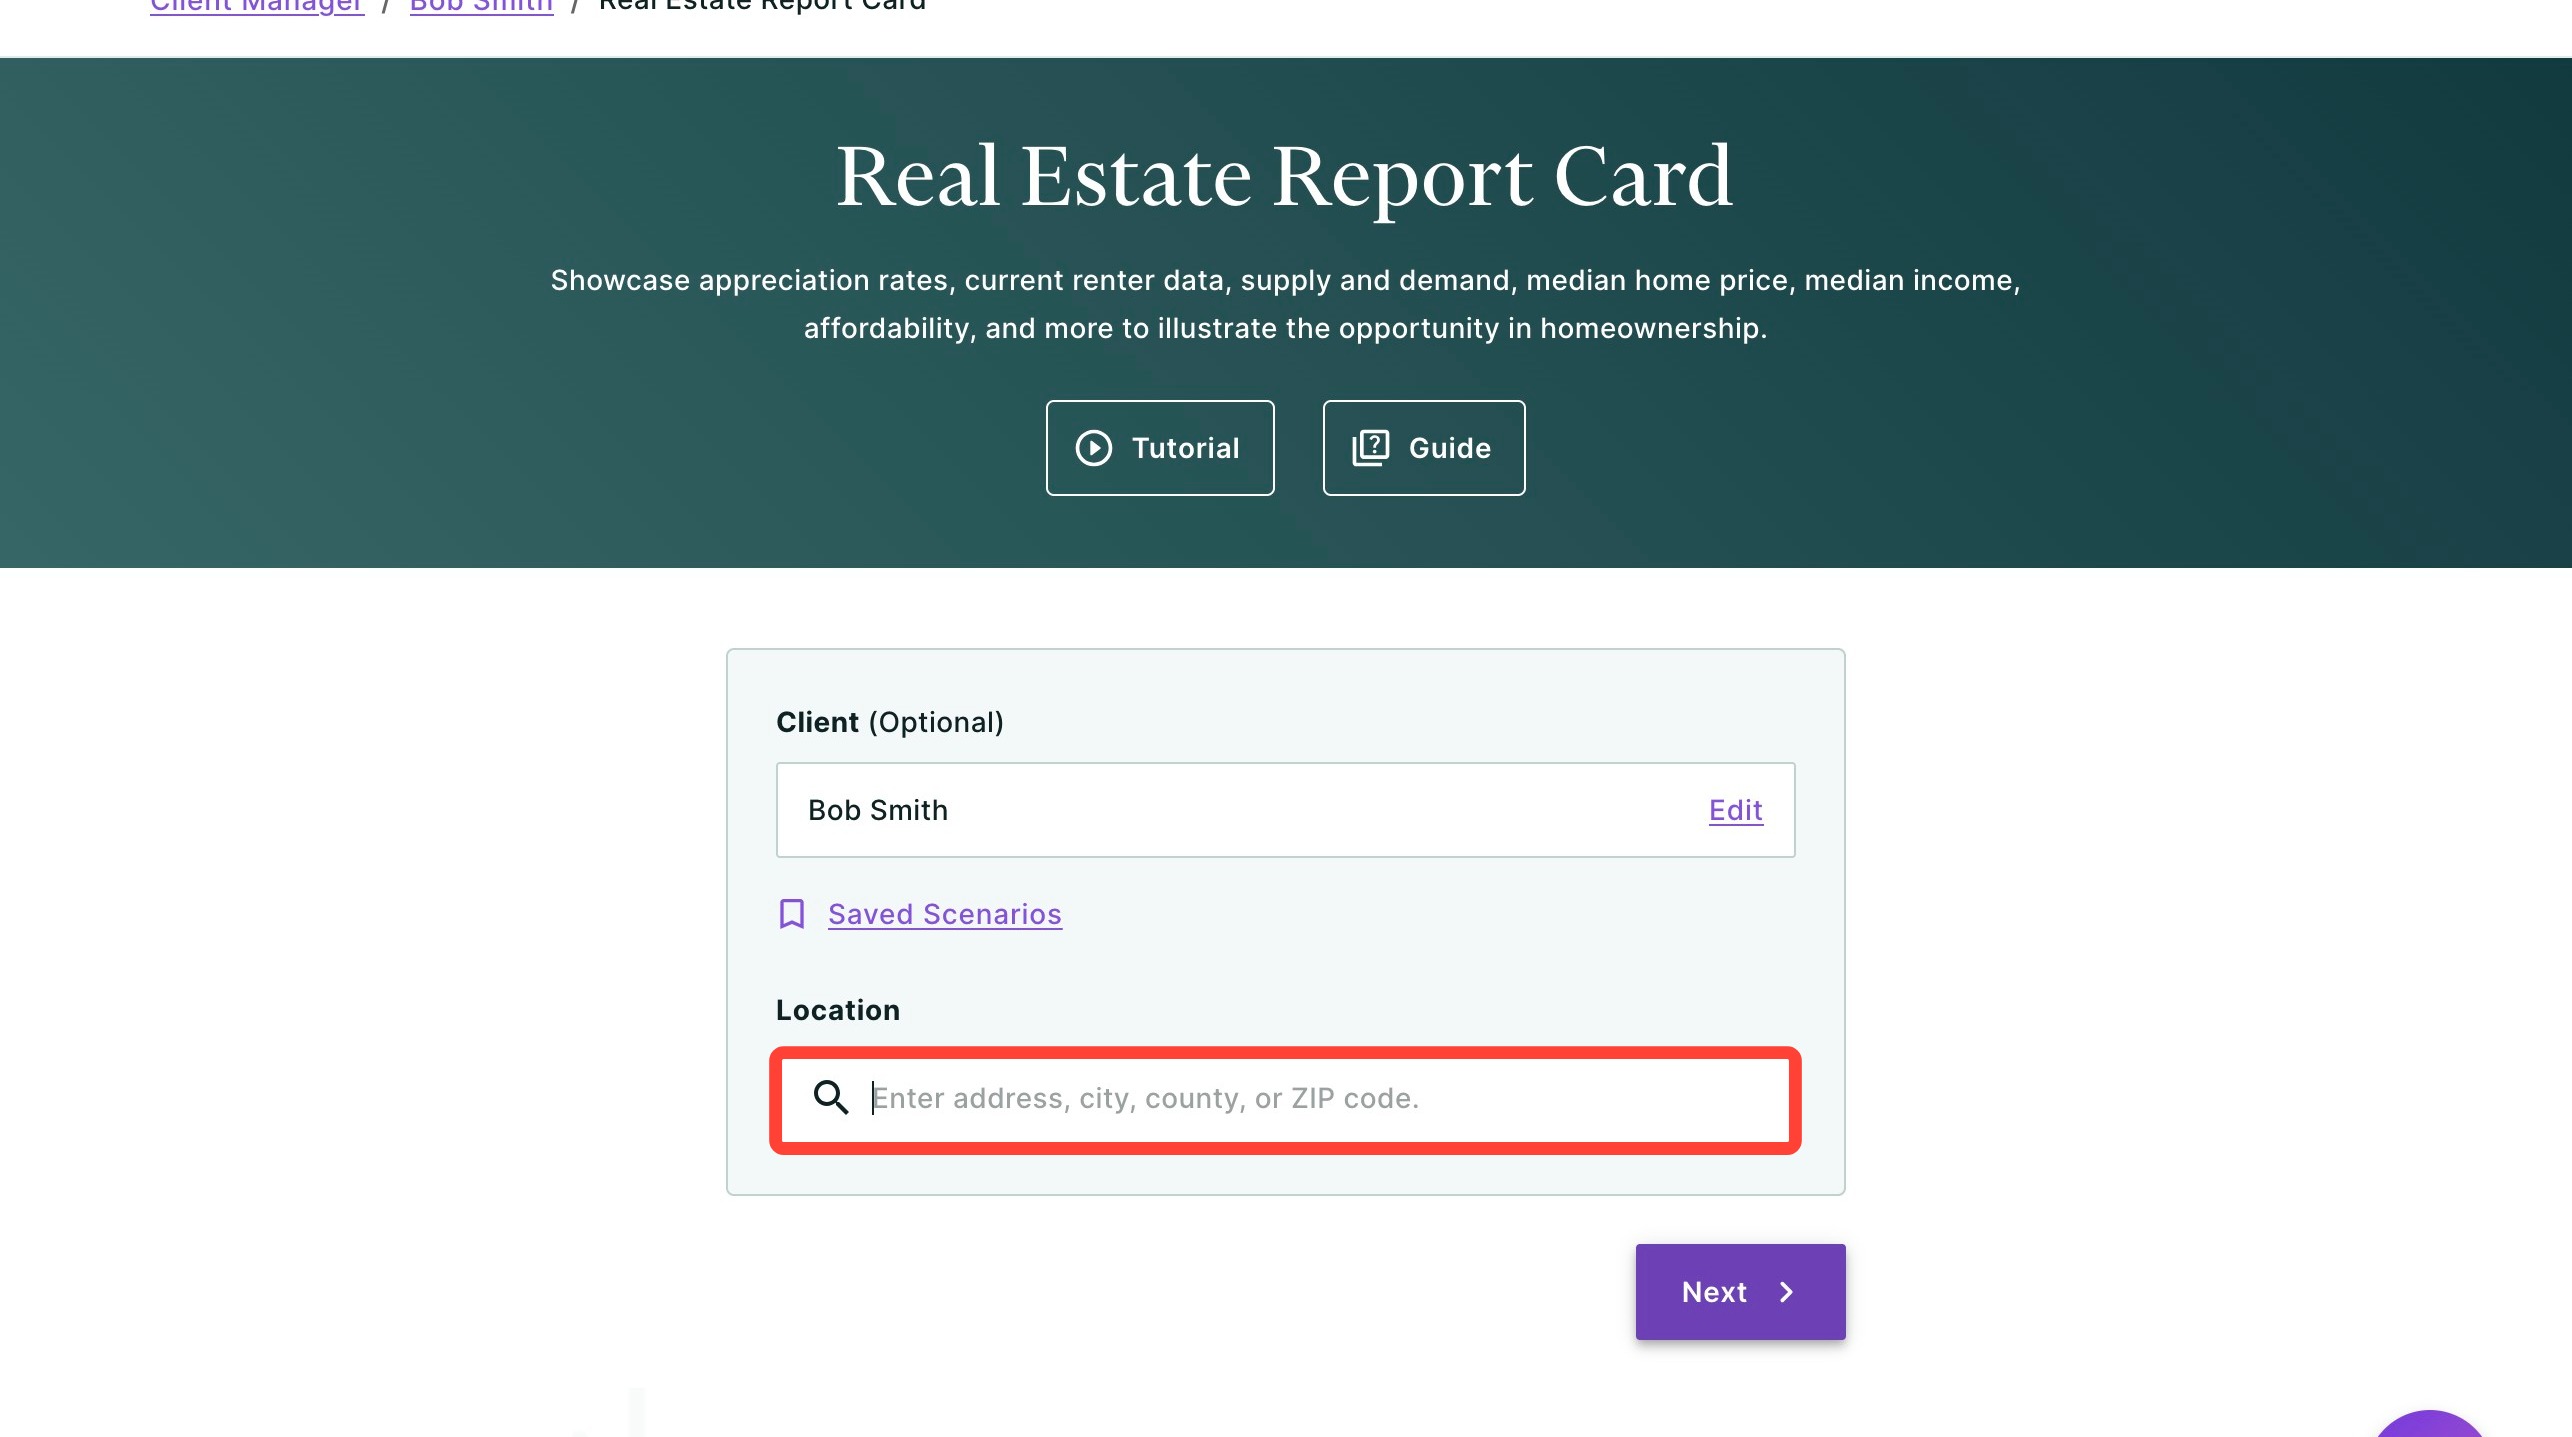
Selecting a Location and Generating the Report
- Enter a location using an address, city, county, or ZIP code.
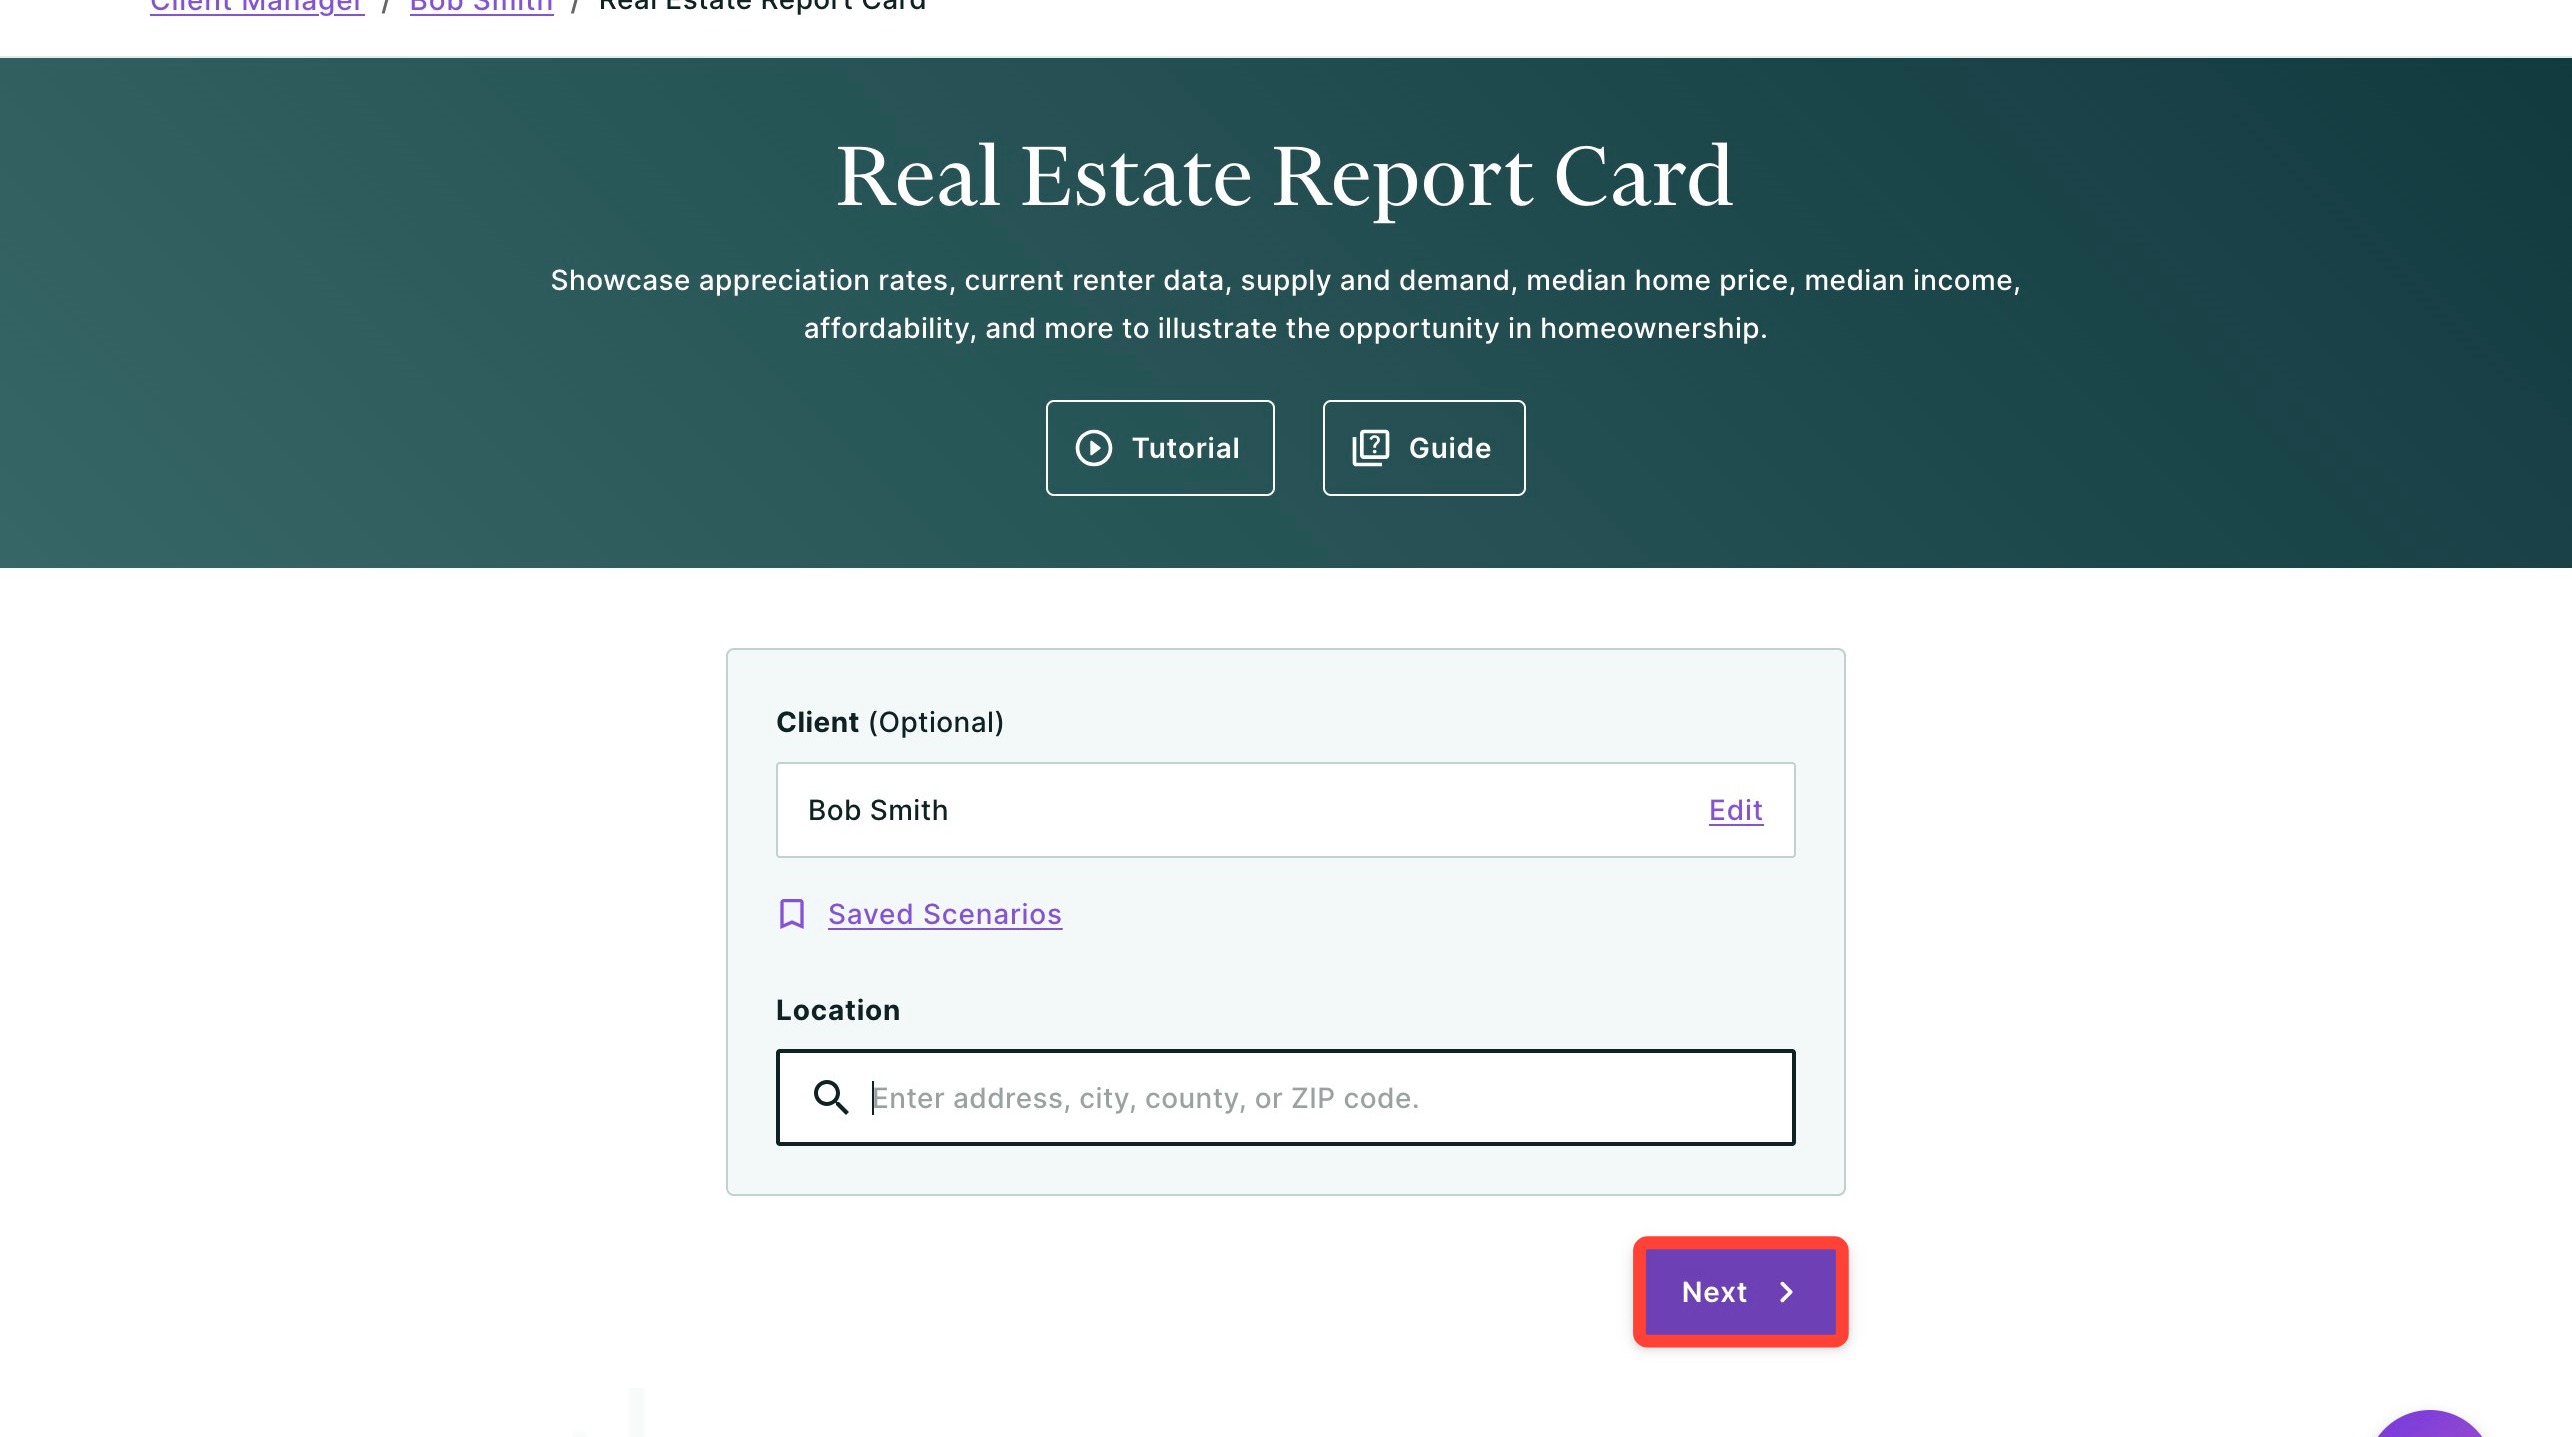
- Select the correct location from the drop-down list.
- Click Next to generate the report.
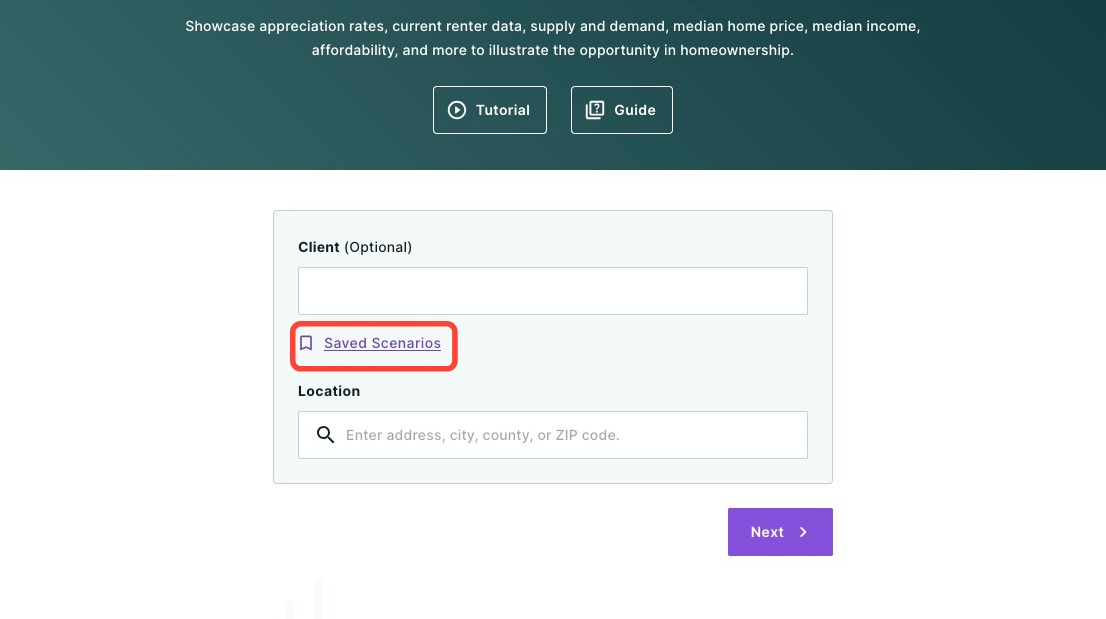
Load a Saved Real Estate Report Card Scenario
You can reuse a Real Estate Report Card you have previously created by loading a saved scenario.
- Click Saved Scenarios.
- Select a saved scenario by clicking Load in the corresponding row.
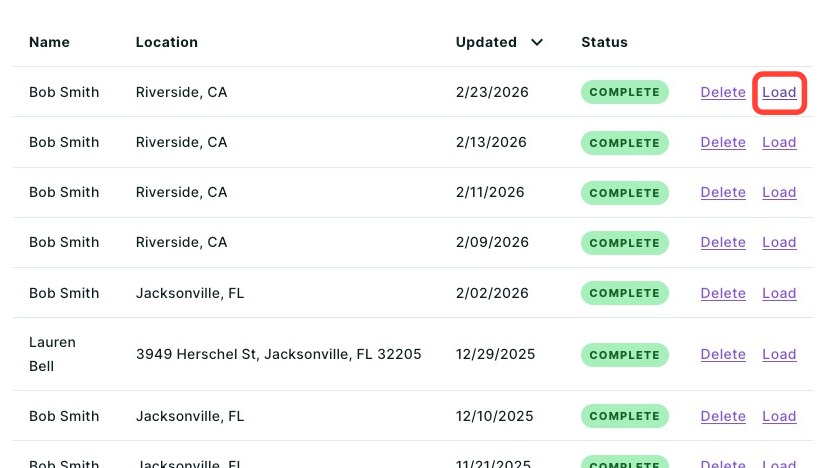
The selected report will open and populate with your saved settings.
Changing the Property Location
You can update the location used for the report to reflect a different area or property. This will update the home price, appreciation, affordability, and other housing data shown in the report.
- Click Edit under Location.
- Use the search bar to find a location by address, city, county, or ZIP code, then select the correct location from the drop-down list.

- Click Update.
Changing the Displayed Address
By changing the displayed address, you can customize how the address appears in the report without changing the underlying location or housing data.
- Click Edit under Location.
- Click the Change display address drop-down.

- Enter the address and/or city as desired.
- Click Update.
Updating the Property Photo
You can upload your own photo to replace the default map image shown in the report header. This allows you to personalize the report for a specific property, open house, or client presentation.
- Click Edit under Location.
Click Upload.

- Select a photo from your computer.
- Click Update.
Changing the Price
By default, the report uses the median home price for the selected location. You can enter a custom price to reflect a specific property or price range.
- Click Edit under Market Data.
Enter the desired price.
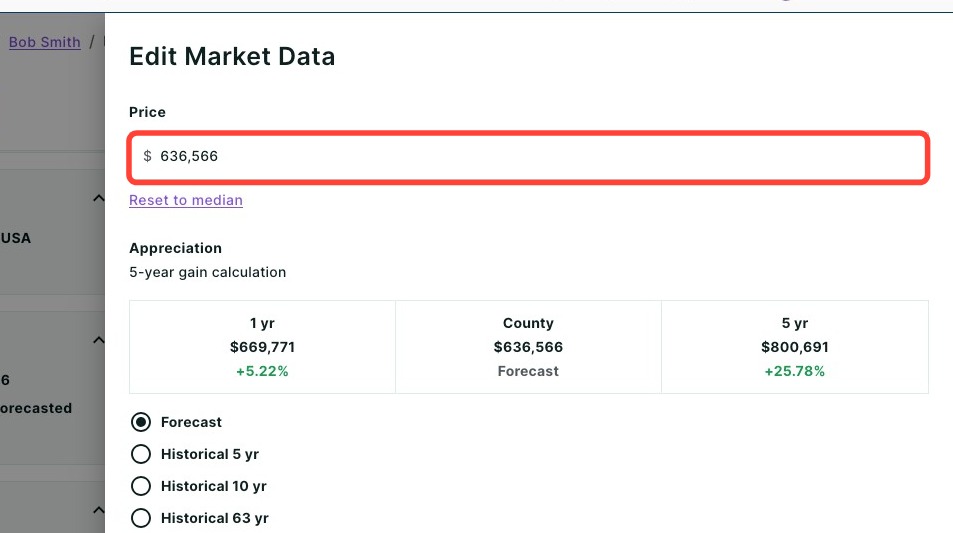
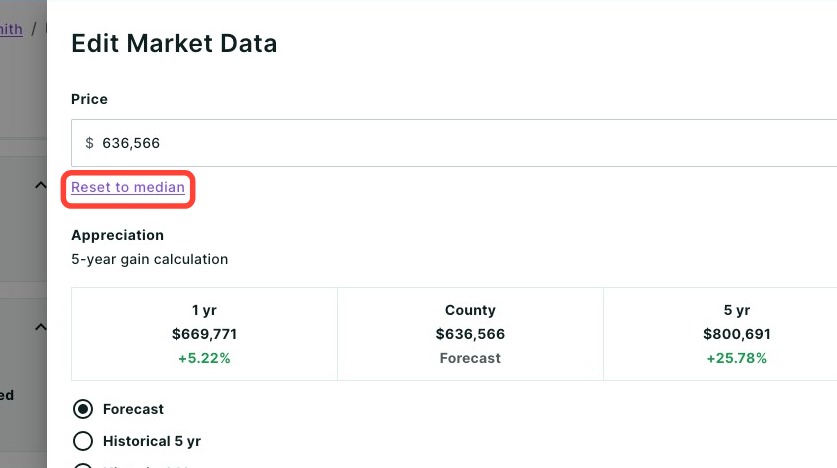
Optional: To revert back to the median price, click Reset to median.
- Click Save.
Changing the Forecasted Appreciation
You can change the appreciation model used to project future home value growth.
- Select Edit under Market Data.
Select your preferred appreciation model: Forecast, Historical 5 yr, Historical 10 yr, or Historical 63 yr.
The table seen below will automatically update to preview how each option affects the Forecasted Appreciation chart in the Real Estate Report Card.
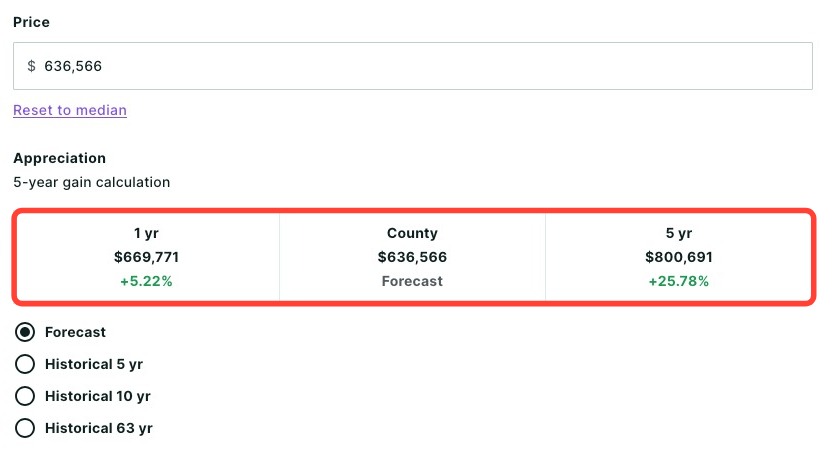
- Click Save.
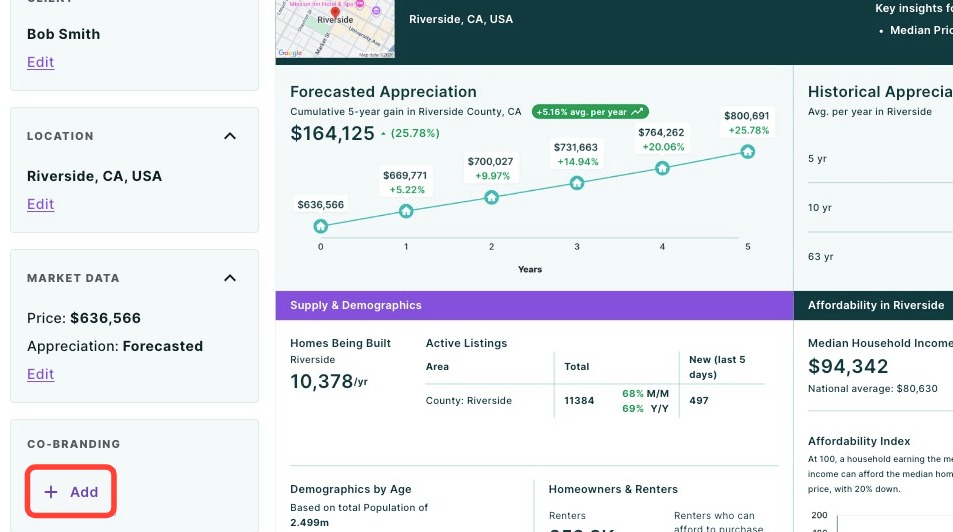
Adding Co-branding:
You can add a real estate agent to co-brand with on the report. To learn more about co-branding with agents, click here.
- Click on + Add under Co-branding.
Use the Co-brand drop-down to select an agent.
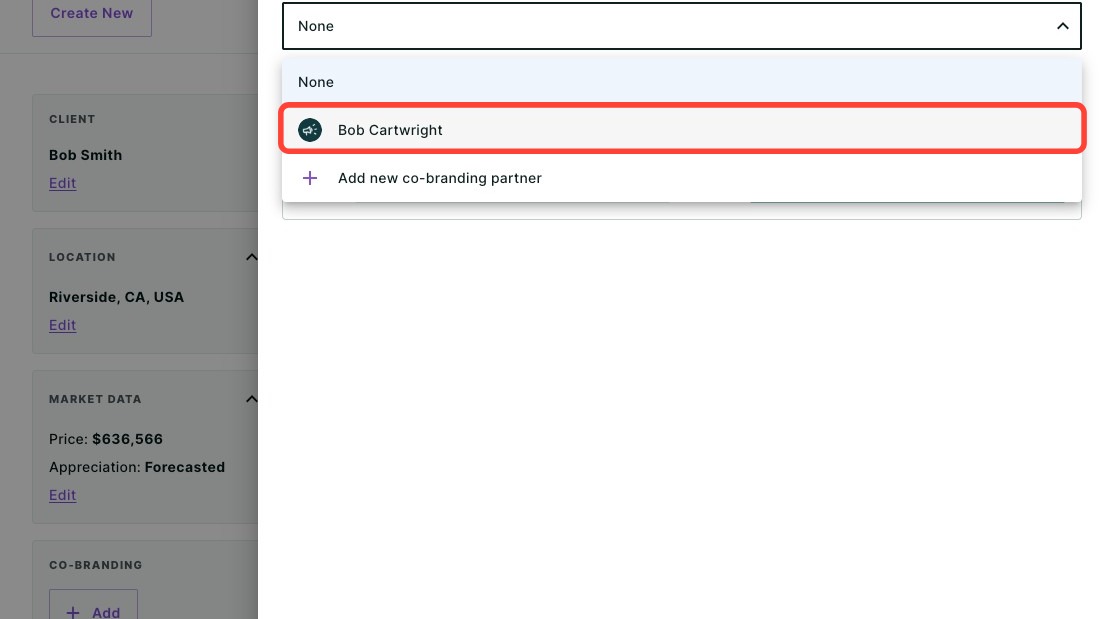
To add a new agent, click Add new co-branding partner.
- Select either Display left or Display right to determine how you want the co-branding displayed on the report footer.
- Click Save.
Please note: To ensure you are RESPA compliant, you must charge your realtor $20 per year for co-branded marketing. For your convenience, we have provided an invoice you can download and use in the Co-Brand Settings on MBS Highway. To learn more about co-branding with an agent, click here.
Sharing your Report
Once you've created your Real Estate Report Card and made any necessary edits, it’s time to review and share your report. To share the completed report, click Share. A dropdown menu will appear.
- Click Download to download the report as a PDF.
- Click Send a link via email with an optional video recording (not available for some users depending on their company permission settings).
- Click Host a meeting to virtually meet to discuss the report with your client.
- Click Record a Video to provide your client with a clear walkthrough of the report along with your own insights and context.
To learn more about sharing your report, click here.
Want to Learn More?
Check out the next article, Real Estate Report Card: What's Inside, to learn more about what's inside the report.
Related to