Highway Record lets you record and send a video walkthrough of a tool or personalized report to your clients, which is especially useful when there's more than one borrower on a transaction or when clients want to revisit the information later. This guide covers accessing your video library, recording a new video with your webcam and/or screen share, and sending it securely to up to four recipients. Please note that Highway Record is currently optimized for desktop only and does not work on mobile devices.
💡 Helpful Tip: Highway Record (both the meeting and recording functionality) is currently optimized for your desktop experience only and will not work on mobile devices.
|
Navigating to the Highway Record
You can find Highway Record within the Clients tab of the left-hand navigation menu.
Navigating through the left-hand sidebar menu
To access Highway Record using the left-hand sidebar menu, click Clients, then click Record.
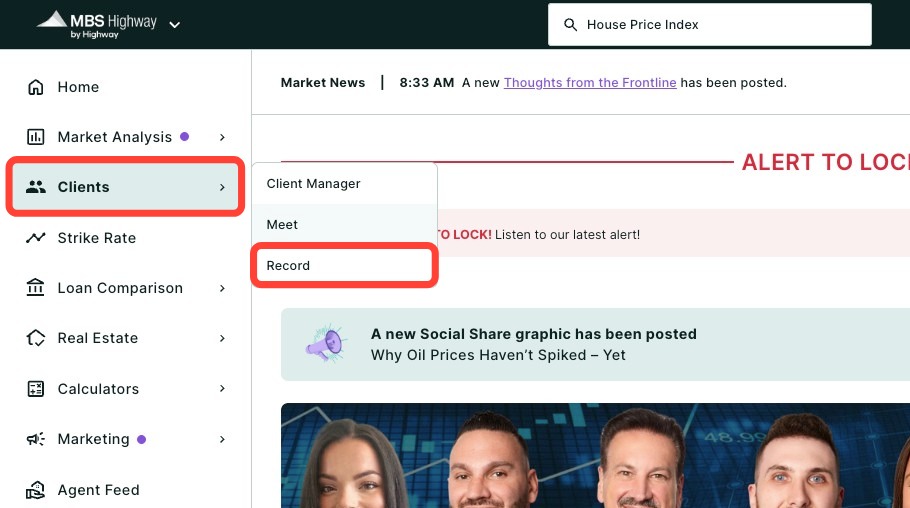
💡 Helpful Tip: You can favorite Highway Record by clicking the star next to its name, so it's easier to find next time.
|
Creating a New Video Recording
Create a video you can share with your clients. Once you create a video, they are available in your dashboard for 30 days.
- Click Record new video at the top left hand corner of the page.
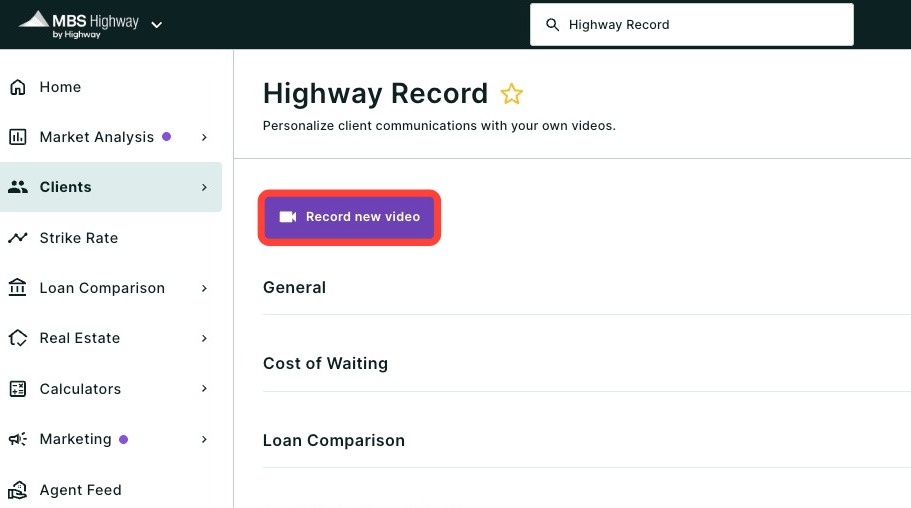
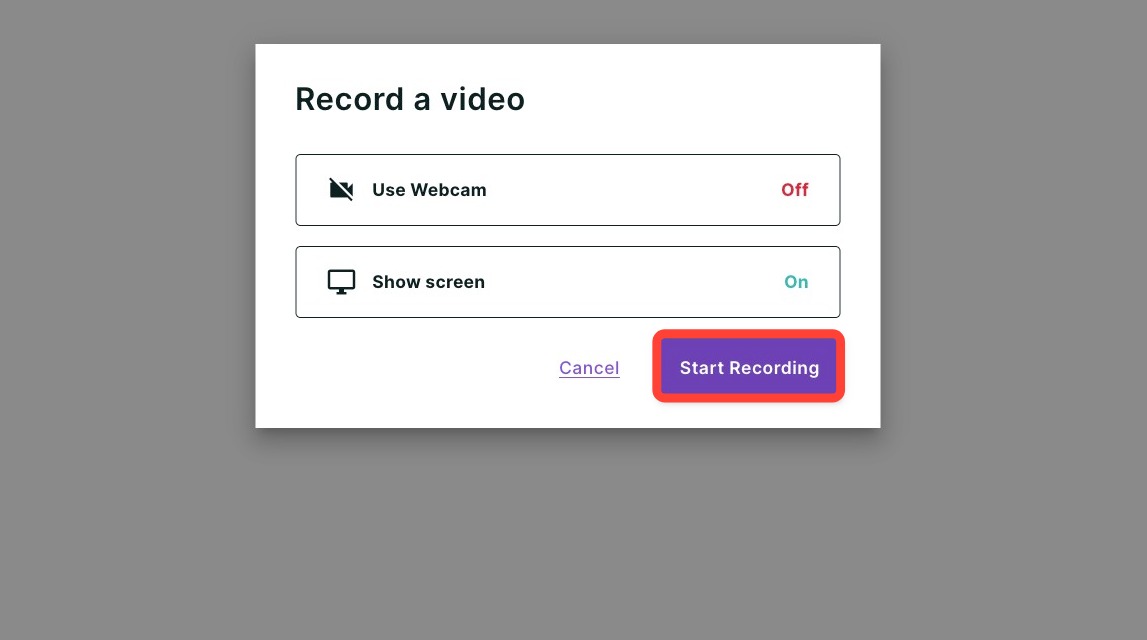
- You will then select if you would like to use your webcam and/or share your screen.
- You may be asked to allow access to your microphone and webcam. Select “Yes” to allow access for the recording.
- You may see a window pop up asking if you are ok with MBS Highway recording the selected window. Select Allow to continue.
- Click Start Recording to begin the recording. A countdown will begin and a red dot will appear on the tab, window or screen you are recording.
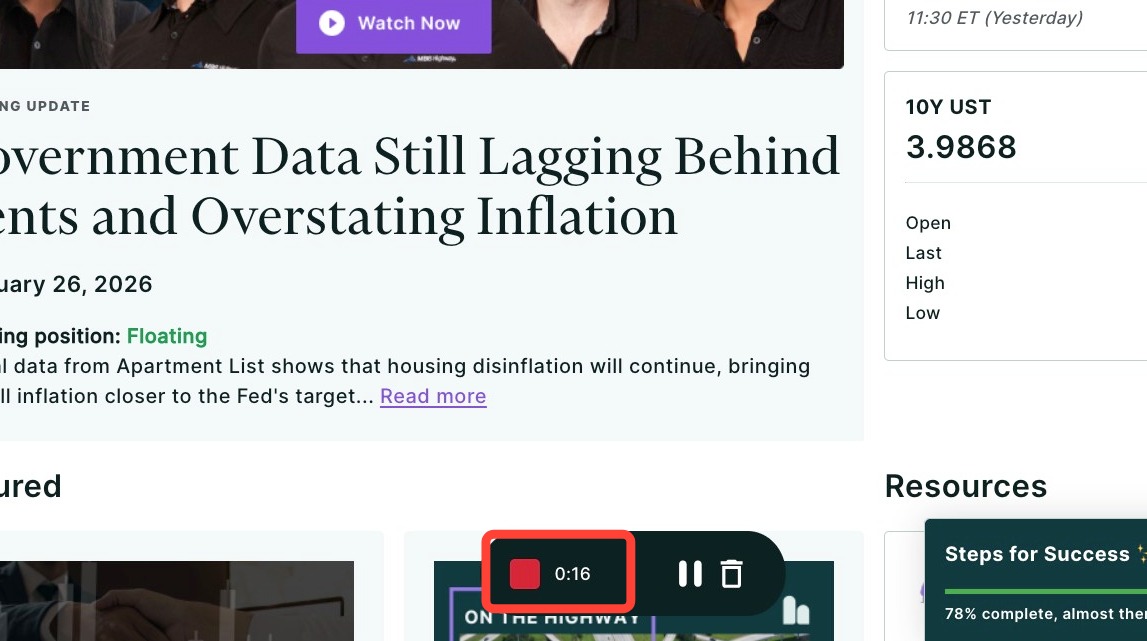
- Once the recording begins, you can navigate to the tool or report you would like to show in the video. If you try to navigate to the tool before the countdown is finished, the recording will stop.
- To end the recording, click the red square button at the bottom of the window or click Stop Sharing which can be found in the top left hand corner of the window you are recording.
- You can pause, resume or delete the recording within the same bottom menu as the stop button.
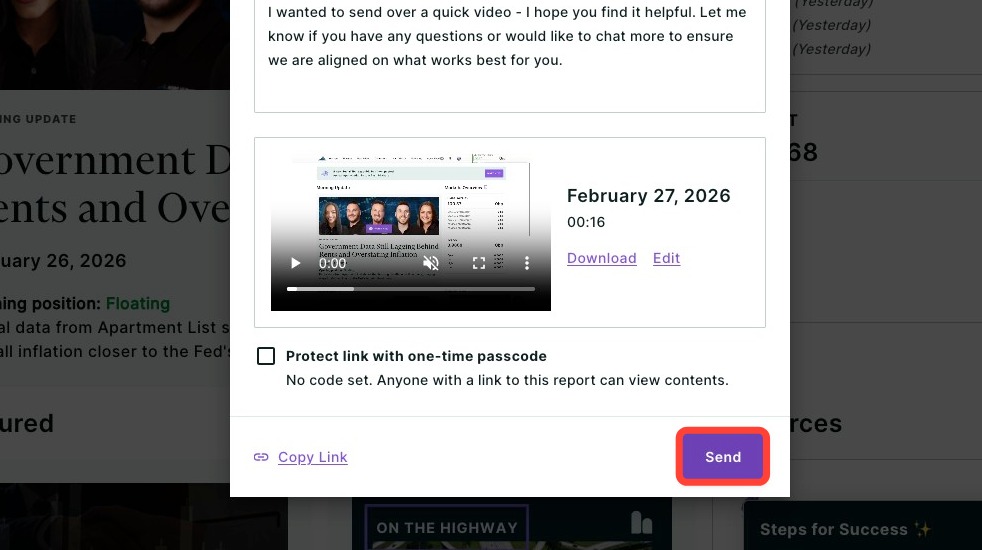
- A window will then appear where you can preview the video, add your client’s name, a custom message and provide the email addresses of the intended recipients (up to four).
- Click Send to send the video recording along with your custom message.
Your client(s) will receive two emails. The first email will have a link to the recording. Once your client clicks on the link, it will trigger the second email to be sent with the access code. This is done to ensure privacy and security.
Need Help?
Have questions or want to learn more? Submit a ticket or call us today!
Related to