This guide walks loan officers through building a Debt Consolidation report for a home purchase. Use it to show a buyer who is carrying high-interest debt (credit cards, auto loans, student loans) how reallocating some down payment funds to pay it down can improve their monthly cash flow .
Navigating to the Debt Consolidation - Purchase: Step-by-Step Guide
You can find your Debt Consolidation Report within Client Manager as well as within the Loan Comparison sidebar menu.
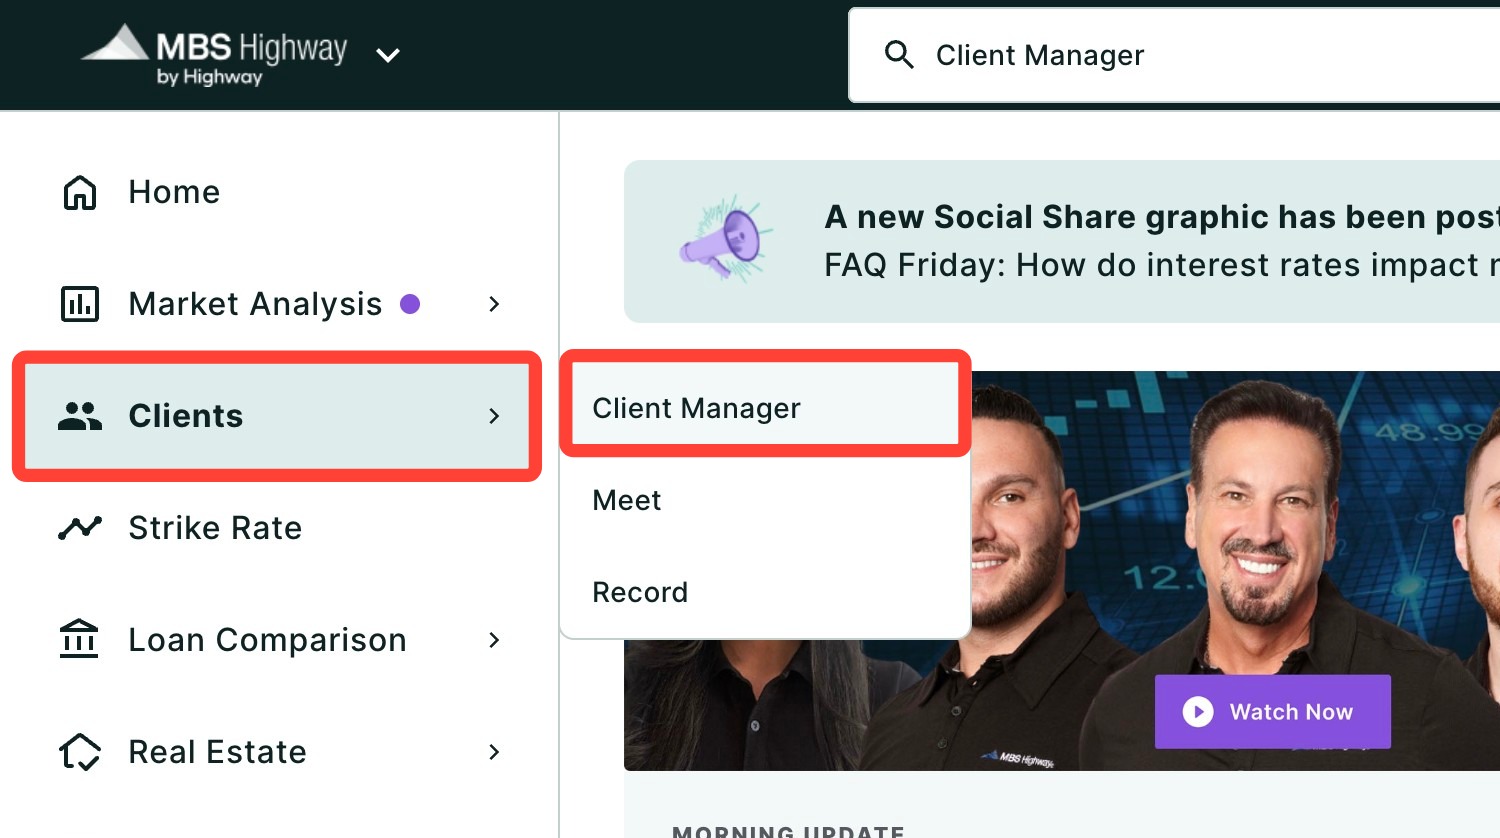
Navigating through the Client Manager
Client Manager allows you to create reports for your clients using previously-saved loan and property details, saving you time when building new scenarios. To learn more, click here.
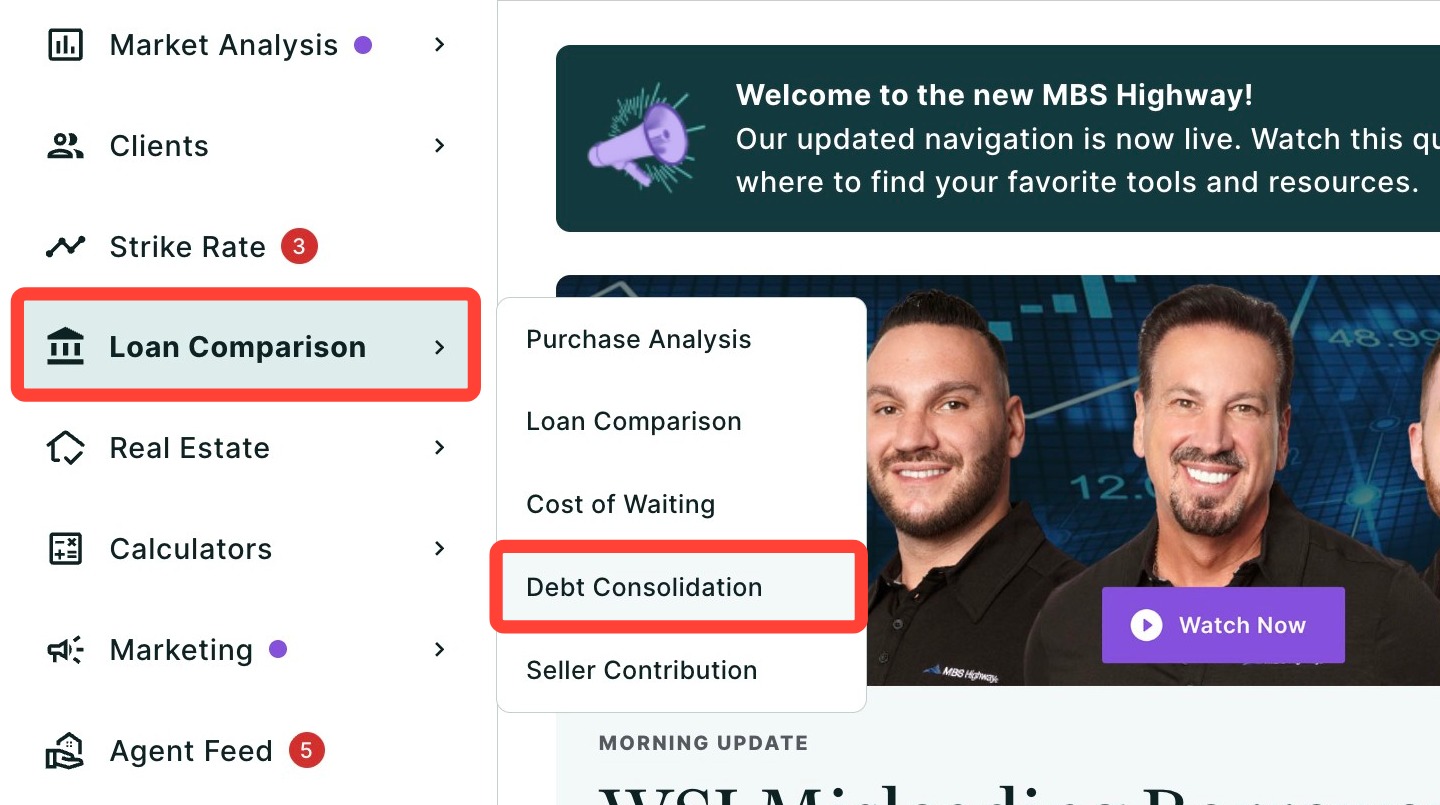
Navigating through the left-hand sidebar menu
To access the Debt Consolidation report using the left-hand sidebar menu, click Loan Comparison, then click Debt Consolidation. By default, the Refinance report will be displayed.
💡 Helpful Tip: You can also search and favorite reports, tools, and calculators. Click here to learn how. |
How to Choose the Purchase Option
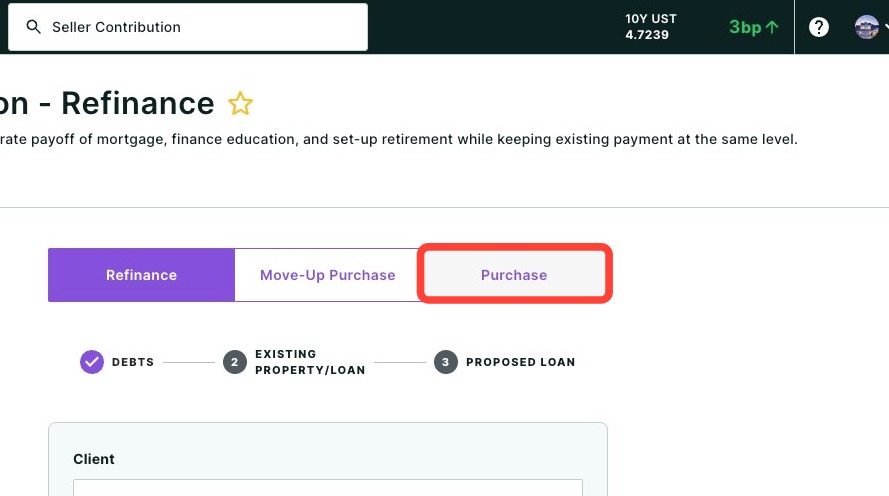
When using the Debt Consolidation tool, you now have three options for your type of loan: Refinance, Move Up Purchase, or Purchase. To get started with the Purchase option, follow the steps below:
- Using the toggle bar, choose Purchase.
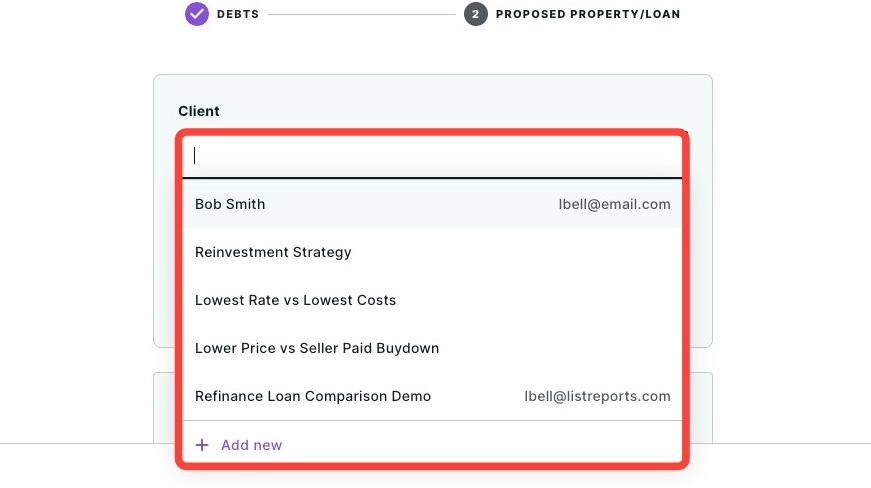
- Enter and select your client's Name from the drop-down.
- If adding a new client, click + Add new. You will need to provide their name; however, all other fields are optional. Please note that if you would like to share these reports via email, you will need to add their email address.
- Enter your client's Monthly Qualifying Income.
- From here, begin entering the debts your client would like to consolidate. You can add up to 15 different debts. The information required includes:
- The debt's name (select from the drop-down or enter a custom name).
- Type of debt (Installment, Revolving, or Other). If you selected a debt from the drop-down it will populate automatically, but you can update this information.
- Total balance.
- Monthly payment.
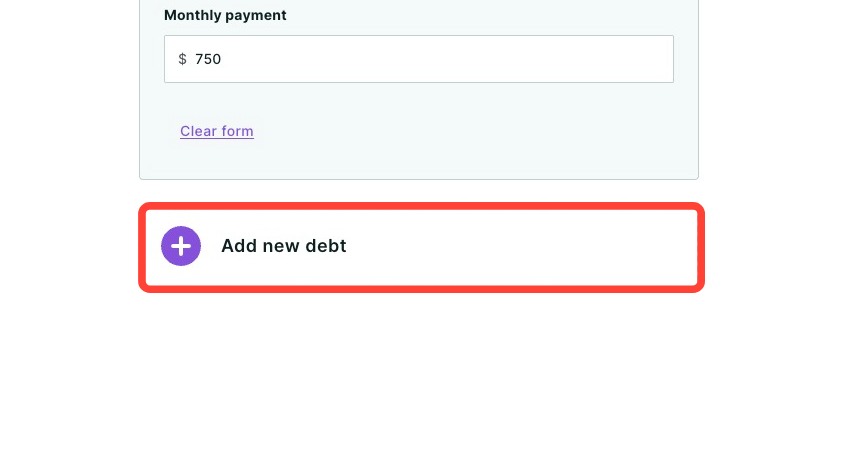
- To add additional loans, click Add new debt.
- Once you have added all debts, click Next.
Creating Your Report
Next, enter the qualifying ratios and details for the property and loan your client is planning to purchase.
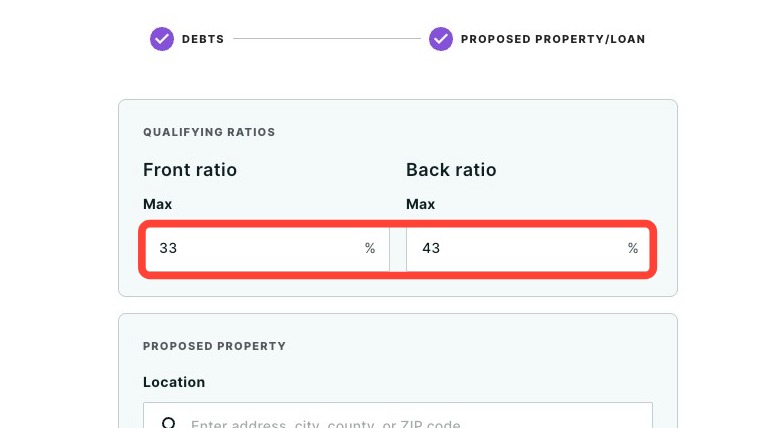
- Enter the max Front Ratio and Back Ratio. These fields will be automatically generated but can be edited.
- Select or click + New Property to enter the proposed property's Location.
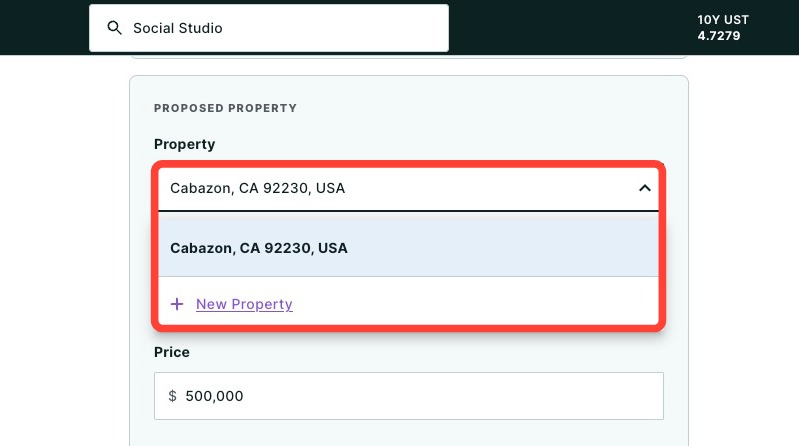
| 💡 Helpful Tip: Property and loan information is saved to your client, so any updates or changes made will automatically apply across all of their reports where those properties and loans are used. |
- Enter Price, Property Tax, Monthly Home Insurance, and Association Fees.
- The annual property tax and monthly home insurance will automatically be calculated, but these fields can be edited.
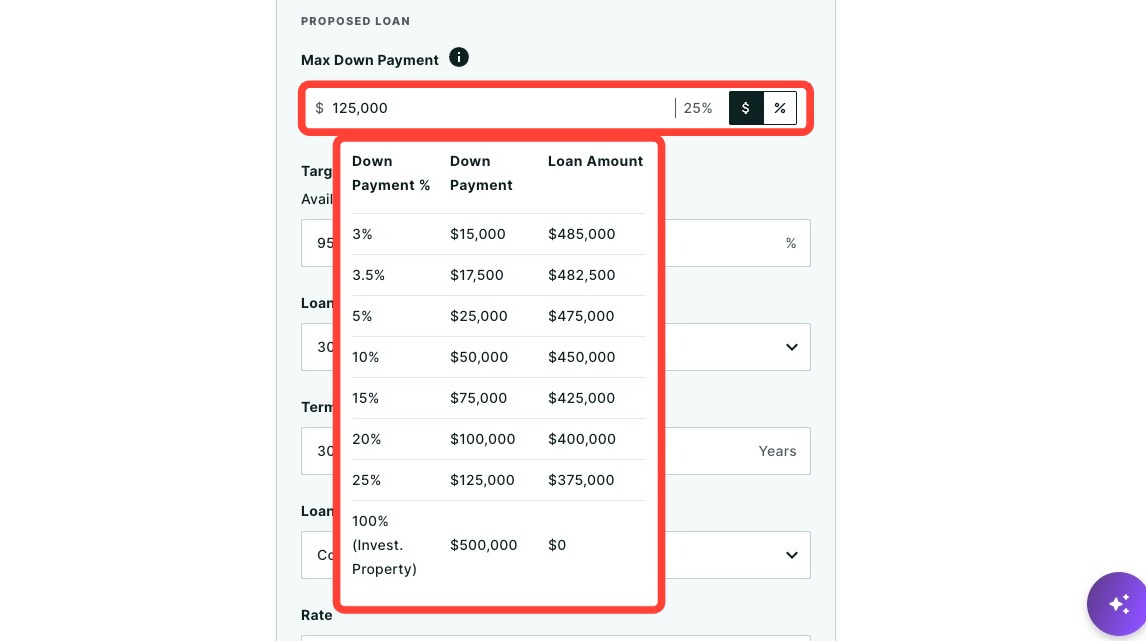
- Enter or select the Max Down Payment from the table.
- The Max Down Payment is the total cash your client has available to put toward the purchase.
- This field accepts a dollar amount or a percentage.
- You can enter $0 here for loan programs that don't require a down payment, such as VA loans.
- The Target LTV With Consolidation will automatically calculate, but it is editable.
- The Target LTV With Consolidation is the loan-to-value your client will actually use once debts are consolidated.
- This determines the real down payment for the proposed loan and must result in a down payment at or below the Max Down Payment, and must meet the loan program's LTV requirements (for example, 97% for Conventional, 96.5% for FHA, or 100% for VA).
- Once entered, Available Cash Before Debts will be calculated and displayed below.
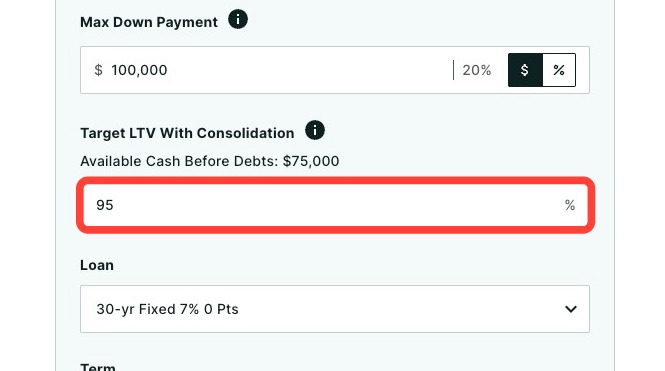
Please note: If you enter $0 for Max Down Payment, MBS Highway will let you know your client has no cash available for debt consolidation. |
- Enter the Term, Loan Program, Loan Type, Rate, and any Points being purchased.
- Monthly Mortgage Insurance will be automatically generated depending on your inputs, but you can also use a worksheet or edit this field directly.
- Enter any Closing Costs and applicable Credits, along with Prepaid and Escrow funds. You can use a worksheet to help populate closing costs and credits, and worksheets can be saved for future use.
- Click Next.
You'll now be able to select which debts to consolidate and allocate your client's available cash.
Making Edits to the Report
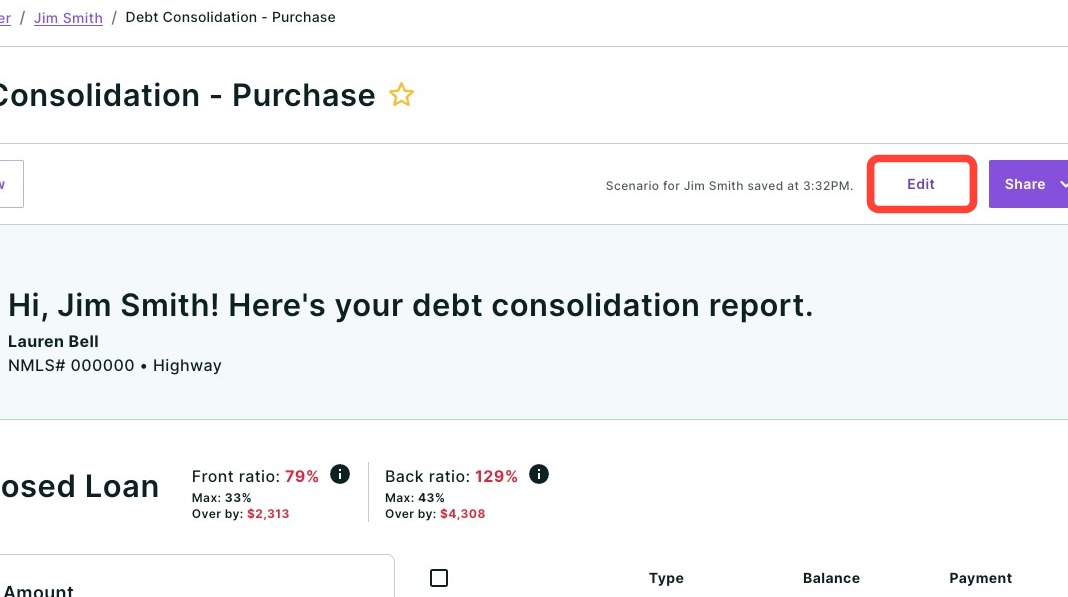
To make edits to the property or loan details, click Edit in the top right corner of the page. From here, you can edit the scenario's debts and obligations, client information, proposed property and loan information using the Edit buttons in the left-hand navigation.
Adding Debts
To add additional debts to your Debt Consolidation report, follow the steps below:
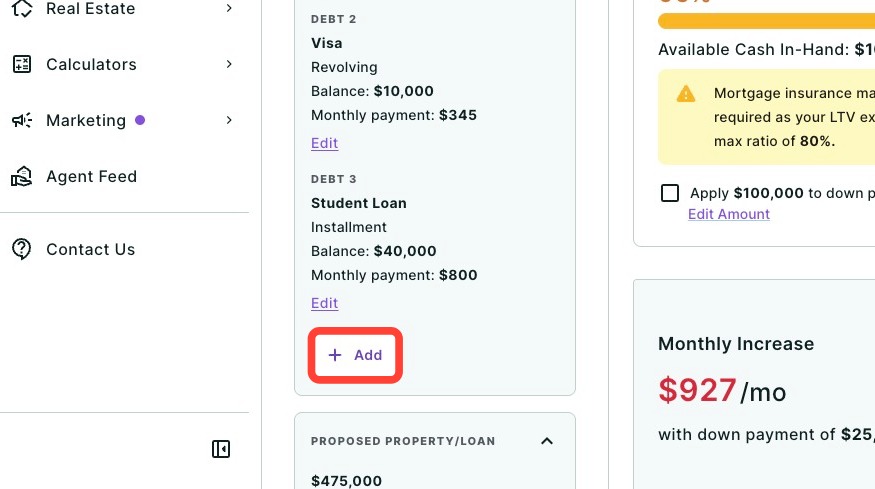
- Click + Add within the Current Debts & Obligation section.
- Enter a name for the debt or select one from the drop-down.
- Choose the Type of debt.
- Enter the debt's Balance and Monthly payment.
- Click Save.
Deleting Debts
To remove debts from your Debt Consolidation report, follow the steps below:
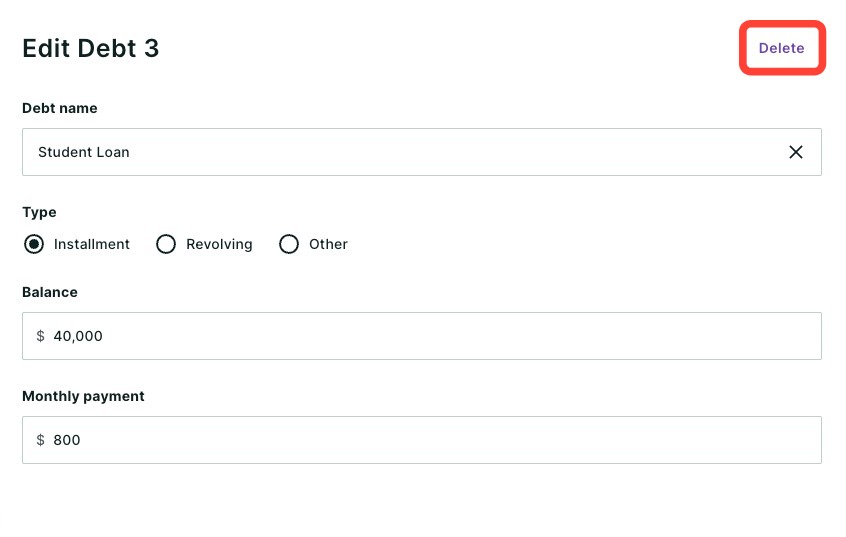
- Click Edit below the debt you would like to delete.
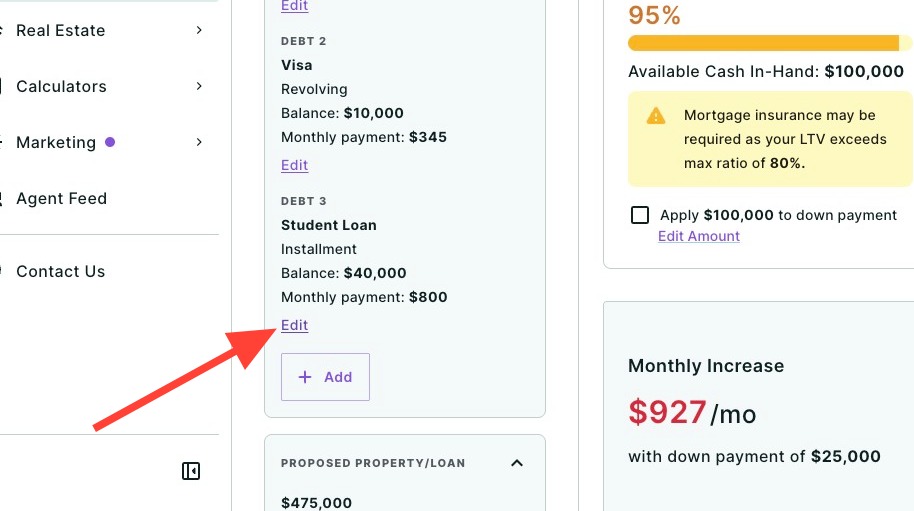
- Click Delete.
Adding Agent Co-branding
You can also add a referral partner's co-branding on your report. To learn more about co-branding, click here.
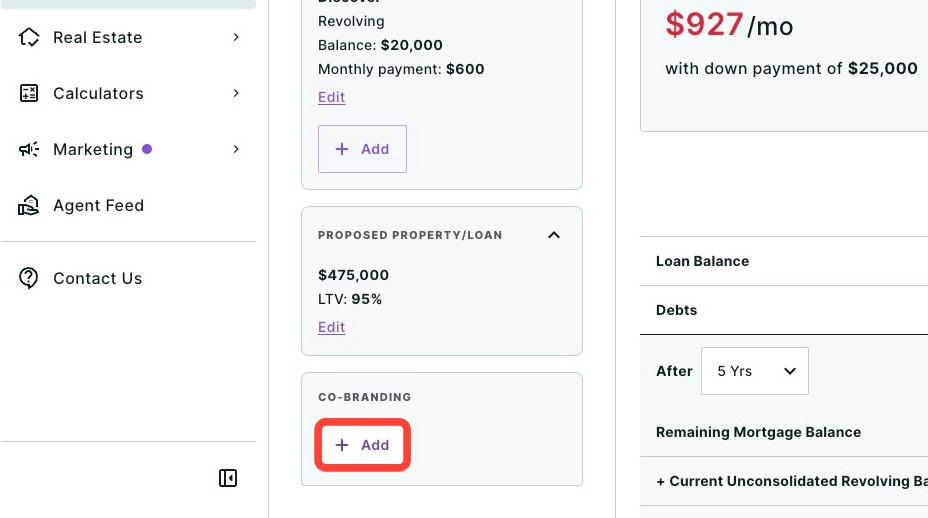
- Click on + Add under Co-branding.
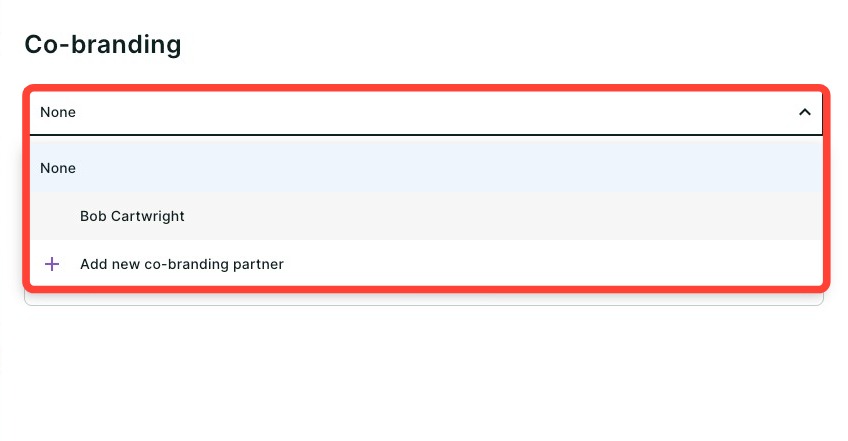
- Use the Co-brand drop-down to select an agent, or click + Add new co-branding partner to add a new agent for co-branding.
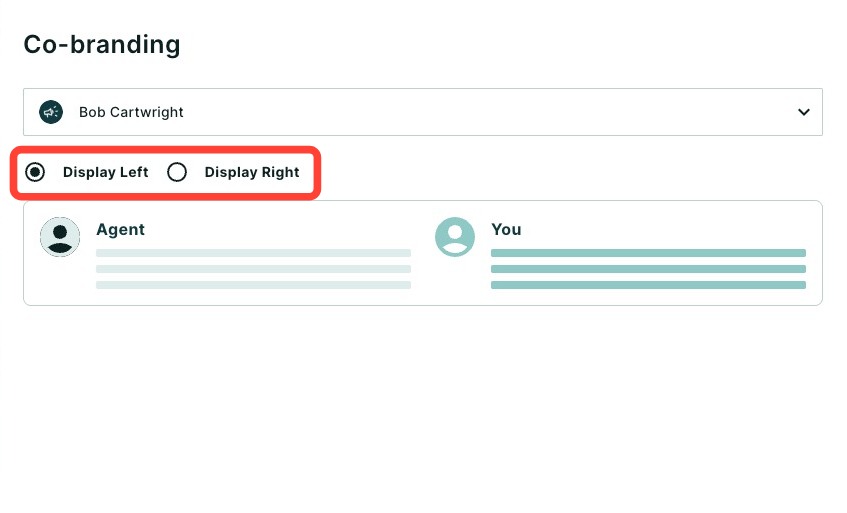
- Select either Display left or Display right to determine how you want the co-branding displayed on the report footer.
- Click Save.
Editing Loan and Property Information
- Click Edit under Proposed Property/Loan.
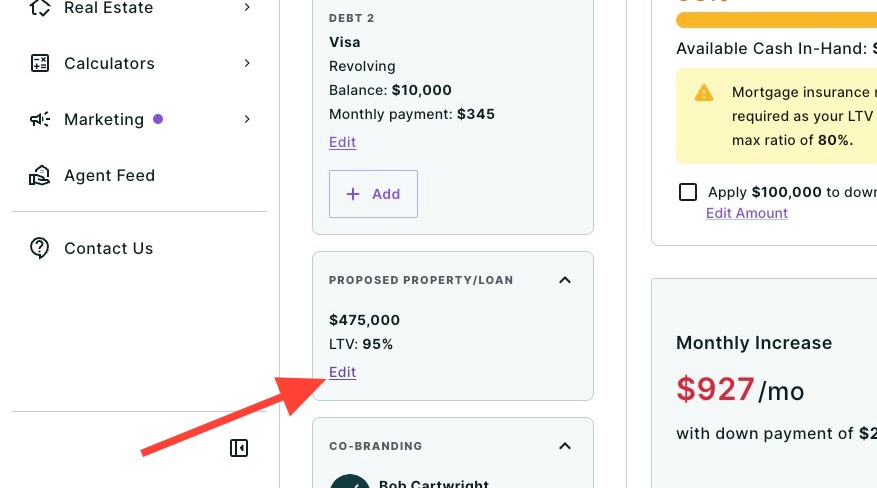
- Make your desired edits.
- Click Save.
Generating and Sharing your Report
Click Review report in the top right hand corner to then generate and preview your report. From here, you can share the completed report by clicking Share. A dropdown menu will then appear.
- Click Download to download the report as a PDF.
- Click Send a link via email with an optional video recording (not available for some users depending on their company permission settings).
- Click Host a meeting to virtually meet to discuss the report with your client.
- Click Record a Video to provide your client with a clear walkthrough of the report along with your own insights and context.
To learn more about sharing your report, click here.
Need Help?
Have questions or want to learn more? Submit a ticket or call us today!