Summary
The Appreciation Report allows you to create a personalized report showing how a home's value may grow over time based on forecasted, historical, or custom appreciation rates. You can use this report to demonstrate long-term equity potential and help clients understand the financial benefits of homeownership.
Navigating to the Appreciation Report
You can find your Appreciation report within Client Manager as well as within the Real Estate tab in the left-hand navigation menu.
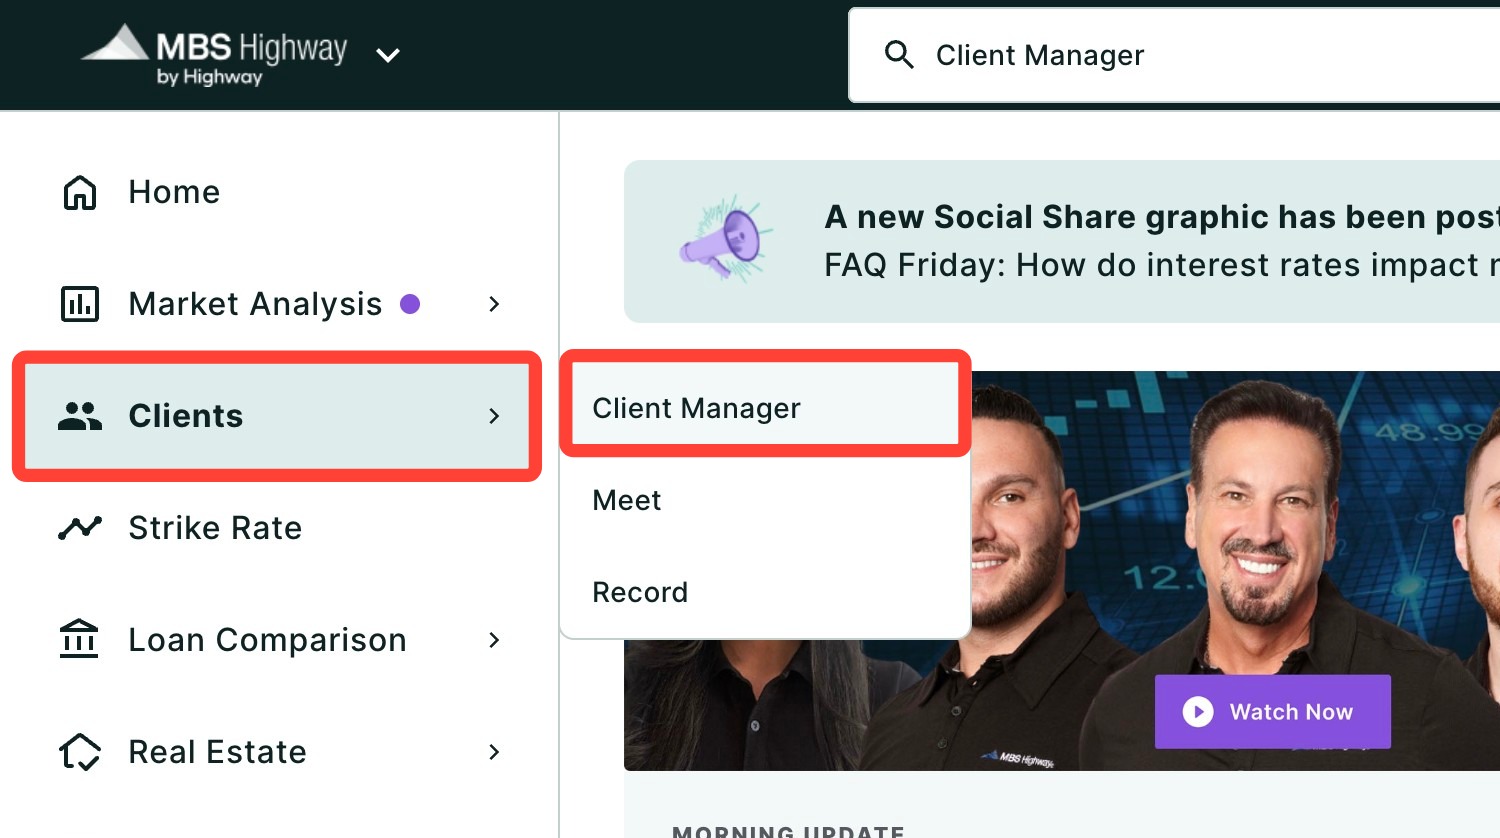
Navigating through the Client Manager
Client Manager allows you to create reports for your clients using previously saved loan and property details, saving you time when building new scenarios. To learn more, click here.
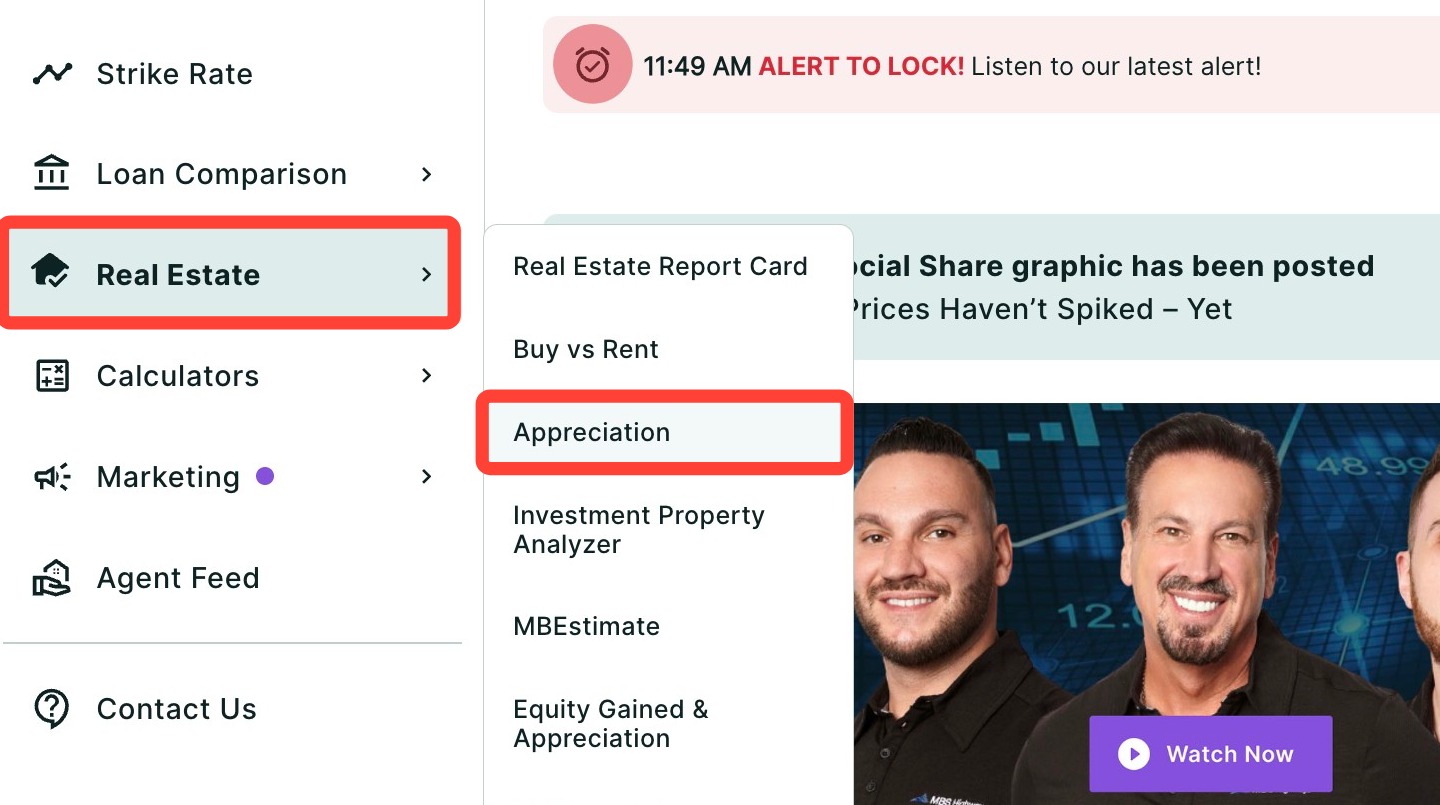
Navigating through the Calculators Menu
To access the Appreciation report using the left-hand sidebar menu, click Real Estate, then click Appreciation.
💡Helpful Tip: You can also search and favorite reports, tools, and calculators. Click here to learn how.
Creating an Appreciation Report
1. Choose a client by typing their name in the field below and selecting them from the drop-down.
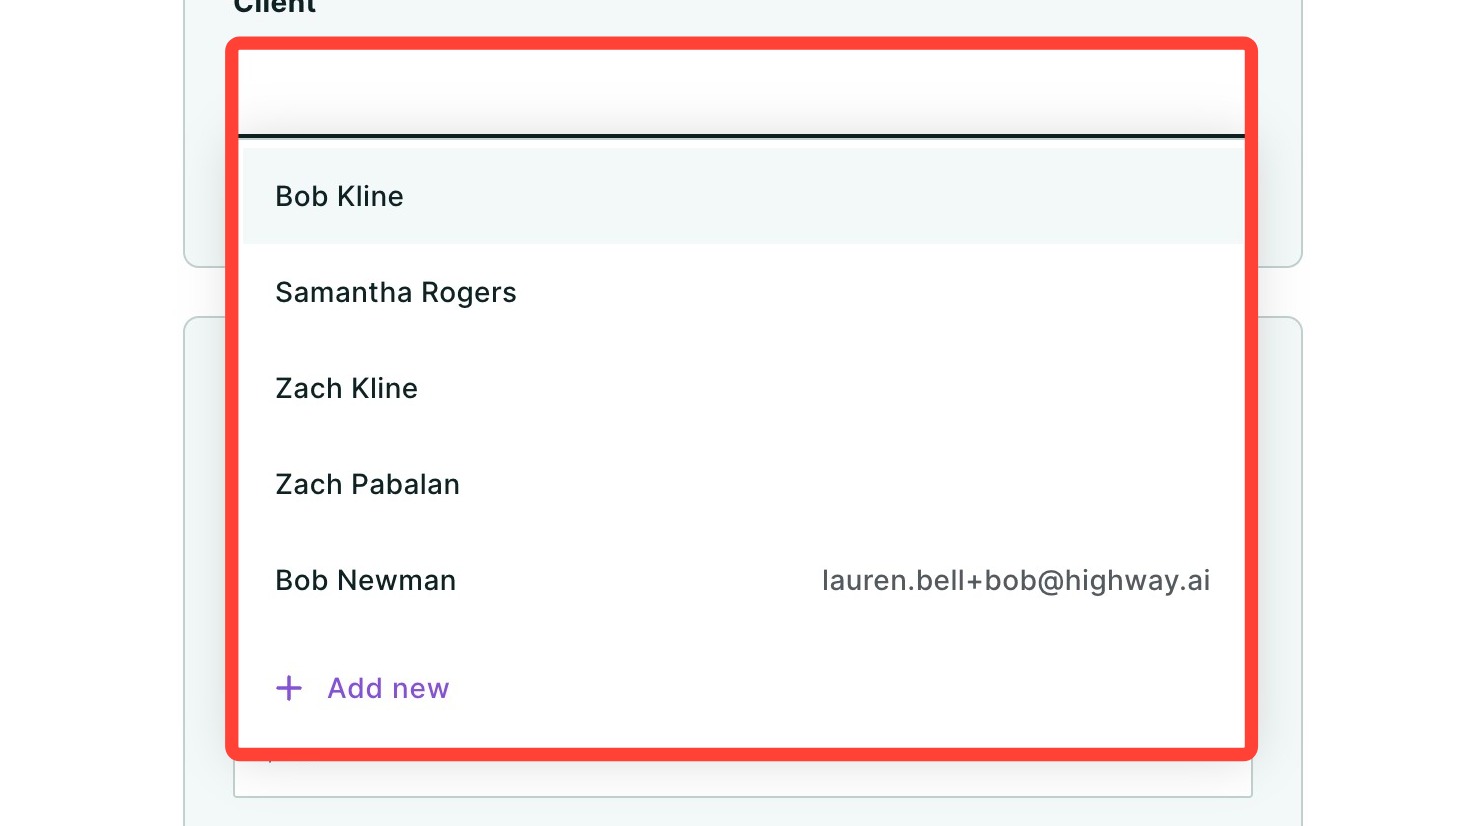
2. To add a new client, select + Add new from the drop-down.

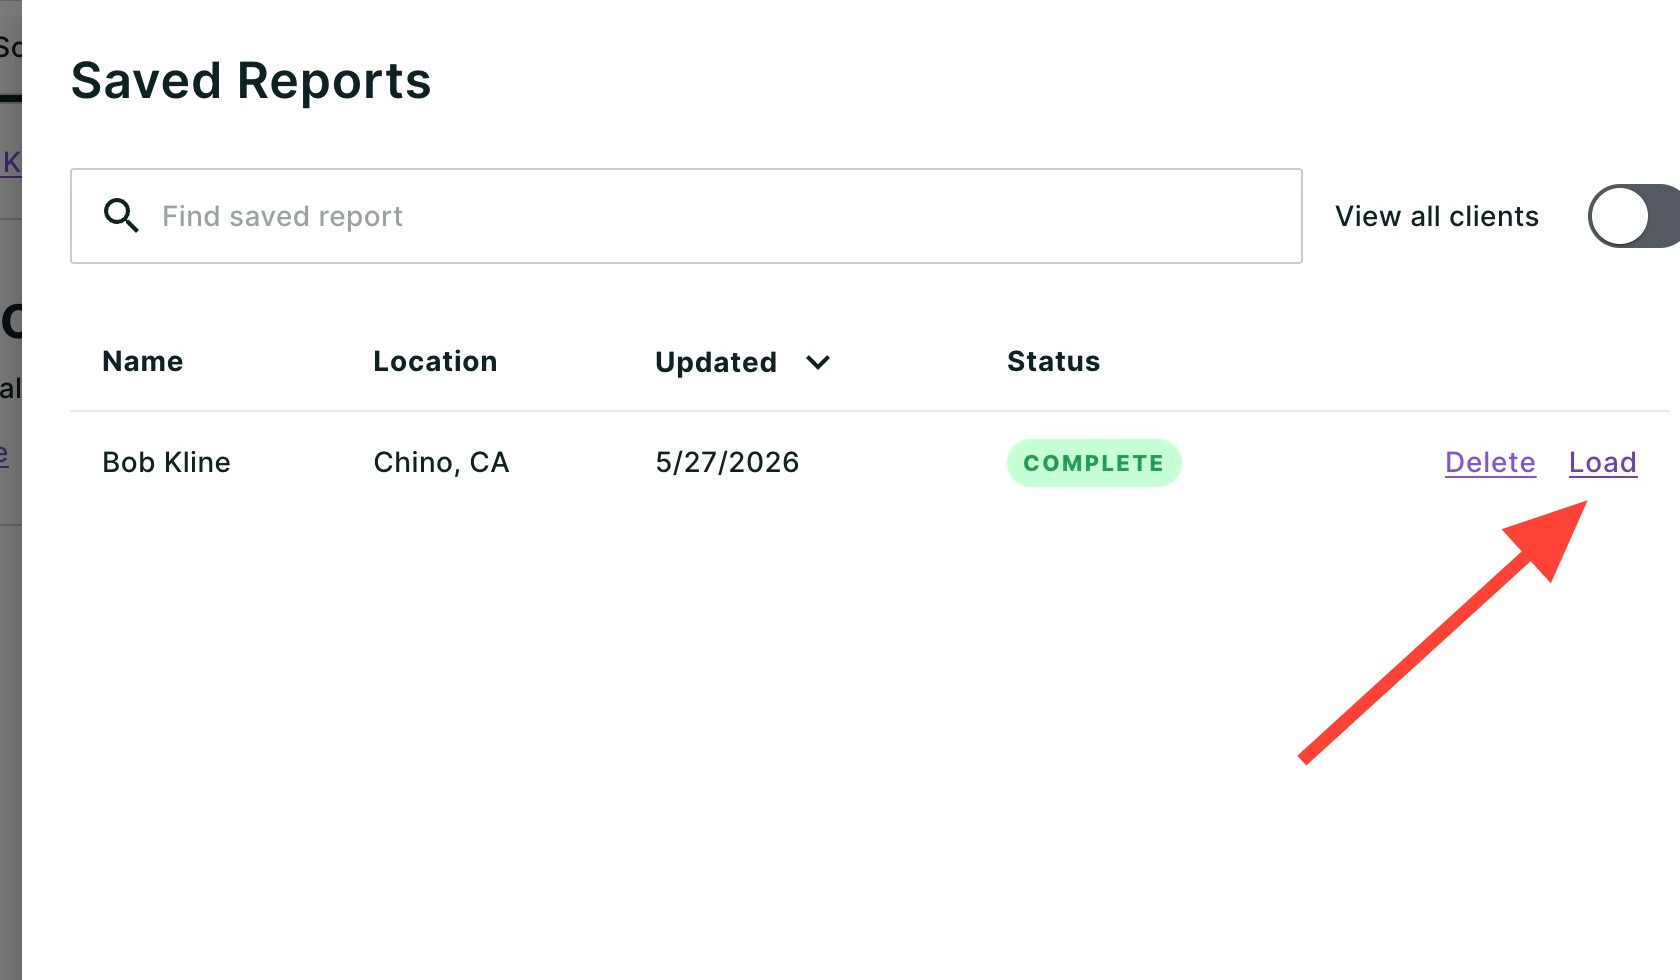
3. You can also load previously created reports by clicking Saved Reports.
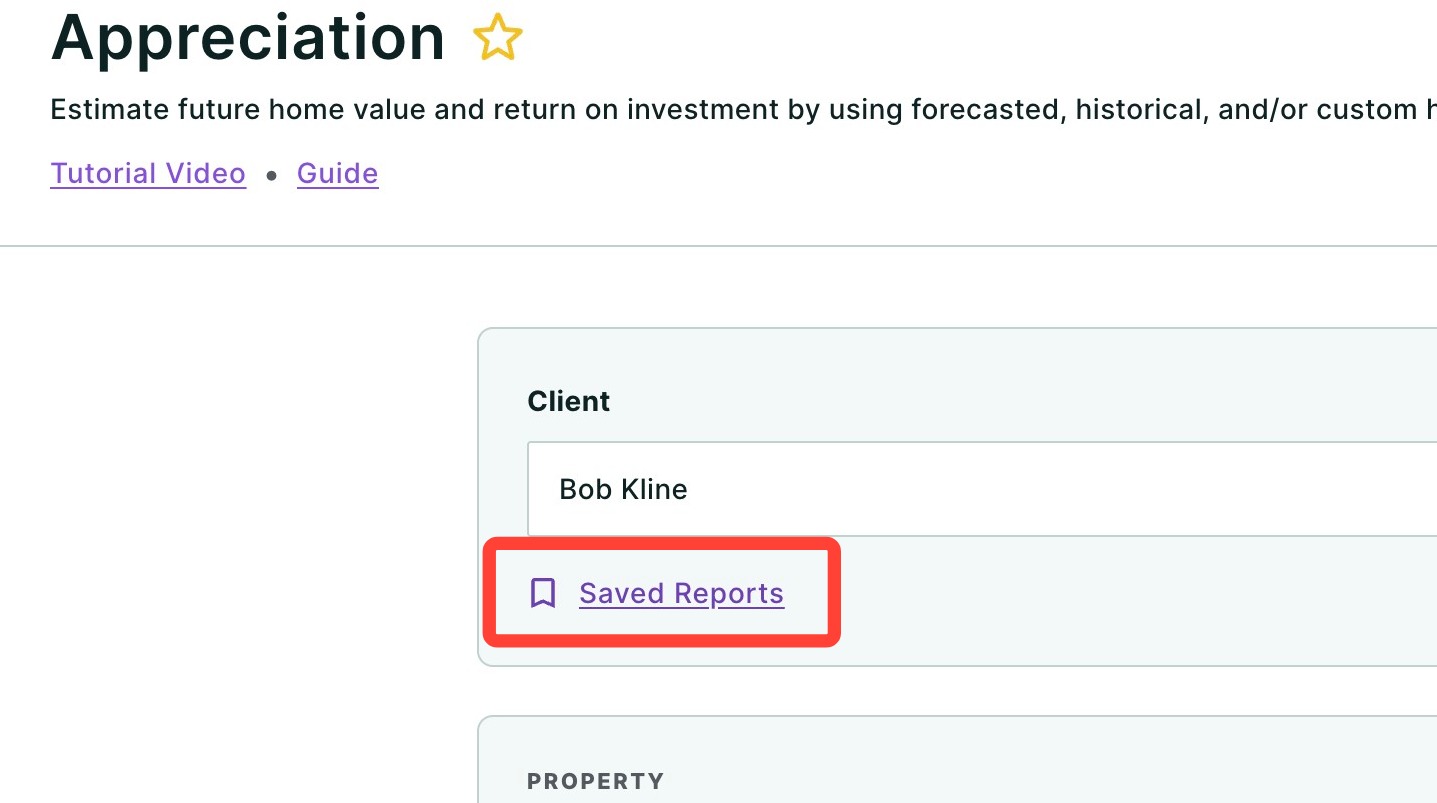
4. Select a saved scenario by clicking Load in the corresponding row.
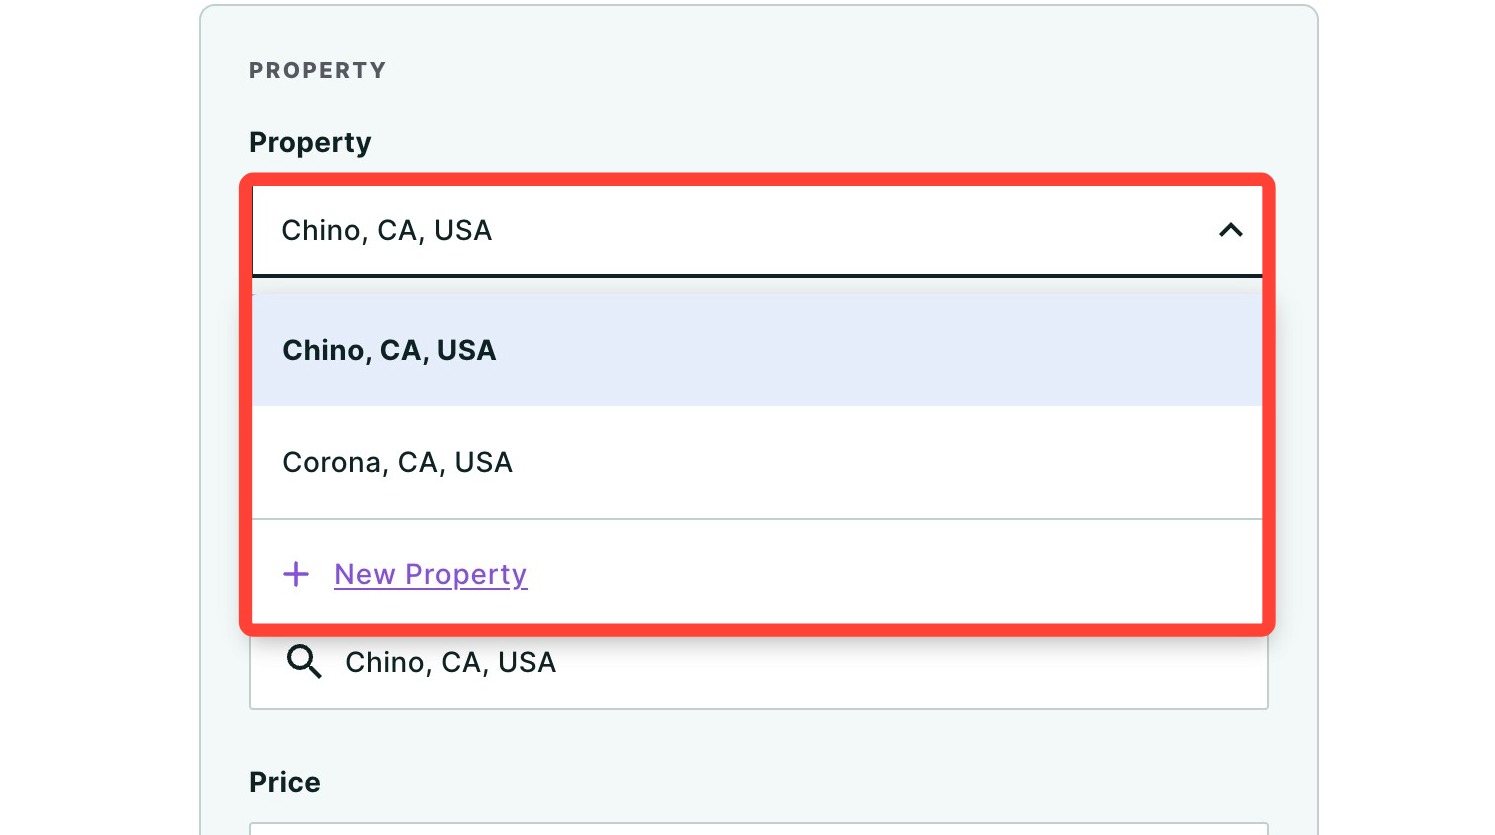
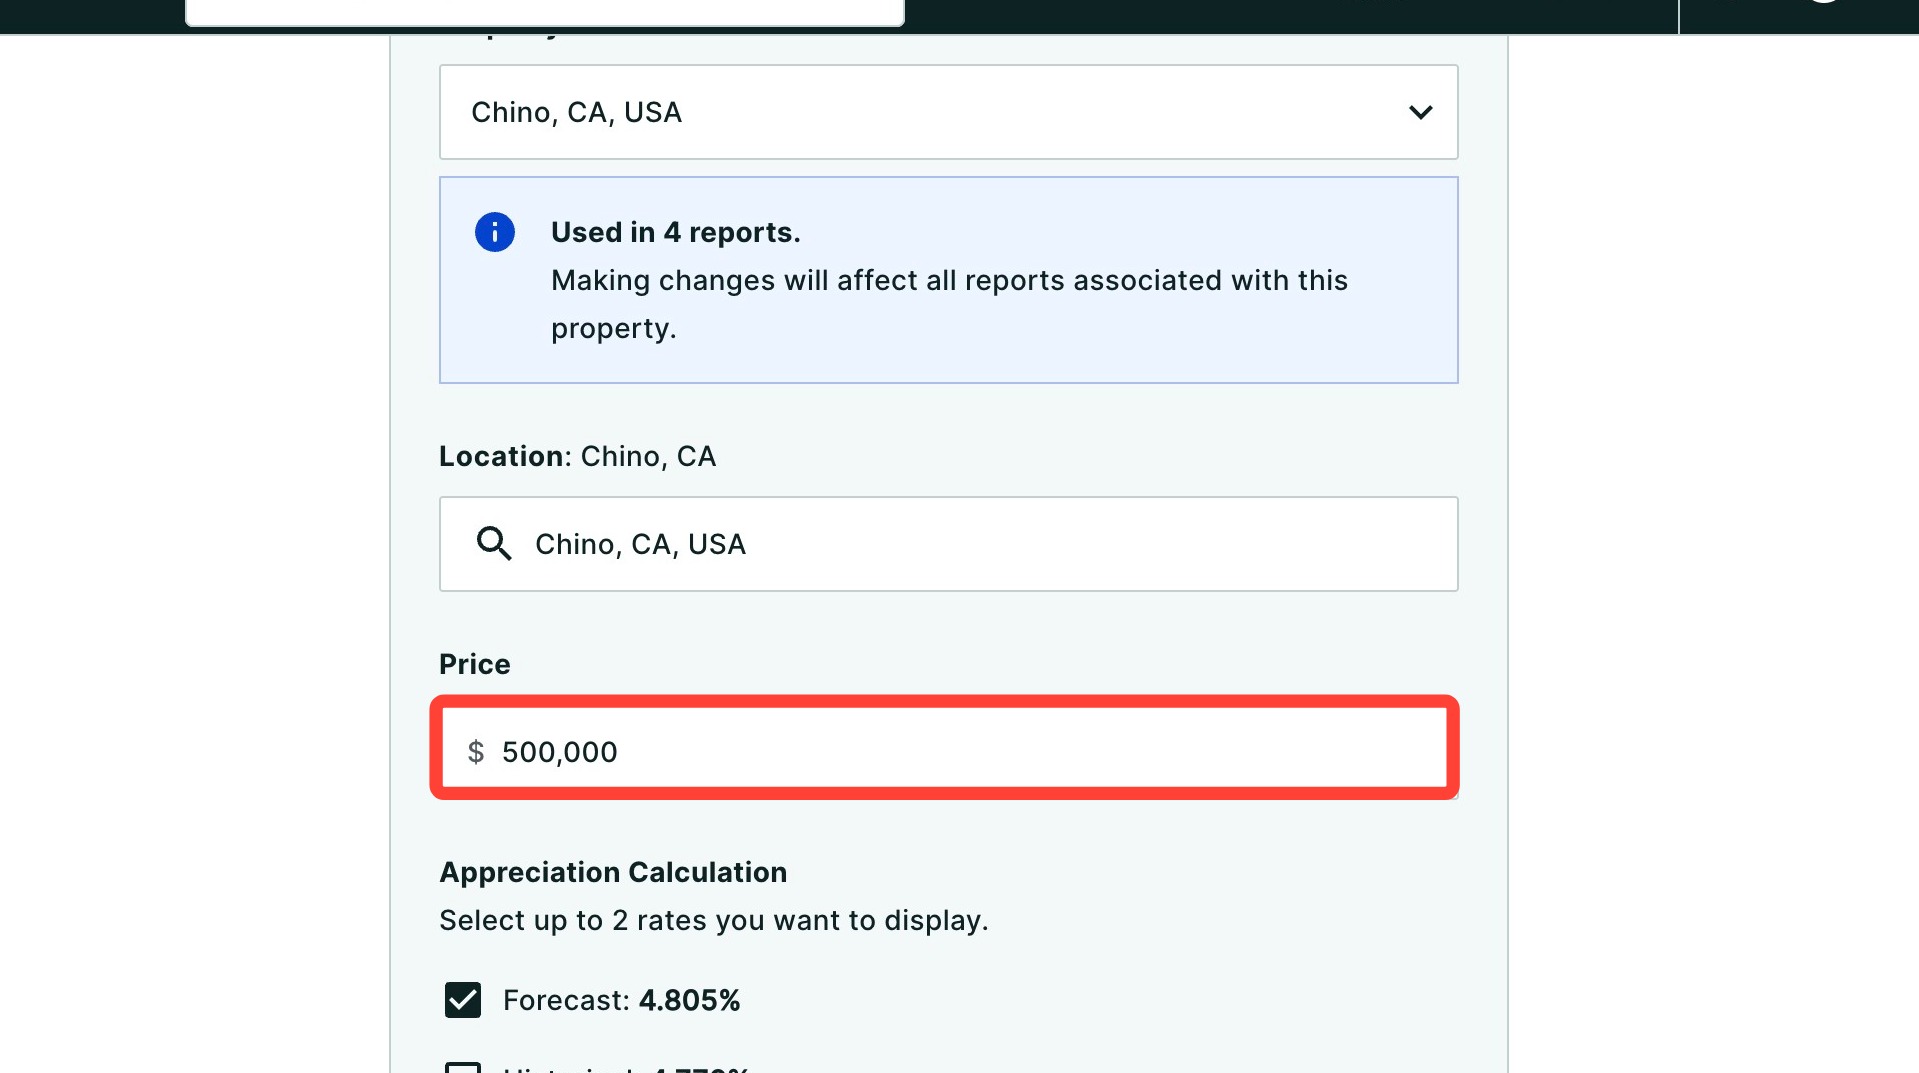
5. Choose a previously saved property in the dropdown or select + New Property to enter and select a location using an address, city, county, or ZIP code.
💡 Helpful Tip: Property and loan information is saved to your client, so any updates or changes made will automatically apply across all of their reports where those properties and loans are used.
7. Enter the home's purchase price.
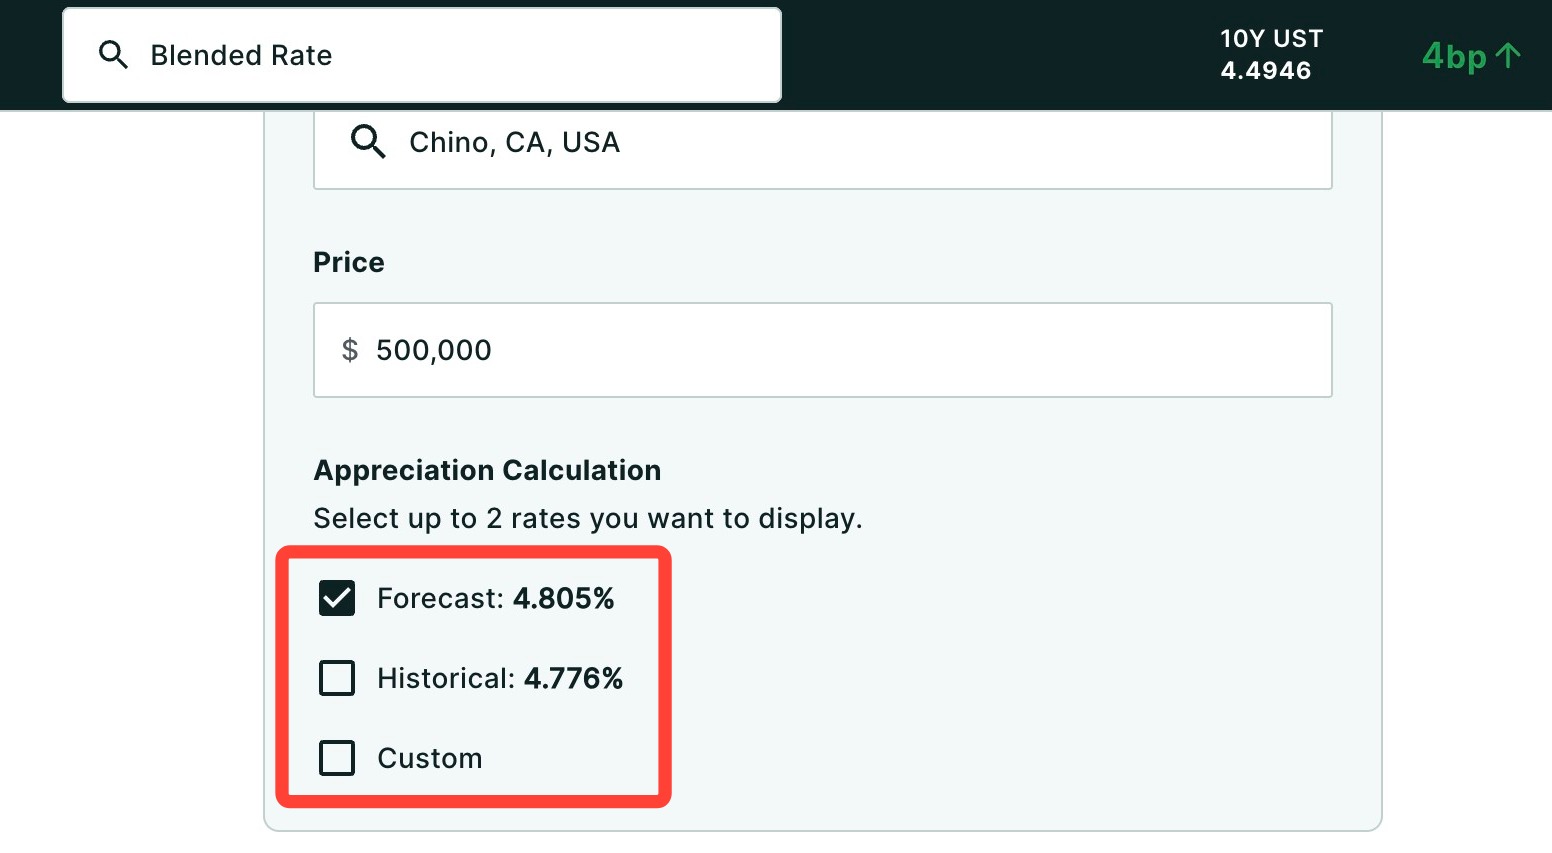
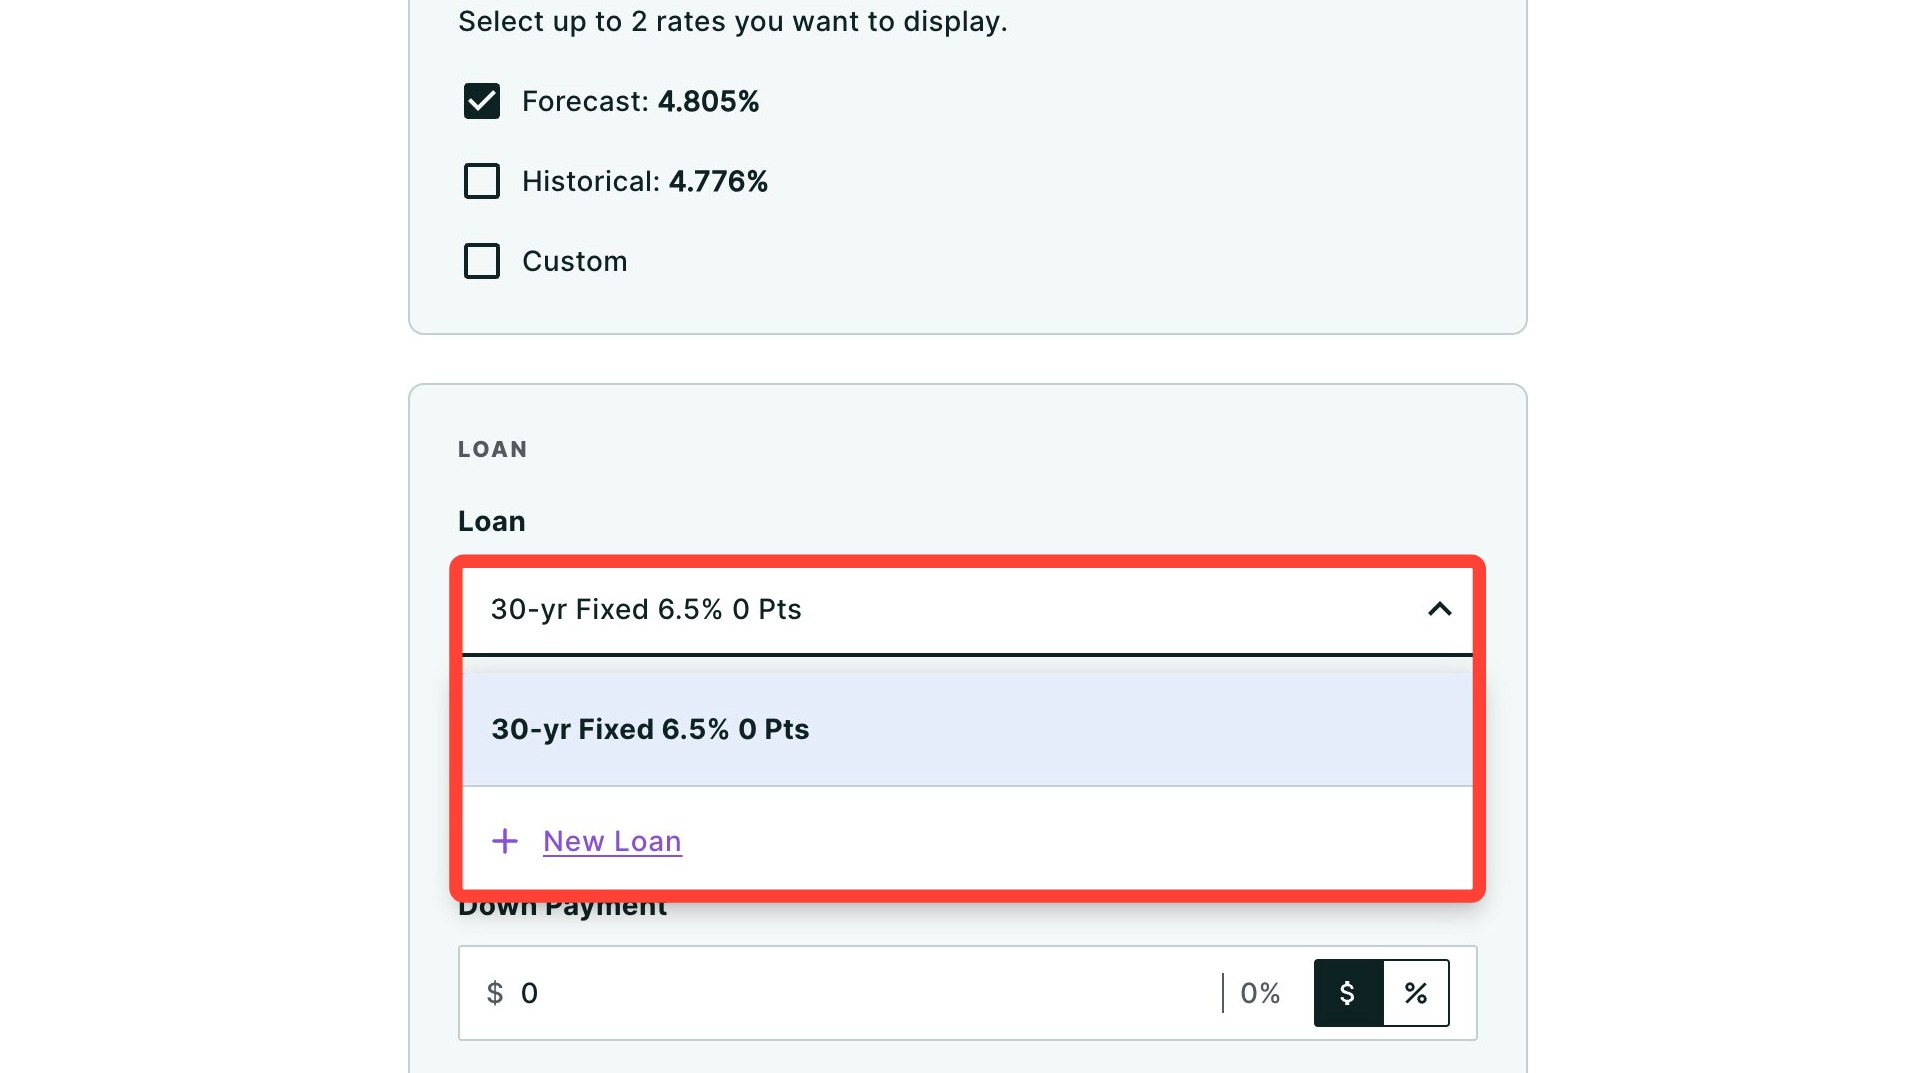
8. Select up to two Appreciation Calculations you would like to appear on the final report. You can choose MBS Highway's forecasted appreciation, historical appreciation or enter a custom appreciation rate.
9. Select a previously saved loan scenario or click + New Loan to add a new loan scenario.
💡 Helpful Tip: Property and loan information is saved to your client, so any updates or changes made will automatically apply across all of their reports where those properties and loans are used.
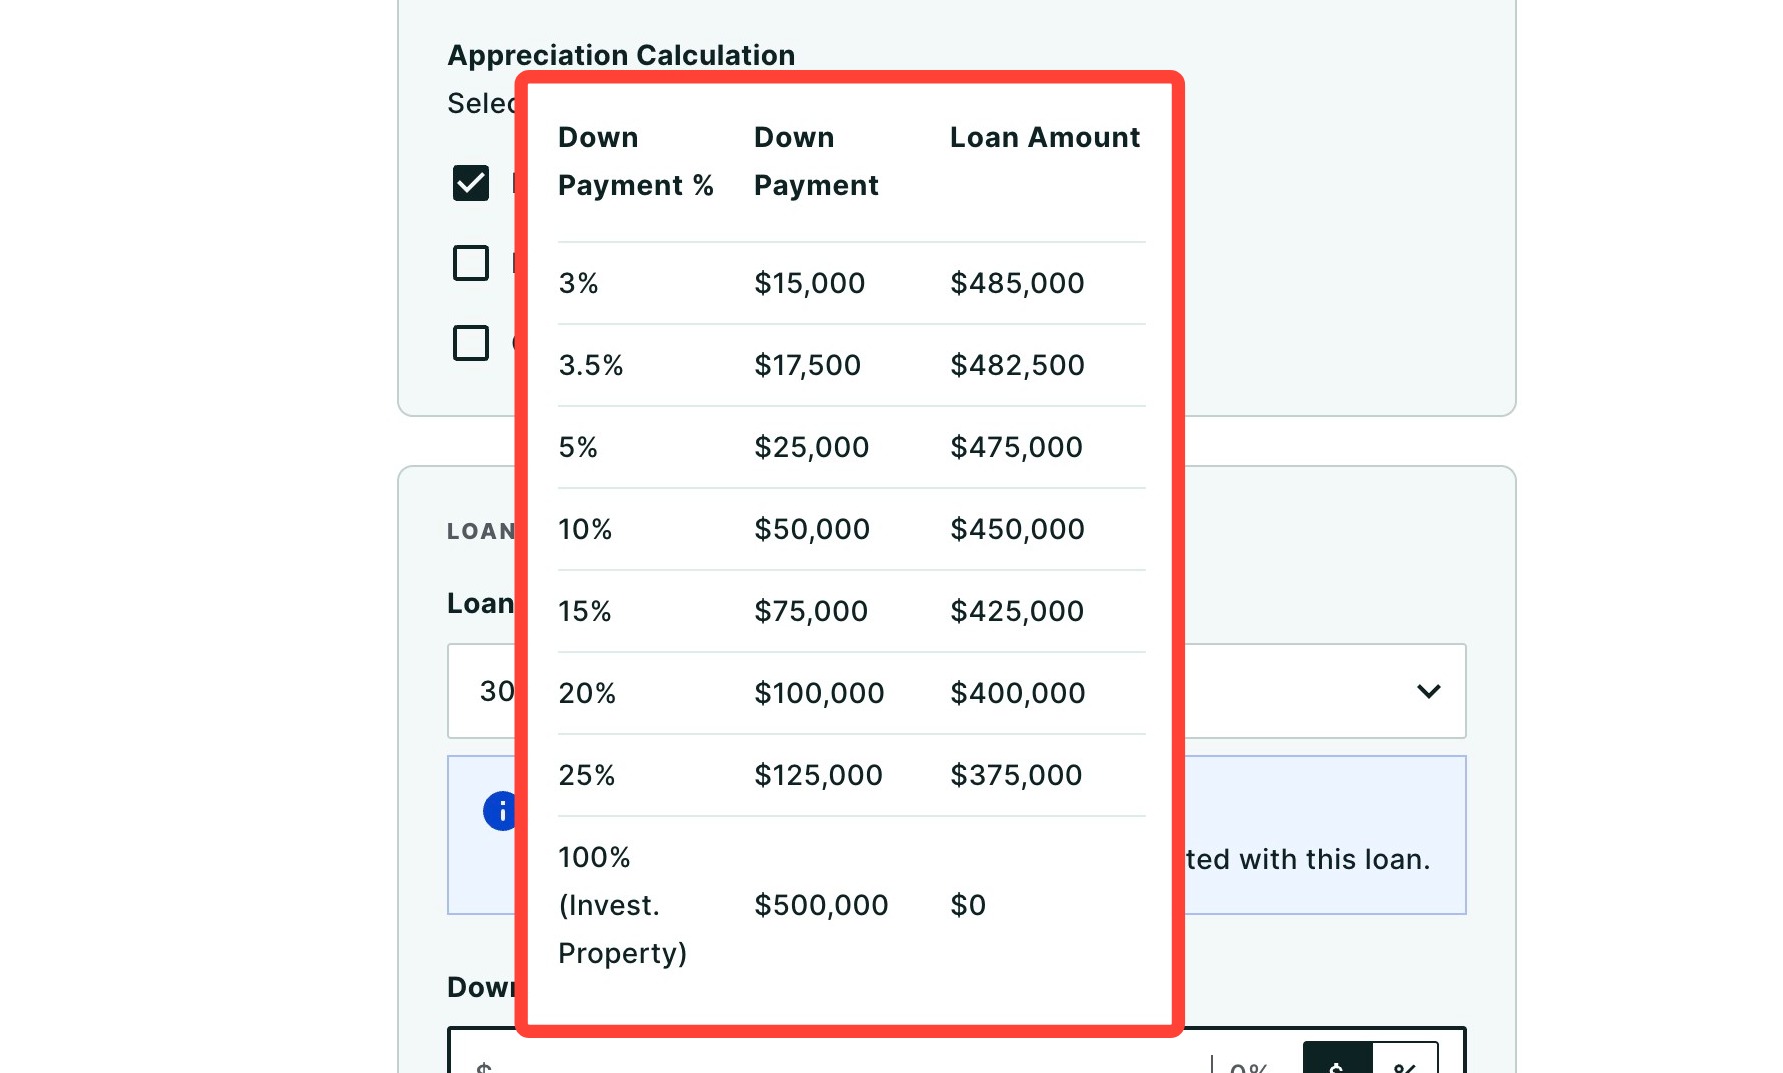
10. Enter the down payment. You can also click into the field to select it from a table.
10. Enter an amount for Closing Costs or click Use worksheet to calculate closing costs.
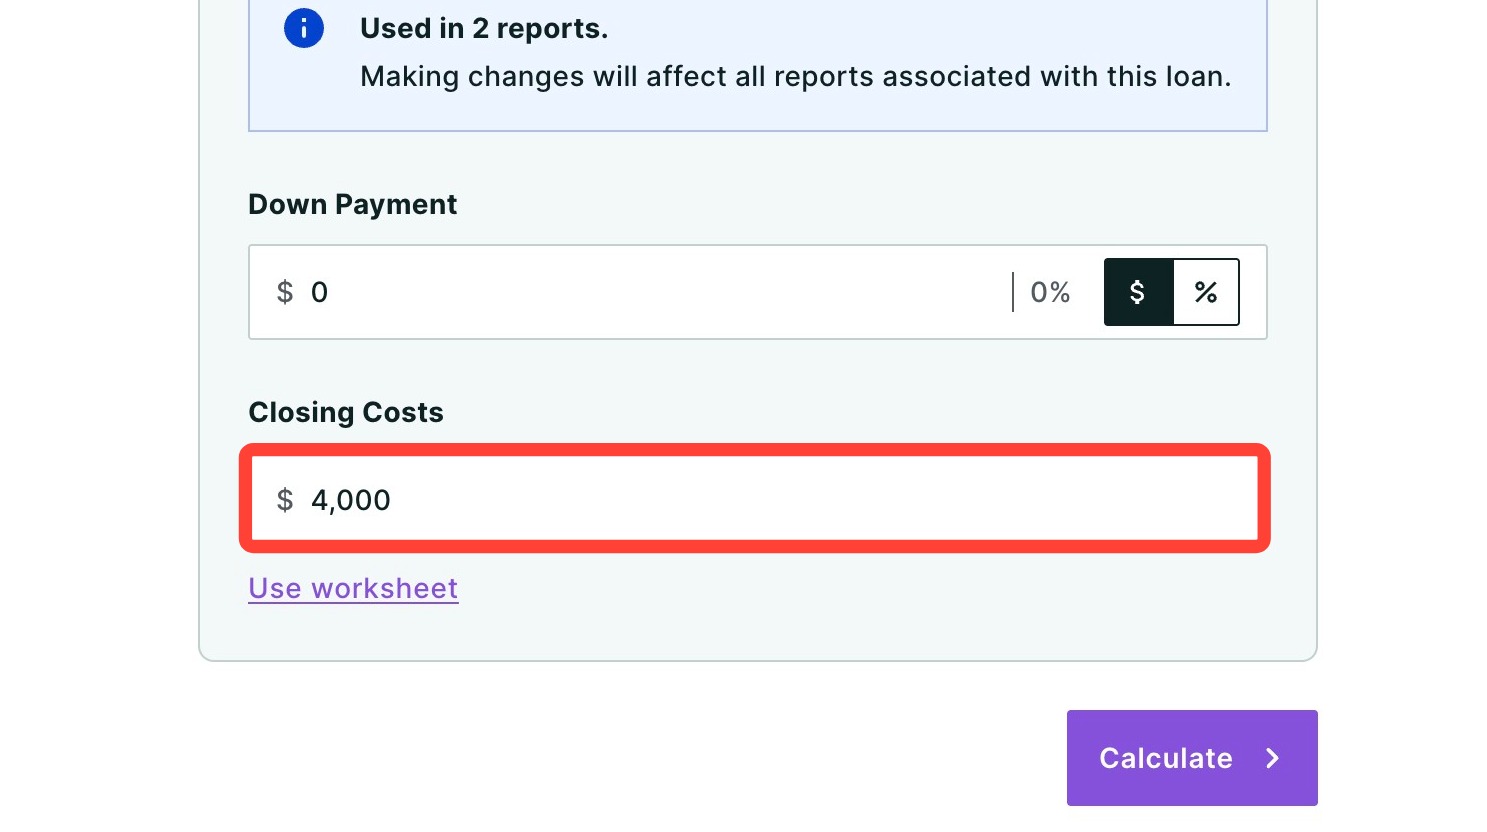
💡 Helpful tip: You can save and reuse your Closing Cost Worksheets for future reports.
11. Click Calculate.
Making Edits to Your Report
Once your report is generated, you can also review and make changes. Follow the steps below to see how.
Editing Client Information
Click Edit under Client to make edits to:
- Name
- Primary and secondary email addresses
- FICO Score
- Monthly Qualifying Income
- Debt to Income Ratio

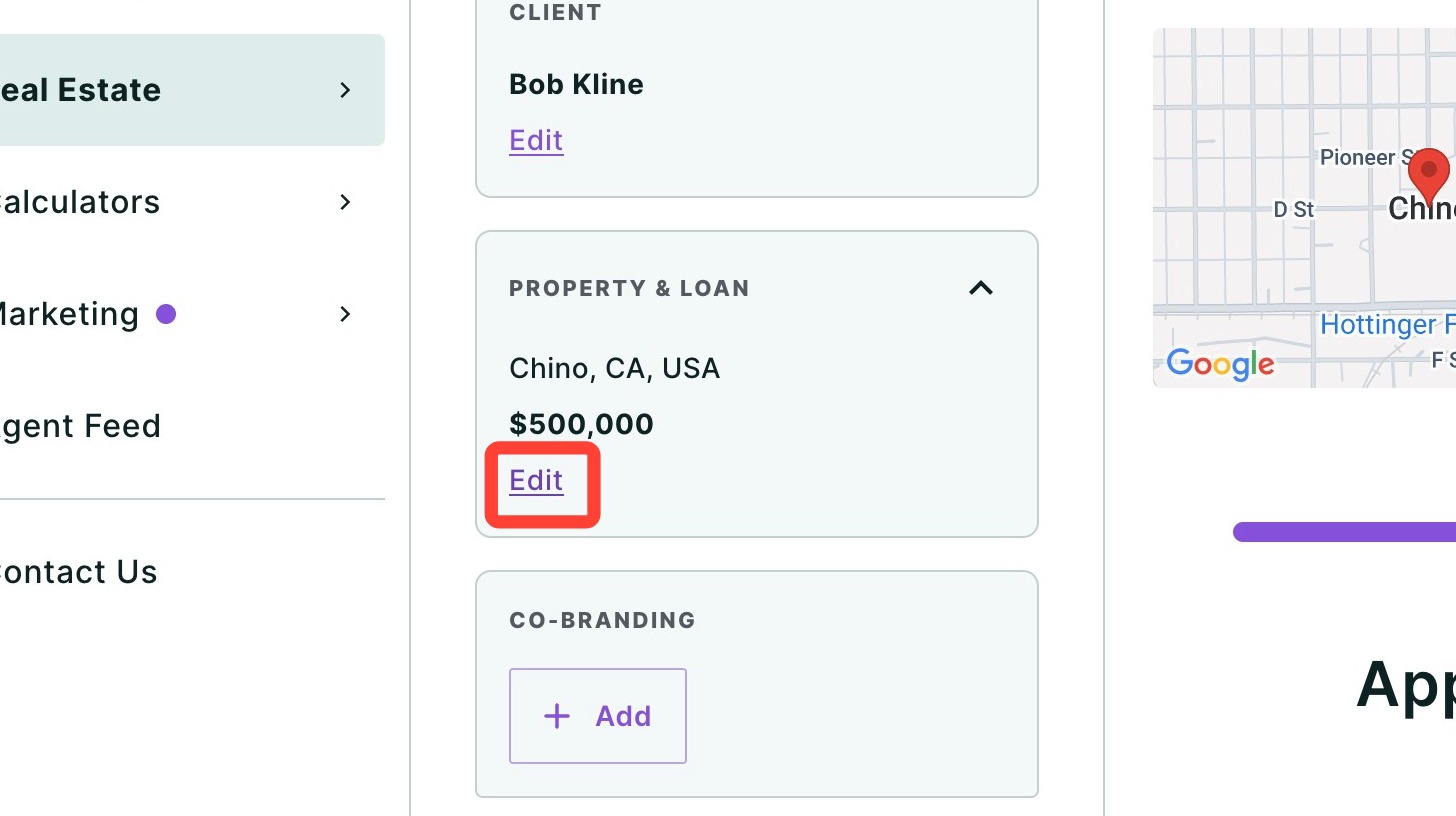
Editing Property Information
Click Edit under Property to make edits to:
- Location
- Current Asking Price
- Bid Above Asking
- Estimated Current Value
- Appreciation Calculation
-
Change Display Address (click the drop-down seen below to open these fields for editing)
- Allows you to change how the property address appears in the report without changing the actual property address.
Adding Agent Co-Branding
You can also add a referral partner's co-branding on your report. To learn more about co-branding, click here.
To add a referral partner's co-branding, click + Add under Co-branding.
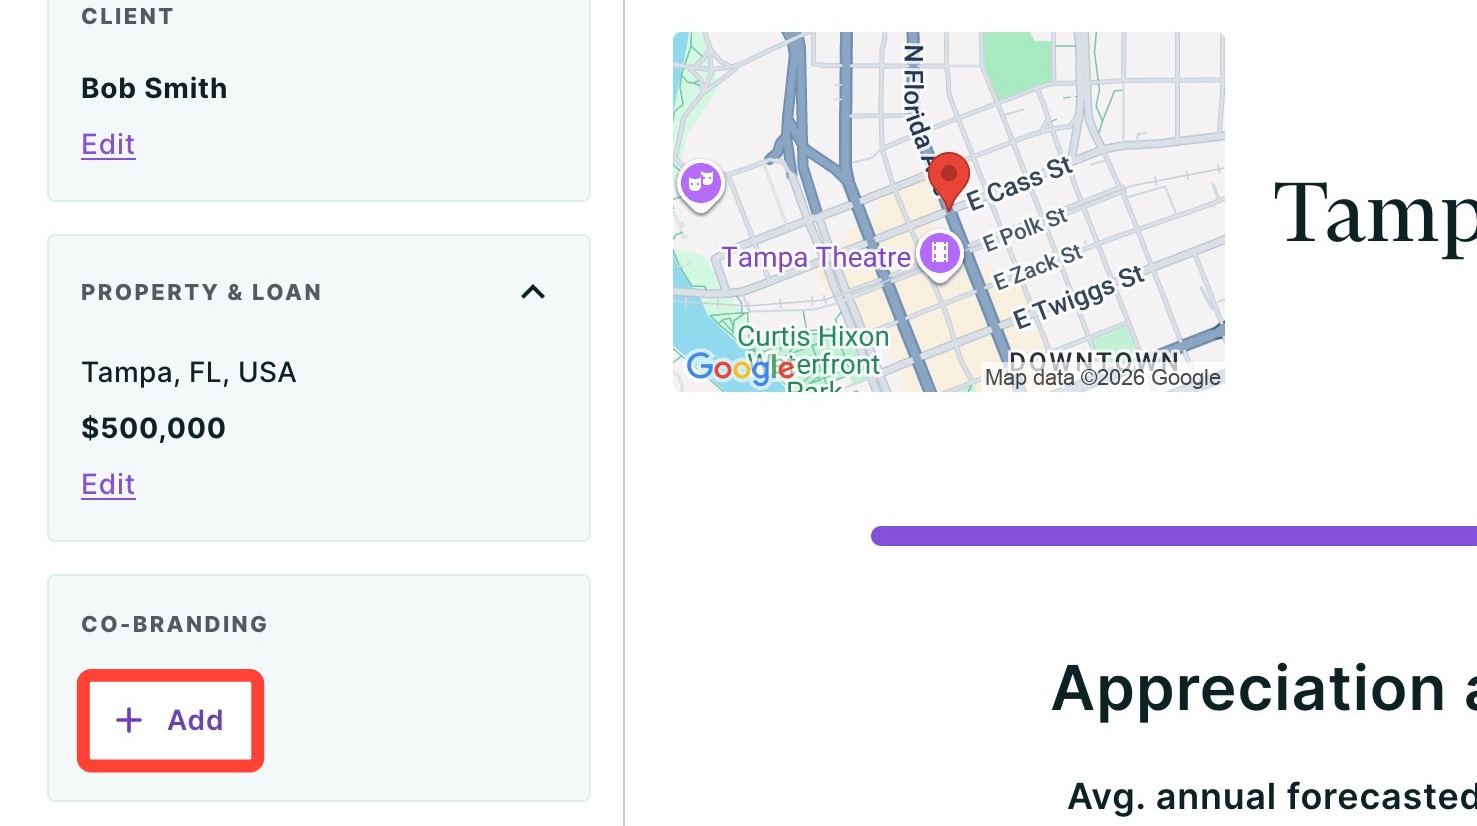
2. Use the Co-brand drop-down to select an agent.
- If the agent's co-branding is not saved and available in the drop-down, click + Add new co-branding partner.
3. Select either Display left or Display right to determine how you want the co-branding displayed on the report footer.
4. Click Save.
Updating Property Image
You can add a photo of the home for the header to further personalize the report for your client.
- Click the image seen below.

2. Click Upload to add a photo from your computer.

3. Click Save.

Review Final Report
Click Review report to generate your client facing report.
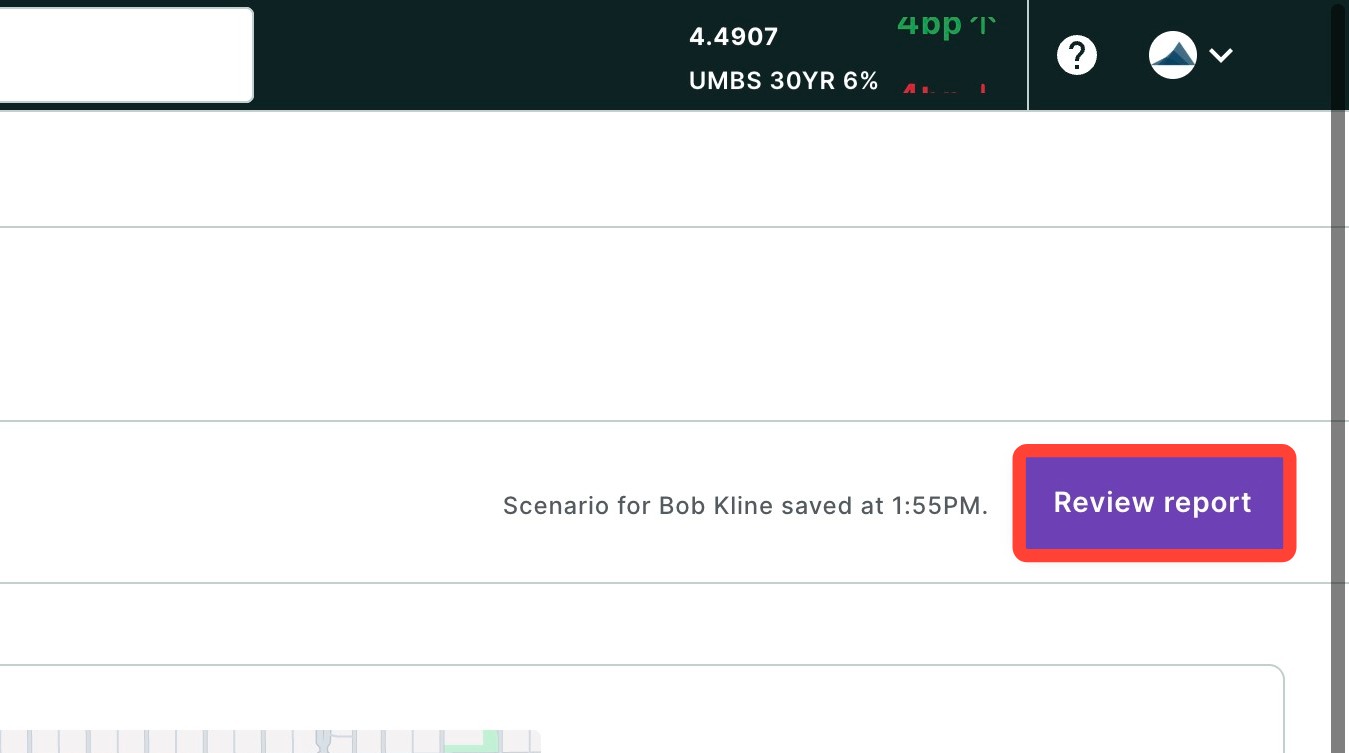
To go back to the previous page where you can edit your client's name, property information or add an agent's co-branding, click Edit.
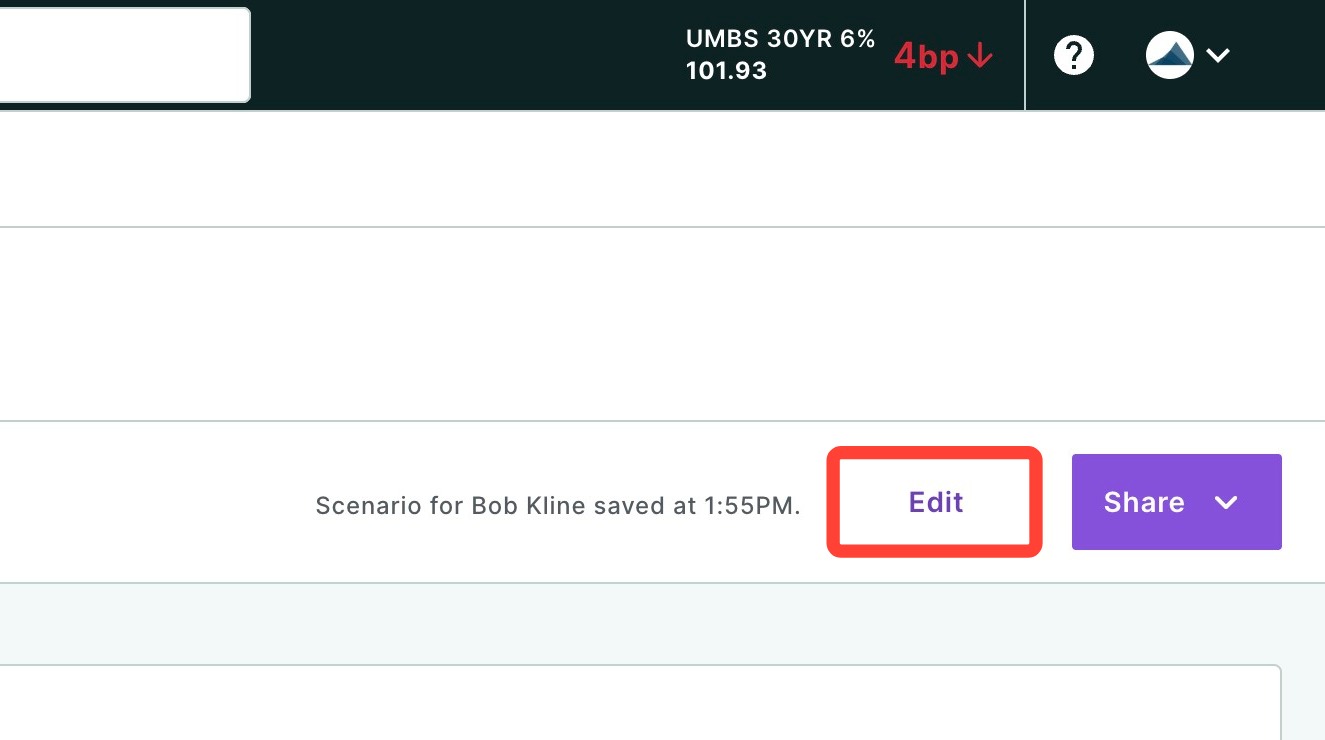
Sharing your Report
Once you've created your Appreciation Calculator report and made any necessary edits, it’s time to review and share your report. To share the completed report, click Share. A dropdown menu will appear.
- Click Download to download the report as a PDF.
- Click Send a link via email with an optional video recording (not available for some users depending on their company permission settings).
- Click Host a meeting to virtually meet to discuss the report with your client.
- Click Record a Video to provide your client with a clear walkthrough of the report along with your own insights and context.
To learn more about sharing your report, click here.
Need Help?
Have questions or want to learn more? Submit a ticket or call us today!