The Affordability Calculator helps you quickly determine how much home your client can afford, working either from their income or from a target monthly payment. Enter their financial details to see an estimated affordable home price and loan amount, along with a full breakdown of the monthly payment and cash to close that you can review together and share.
Navigating to the Affordability Calculator
You can find your Affordability Calculator within Client Manager and within the Calculators tab of the left-hand navigation menu.
Navigating through the Client Manager
Client Manager allows you to create reports for your clients using previously saved loan and property details, saving you time when building new scenarios.
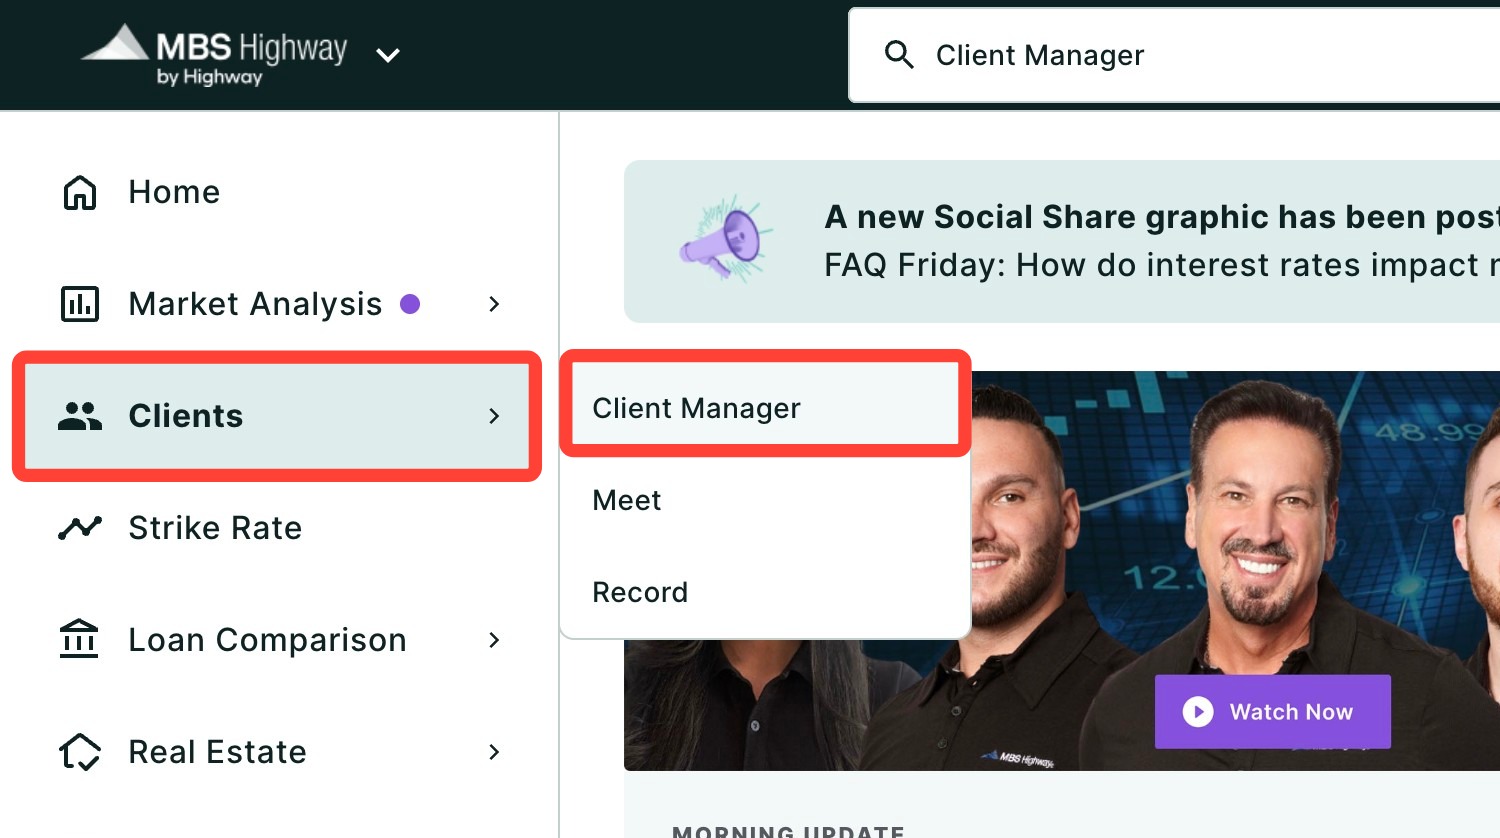
Navigating through the left-hand sidebar menu
To access the Affordability Calculator using the left-hand sidebar menu, click Calculators, then click Affordability.
💡 Helpful Tip: You can favorite the Affordability Calculator by clicking the star next to its name, so it’s easier to find next time. |
How to Create an Affordability Scenario
The Affordability Calculator opens with example values already filled in, which you can edit to match your client’s actual scenario. As you make changes, the results update automatically. Follow the steps below to tailor it to your client:
- Optional: choose a Client from the drop-down, or select + Add new to add a new client.
- Select Income to calculate affordability based on your client’s income, or Payment to calculate it based on a target monthly payment.
- Enter the property Location by typing an address, city, county, or ZIP code. The calculator pre-fills generic information for that area, and every field remains editable.
- In Income mode, enter the Annual Income. In Payment mode, enter the Desired Monthly Payment (PITI).
- Enter the client’s likely loan scenario, including Down Payment, Term, Loan Program (Conventional, FHA, USDA, and VA), Rate, APR, Closing Costs (defaults to 3% of the home price), and Monthly Mortgage Insurance (as a dollar amount or a percentage).
💡 Helpful Tip: Your scenario saves automatically to the client’s record as you work. Look for the “Scenario saved” timestamp at the top of the page. |
Adjusting Advanced Inputs
Expand Advanced Inputs to fine-tune a scenario beyond the default estimates. This step is optional. Each of the following fields can be edited directly, and many include a Reset to default (or Reset to county avg. rate) link if you want to return to the calculator’s estimate:
- DTI Ratio
- Monthly Obligations
- Monthly Home Insurance
- Monthly Association Fee
- Monthly Repairs
- Property Tax, which you can toggle between Monthly/Annual and $/%
💡 Helpful Tip: The DTI Ratio (debt-to-income ratio, also known as the back ratio) is the sum of your client’s monthly obligations, insurance, taxes, and other expenses, divided by their income. |
Adding Co-branding for a Referral Partner
You can also add a referral partner’s co-branding to your report. To learn more about co-branding, read Co-branding with Agents on MBS Highway.
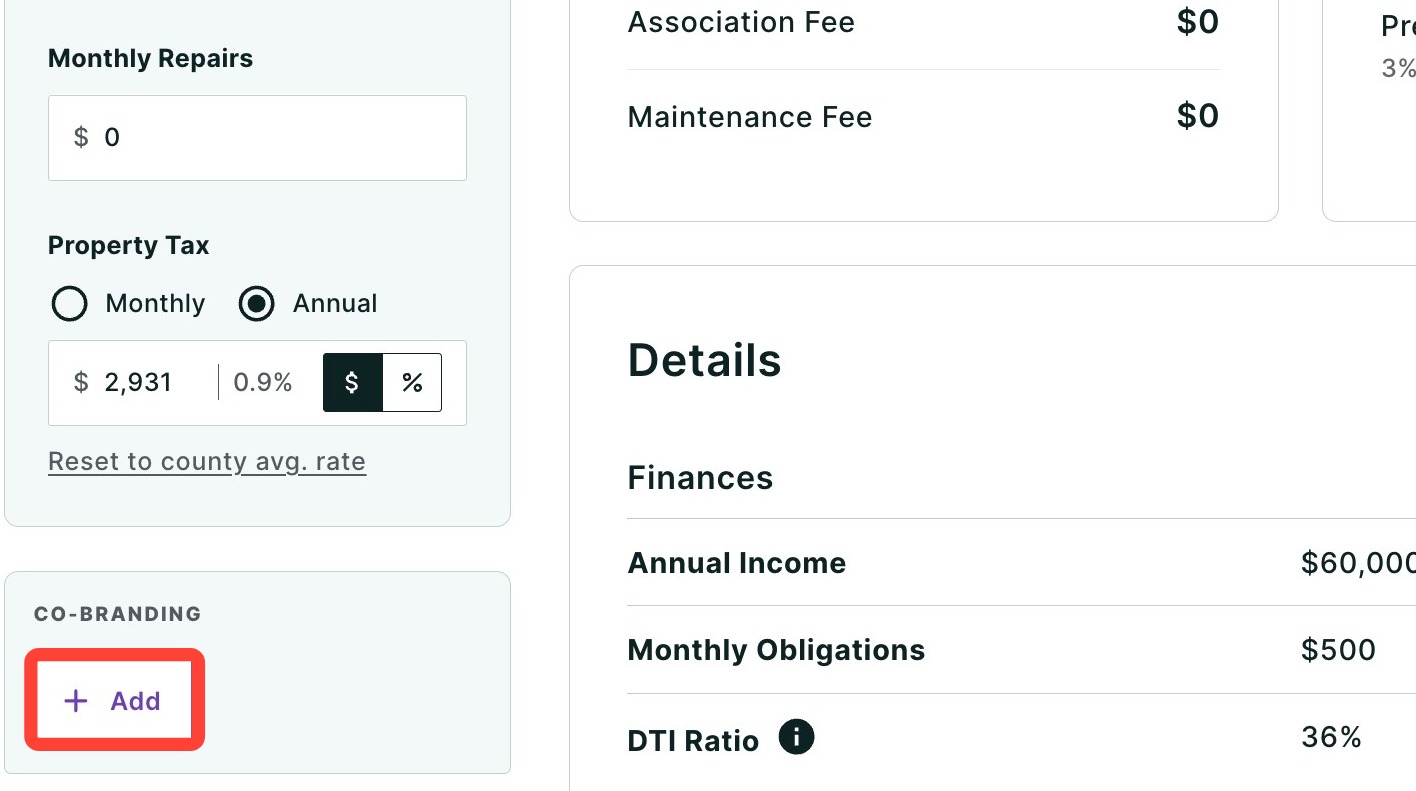
- Click + Add under Co-Branding, in the lower left of the input panel.
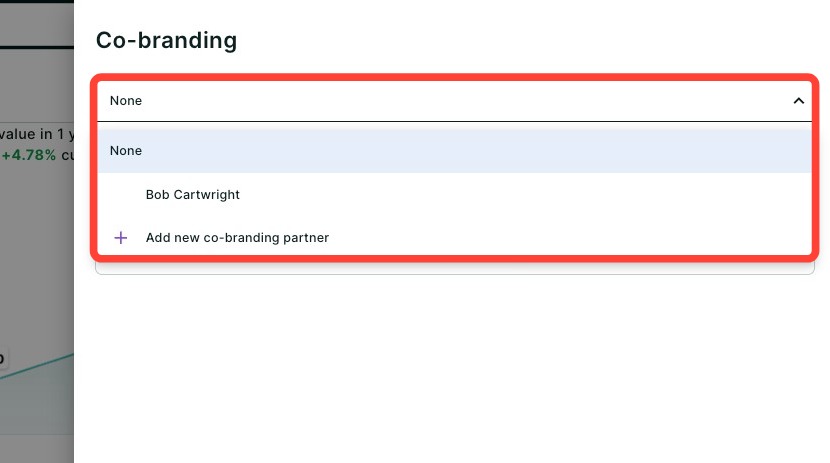
- Use the Co-branding drop-down to select an agent.
- If the agent’s co-branding is not saved and available in the drop-down, click + Add new co-branding partner.
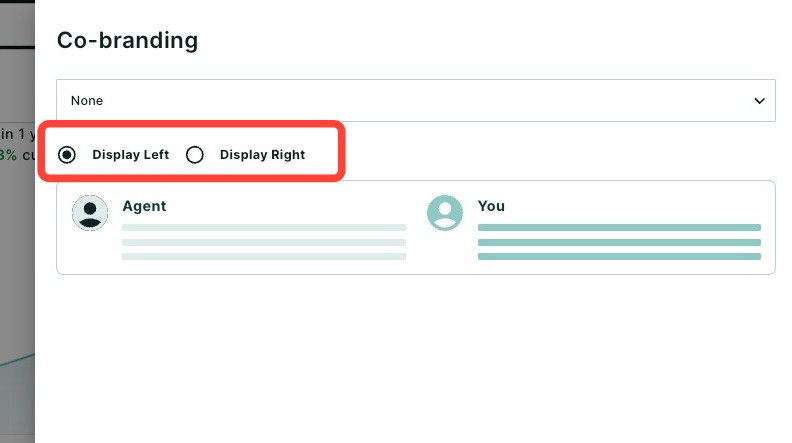
- Select either Display left or Display right to determine how you want the co-branding displayed on the report footer.
- Click Save.
Understanding Your Results
The Total Monthly Payment card breaks the payment down into Principal & Interest, Taxes & Insurance, Association Fee, and Maintenance Fee.
The Total Cash to Close card breaks down the Down Payment, Closing Costs, and Prepaid & Escrows.
Scroll down to the Details section for a full summary of the Finances (Annual Income, Monthly Obligations, DTI Ratio) and Loan (Term, Program, Rate, APR, Total Monthly Payment, Total Cash to Close) used in the scenario.
💡 Helpful Tip: When using the Income toggle, a COMFORTABLE badge and the DTI Ratio appear next to the estimated home price, so you can tell at a glance whether a scenario is likely to qualify. |
Resetting a Scenario
Click Reset Calculator in the top left of the page to clear your entries and return all fields to their defaults.
Sharing your Report
Once you’ve created your Affordability Calculator report and made any necessary edits, it’s time to review and share your report. To share the completed report, click Share. A dropdown menu will appear.
- Click Download to download the report as a PDF.
- Click Send a link via email with an optional video recording (not available for some users depending on their company permission settings).
- Click Host a meeting to virtually meet to discuss the report with your client.
- Click Record a Video to provide your client with a clear walkthrough of the report along with your own insights and context.
To learn more about sharing your report, click here.
💡 Helpful Tip: When your client opens their Live Share link, you’ll automatically receive an email letting you know they viewed their report. |
Need Help?
Have questions or want to learn more? Submit a ticket or call us today!
Related to