Social Studio makes it easy to share your expertise using our simple script and video recorder. This article covers recording a video from a pre-made or custom script, editing the title and branding, and sharing the finished video to Facebook, LinkedIn, X, Instagram, email, or a direct link. It also covers building your own branding color palette.
Navigating to Social Studio
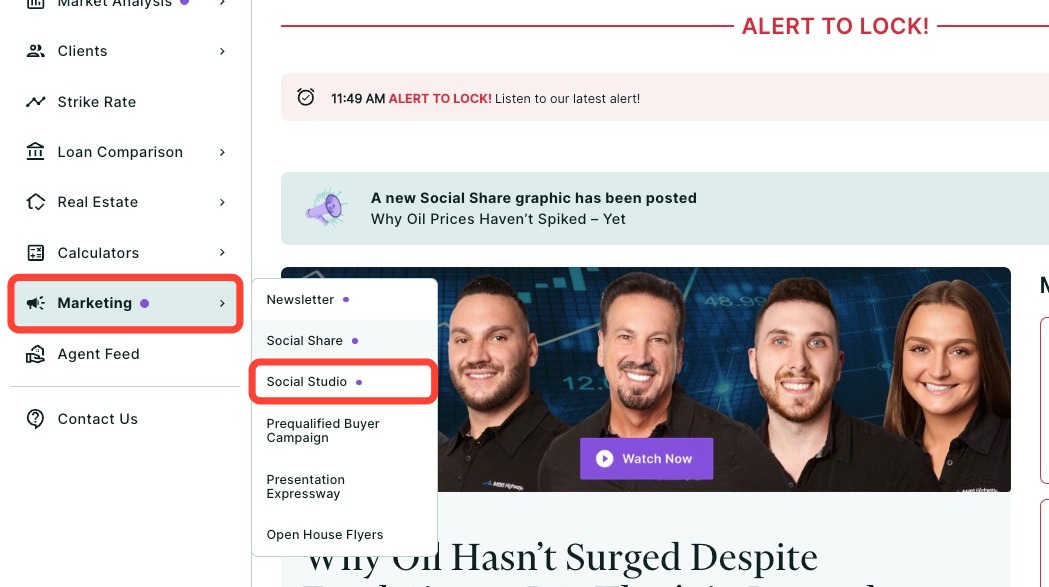
You can find Social Studio within the Marketing tab of the left-hand navigation menu.
Navigating through the left-hand sidebar menu
To access Social Studio using the left-hand sidebar menu, click Marketing, then click Social Studio.
💡 Helpful Tip: You can favorite Social Studio by clicking the star next to its name, so it's easier to find next time. |
Recording a New Video
- Choose one of our pre-made scripts or create your own by clicking + Create Custom Script.
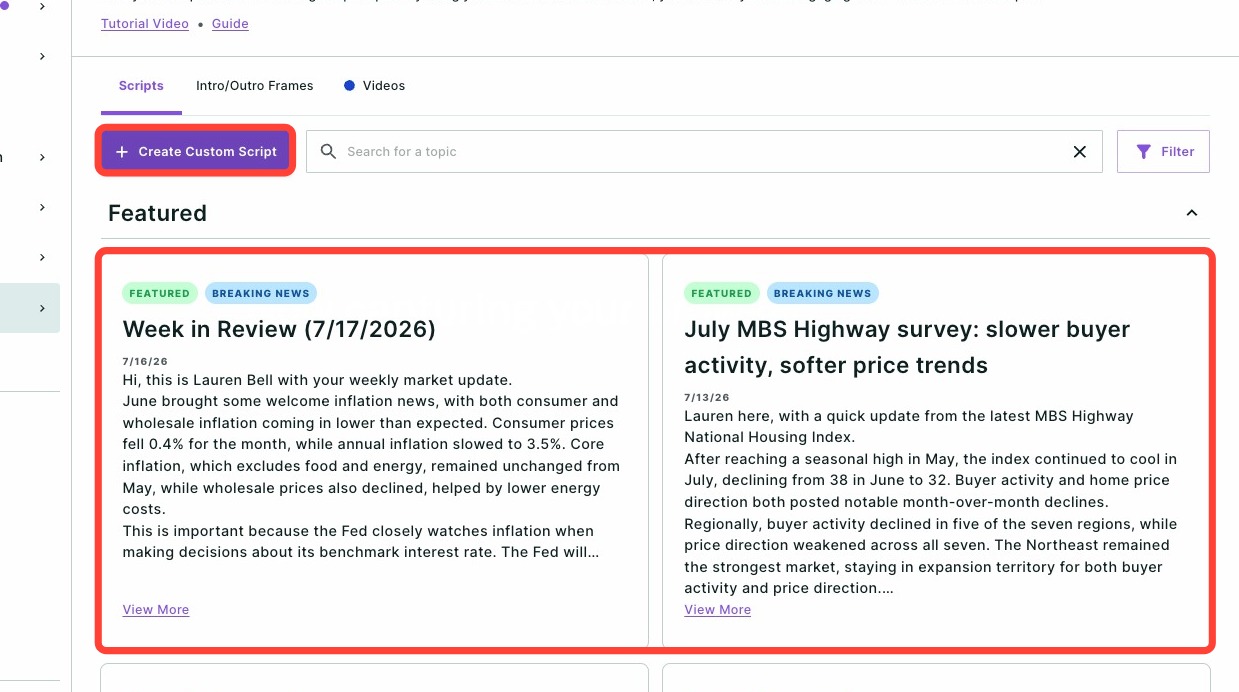
- Write your own script or make any desired edits to the script, then click Next.
- Select a frame template that will appear as the main image on social media and as your intro/outro frame, or create your own by clicking + Create New Template.
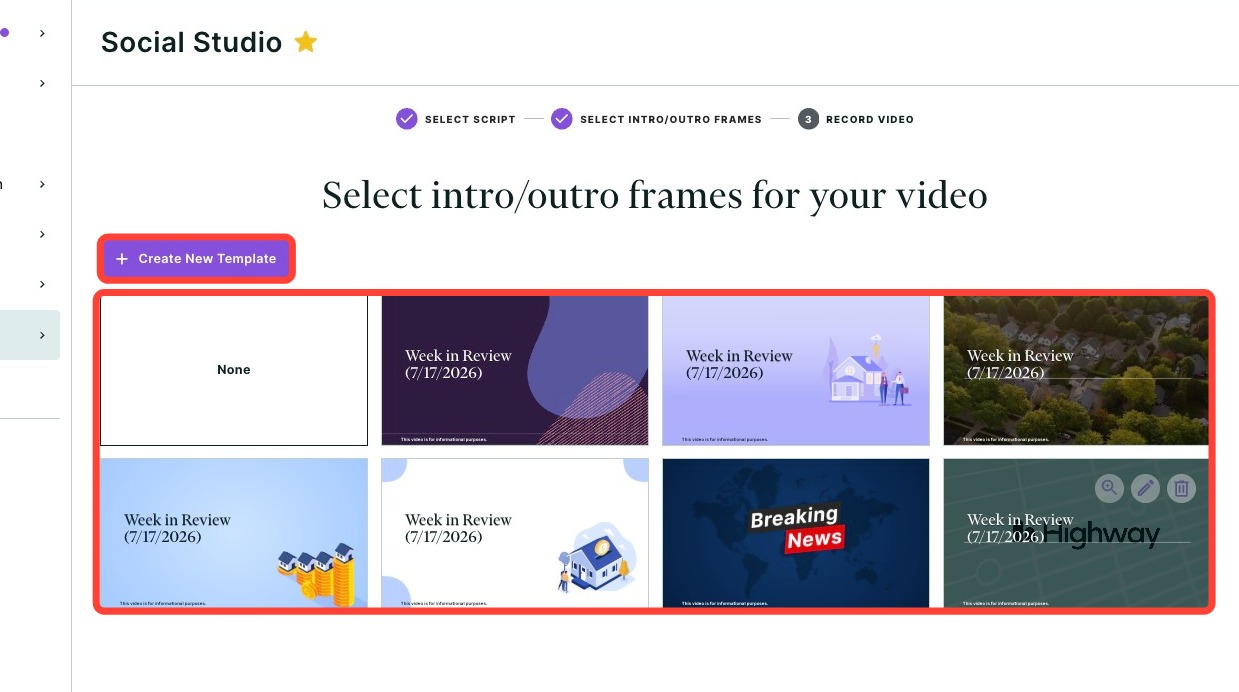
- Click Next.
- Choose the speed and text size for the script.
- To change the speed of the text scrolling, click the speedometer icon.
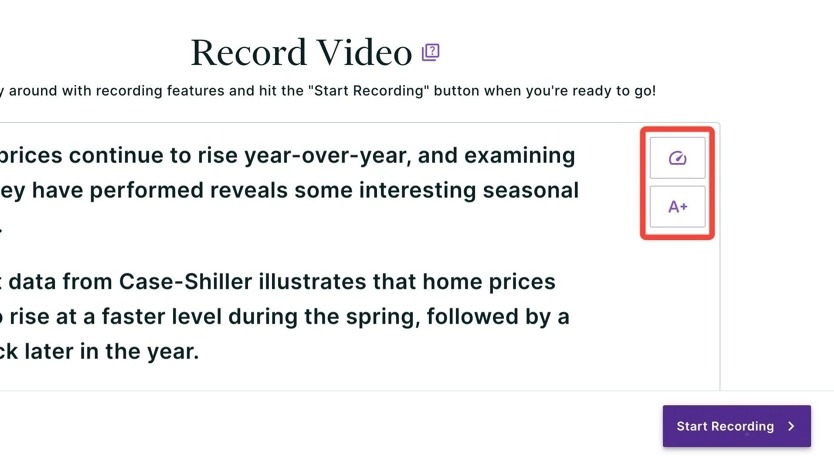
- Once you are ready, click Start Recording. The script will automatically begin scrolling.
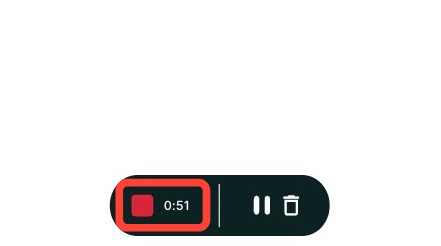
- Click the square icon to stop the recording.
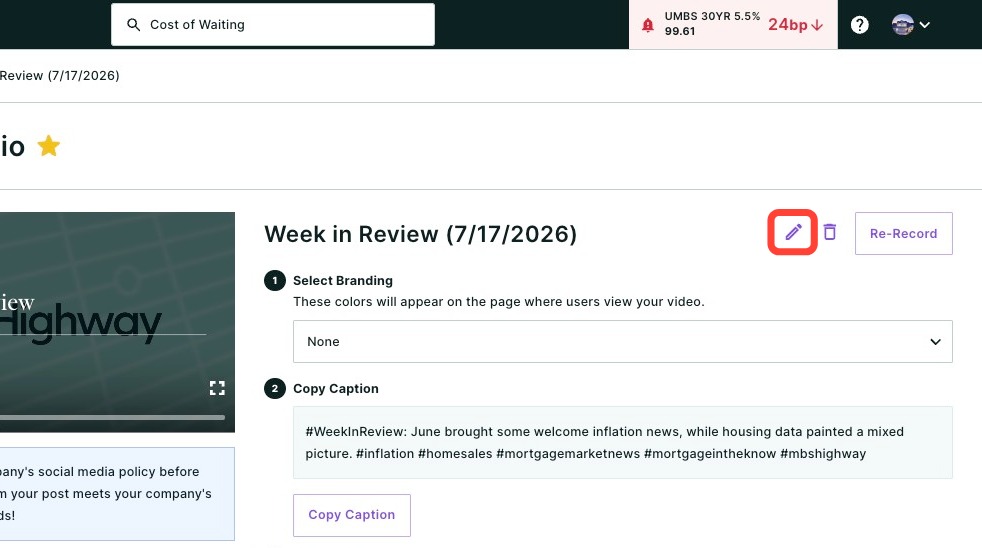
- Click the pencil icon next to the title to edit the title on the intro/outro template.
- Choose your branding color palette from the drop-down.
- You can also create your own custom color theme. Click here to see how.
Your palette is displayed on your video's landing page, as seen below.

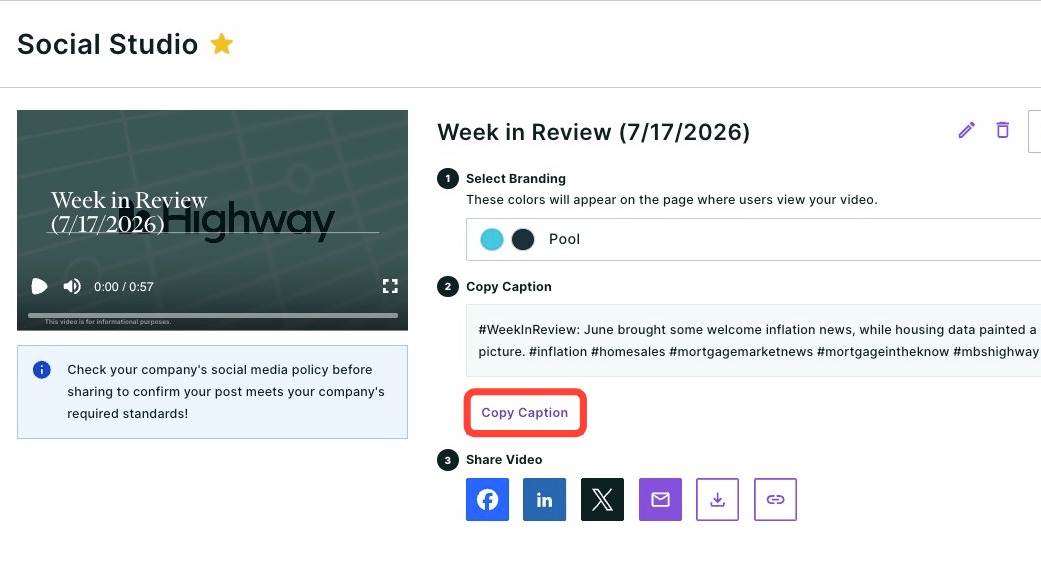
- Want to boost your reach? Use our SEO-optimized caption — click Copy Caption to copy it.
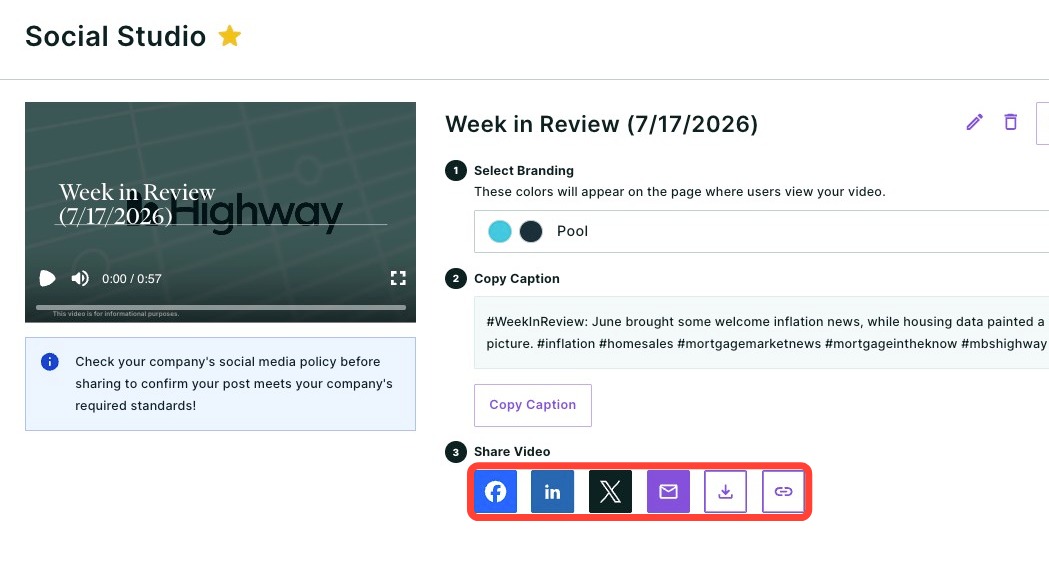
- Choose how you would like to share your video:
- X (formerly Twitter)
- Download
- Copy Link
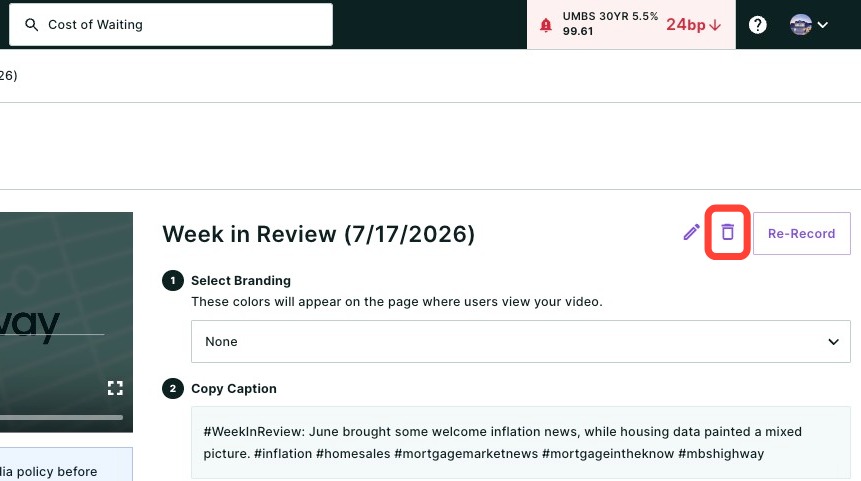
- If you decide to delete the video, click the trash can icon.
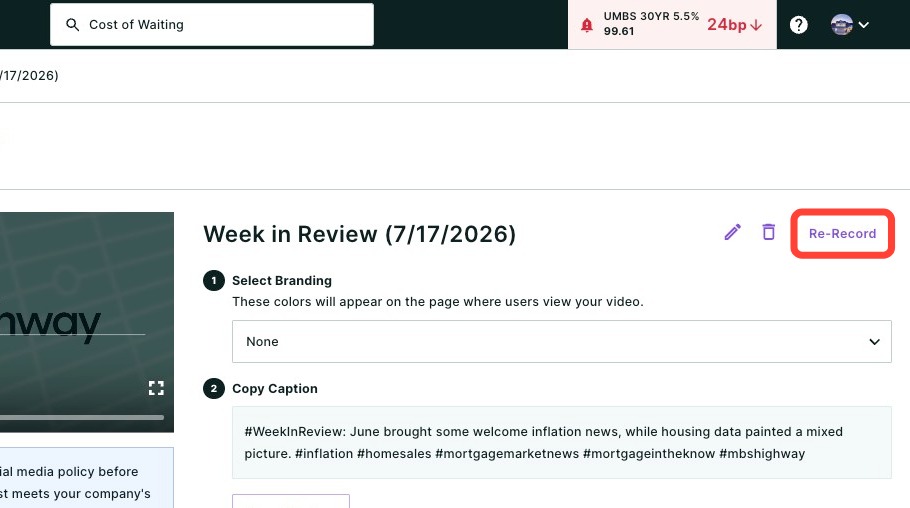
- Click Re-record to delete and re-record your video.
Sharing Social Studio Video Tips
Depending on how you are sharing your video, there are some additional steps and tips we recommend:
Facebook and LinkedIn
- If sharing on Facebook, LinkedIn or X, choose the appropriate icon.
- Paste the caption you copied in step 10 into your post.
- On a Mac, press cmd + v on your keyboard.
- On a PC, press ctrl + v on your keyboard.

- Follow the prompts to post.
Please note: Videos are stored for one year from the date of recording. After one year, videos will be removed and links will no longer work. Download any videos you want to keep permanently. |
Sharing via Email
- Click the email icon.
- Choose the Individual toggle to add individual recipients' email addresses.
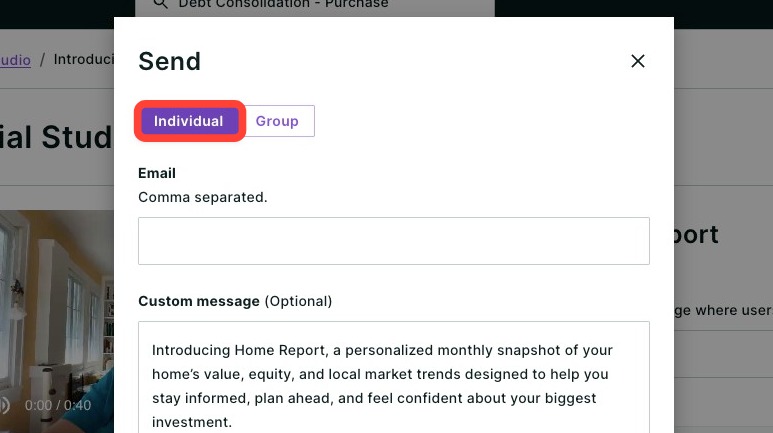
💡 Helpful Tip: You can copy and paste multiple emails into this field at once. If you have your clients' emails in a single column, simply copy the column and paste it in the Email field. There is no limit to the number of emails you can add. |
- Choose the Group toggle if you wish to send your email to your paired agents*, pending agents* or Home Report** clients on ListReports.*
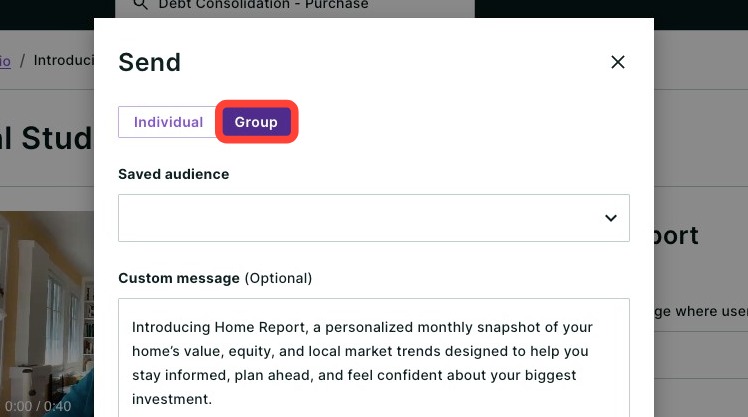
- Choose your desired audience from the dropdown.
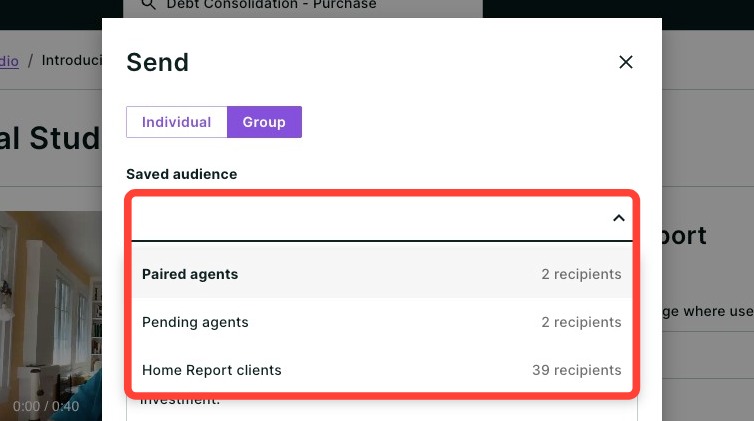
- Add or edit the custom message.
- Click Send.
*Must have an Elite or Home Report subscription.
**Must have a Home Report subscription.
Sharing via Link
- Copy the link by clicking the link icon.
- Paste it wherever you wish.
- On a Mac, press cmd + v on your keyboard.
- On a PC, press ctrl + v on your keyboard.
Sharing on Instagram
- Download the video.
- Log in to your Instagram account.
- Click + Create.
- Choose Post.
- Select your video from your computer.
- Make any desired adjustments.
- Copy the caption and paste it into the post.
- On a Mac, press cmd + v on your keyboard.
- On a PC, press ctrl + v on your keyboard.
- Click Share.
Creating a Custom Branding Color Palette
You can choose a pre-made color palette from the drop-down, or create your own by following the steps below:
- Click + Create new theme to make your own.
- Add a name for your color theme. You will be able to choose this theme again once created.
- To edit the colors, click the pencil icon.
- Choose a color by HEX code, RGB values, or using the color picker tool.
- Click Create.
Need Help?
Have questions or want to learn more? Submit a ticket or call us today!