You can update the branding on your marketing materials from the Personal Branding tab in Account Settings. From there you can edit your headshot, NMLS number, phone number, disclaimer, logo, website URL, and company name and address, then preview the result before saving.
Please note: Your name, email address, and the phone number used for text and voice alerts cannot be updated in Account Settings. To change these fields, contact support@highway.ai. |
Navigating to Your Personal Branding
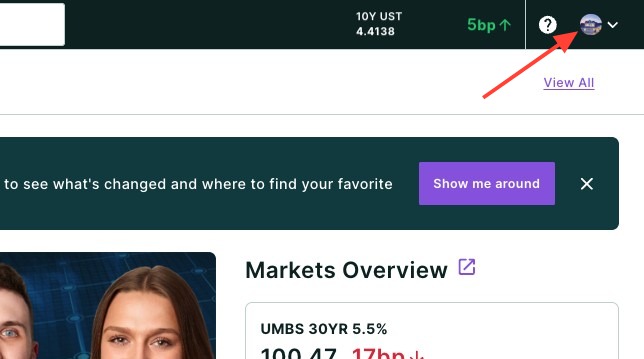
- Click your headshot in the top right-hand corner of the page.
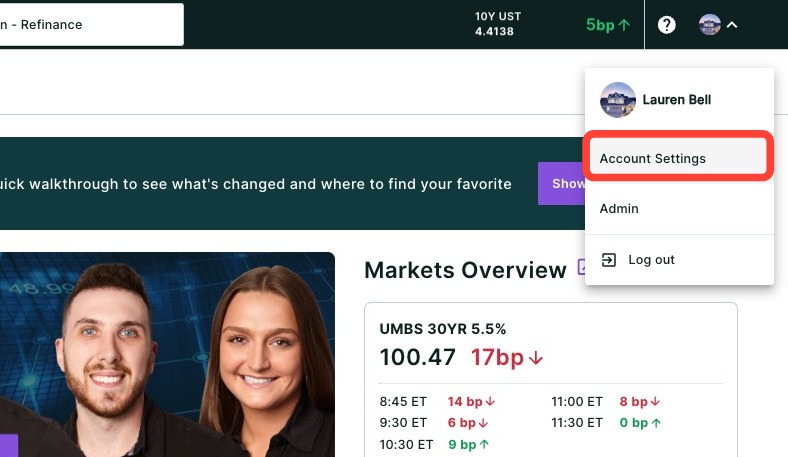
- Click Account Settings.
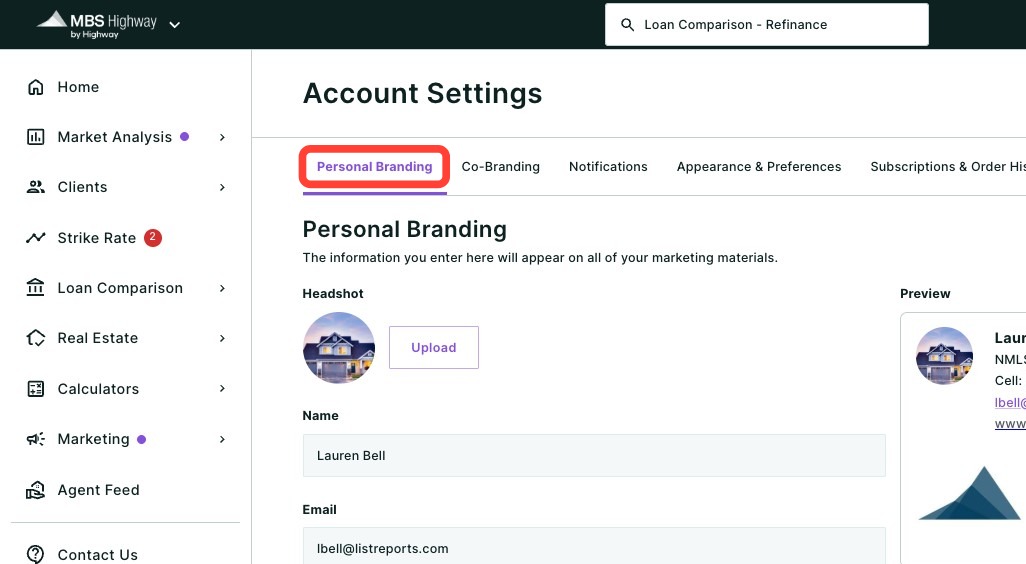
- The Personal Branding sub-tab will be selected by default.
Updating Your Branding
- To update your headshot, click the Upload button seen below.
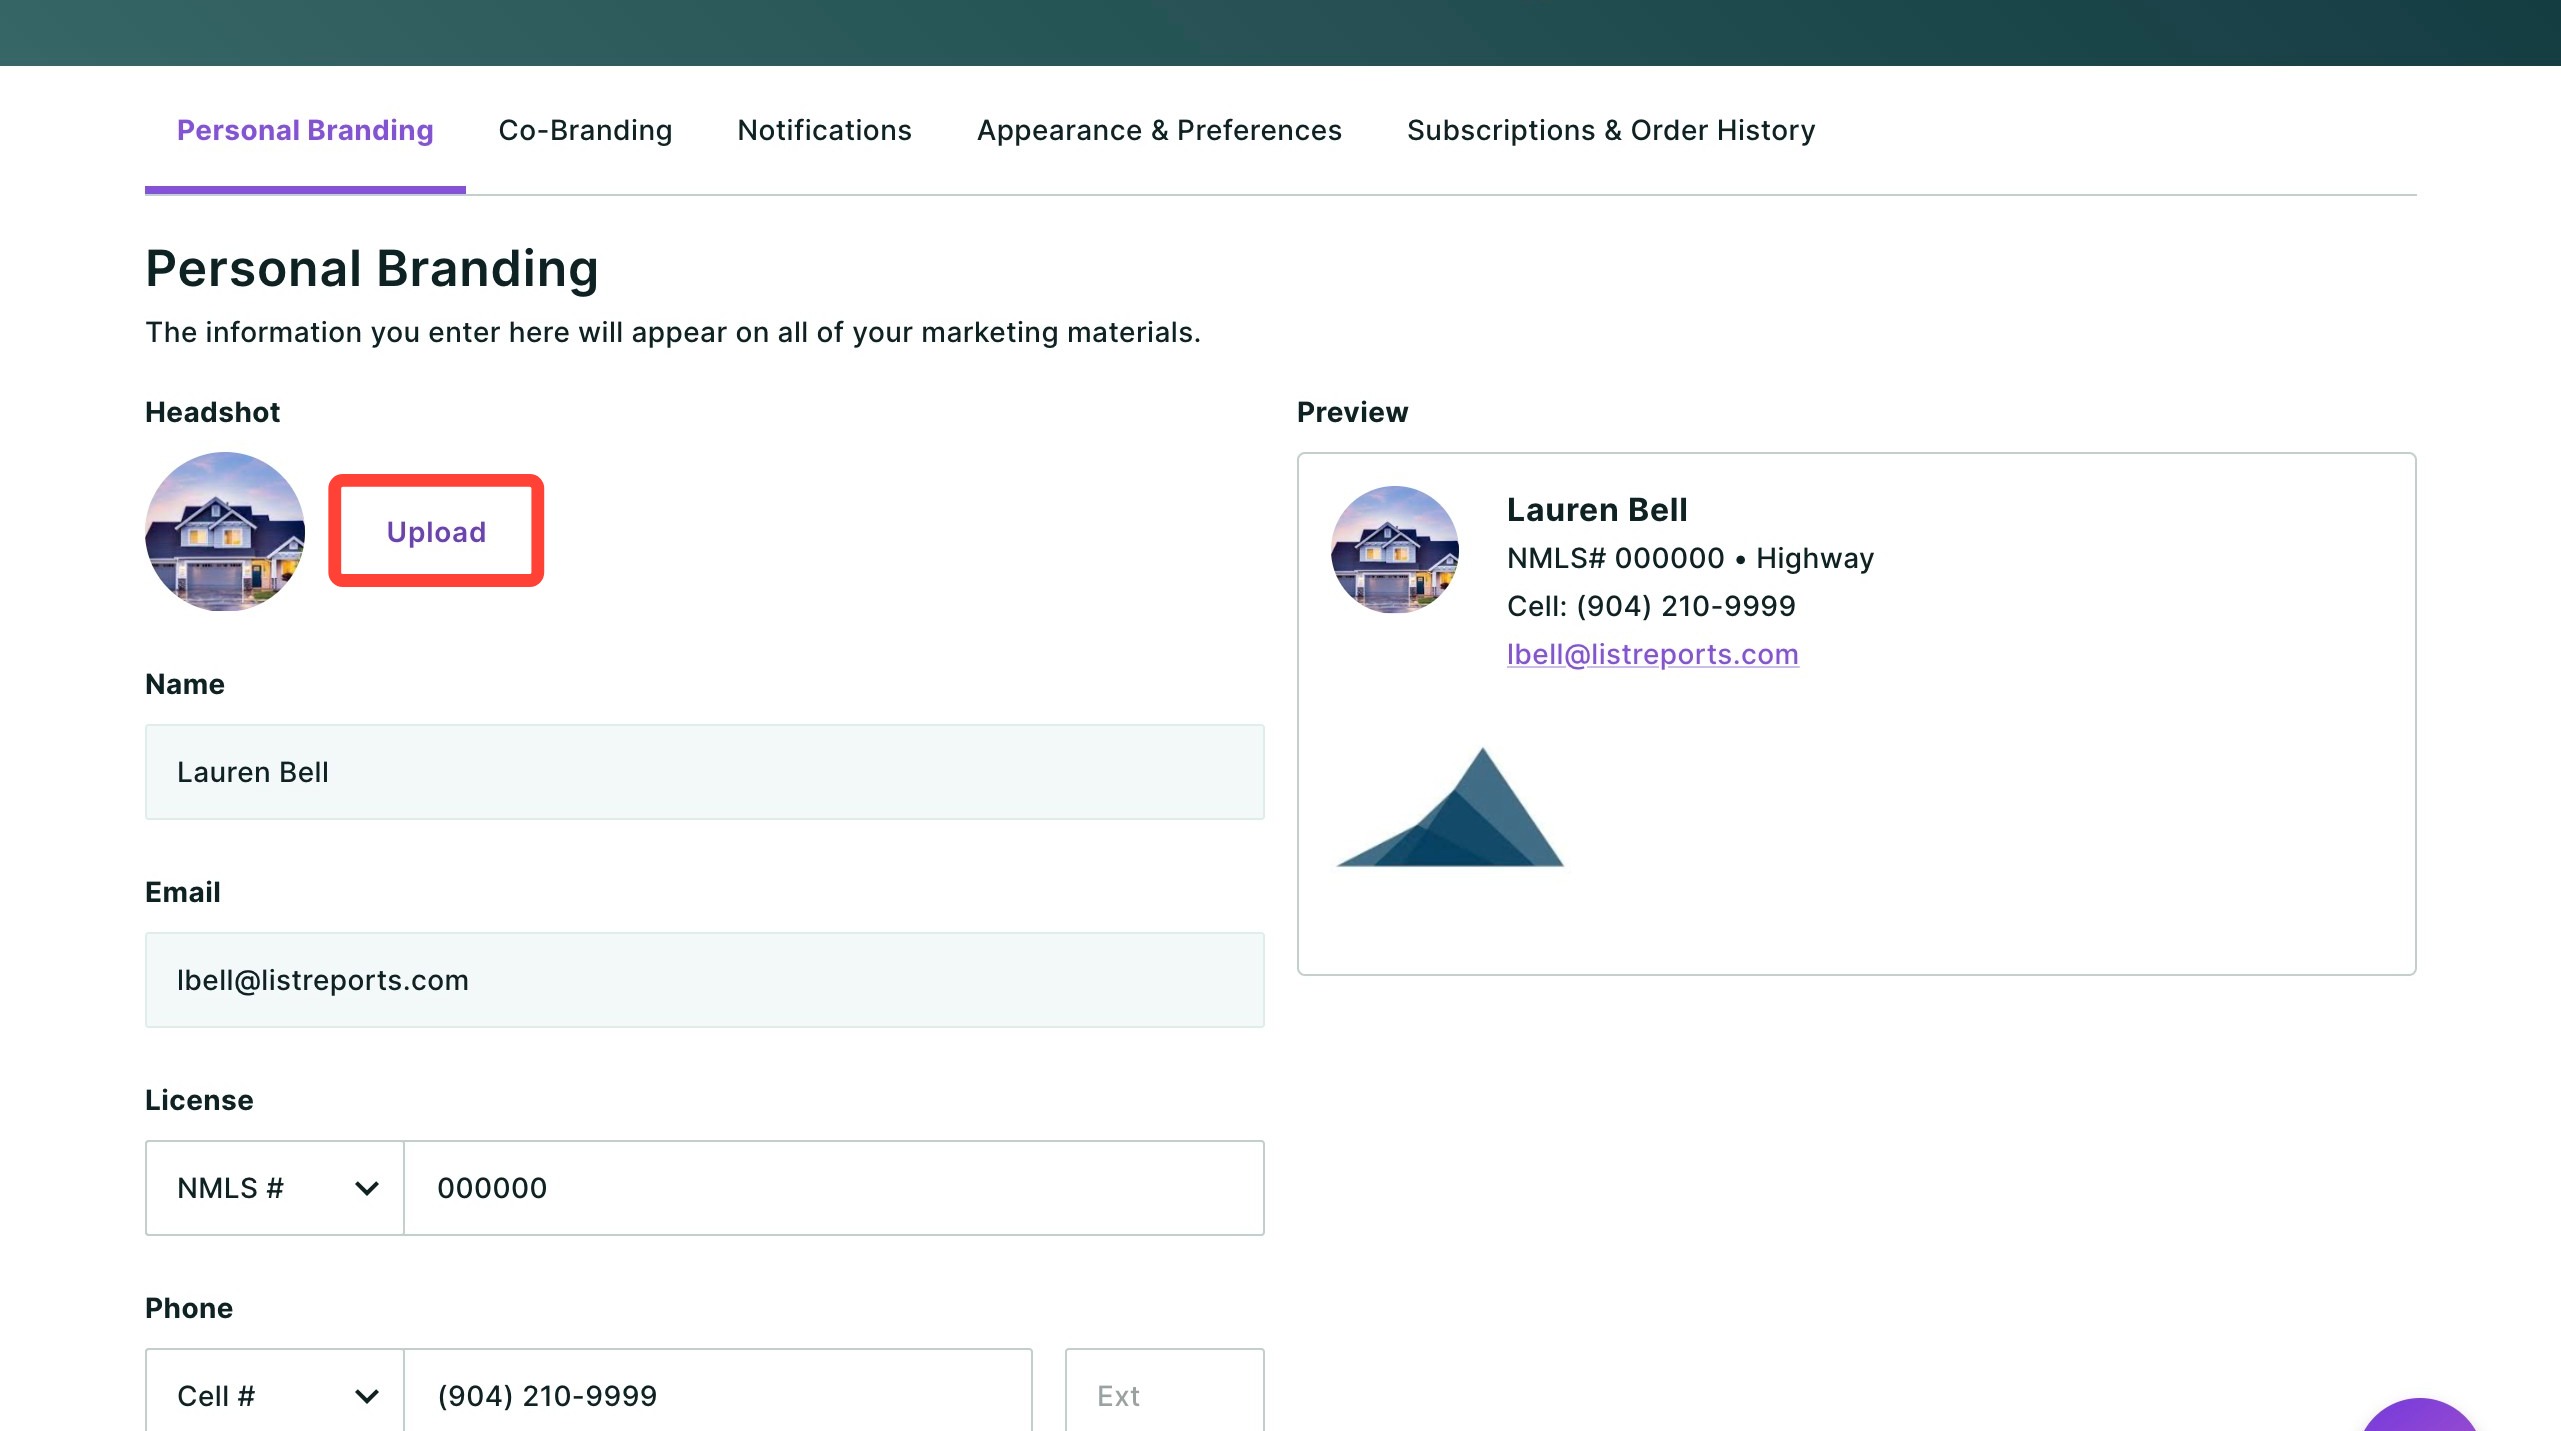
- Click Upload to choose the desired image from your computer.
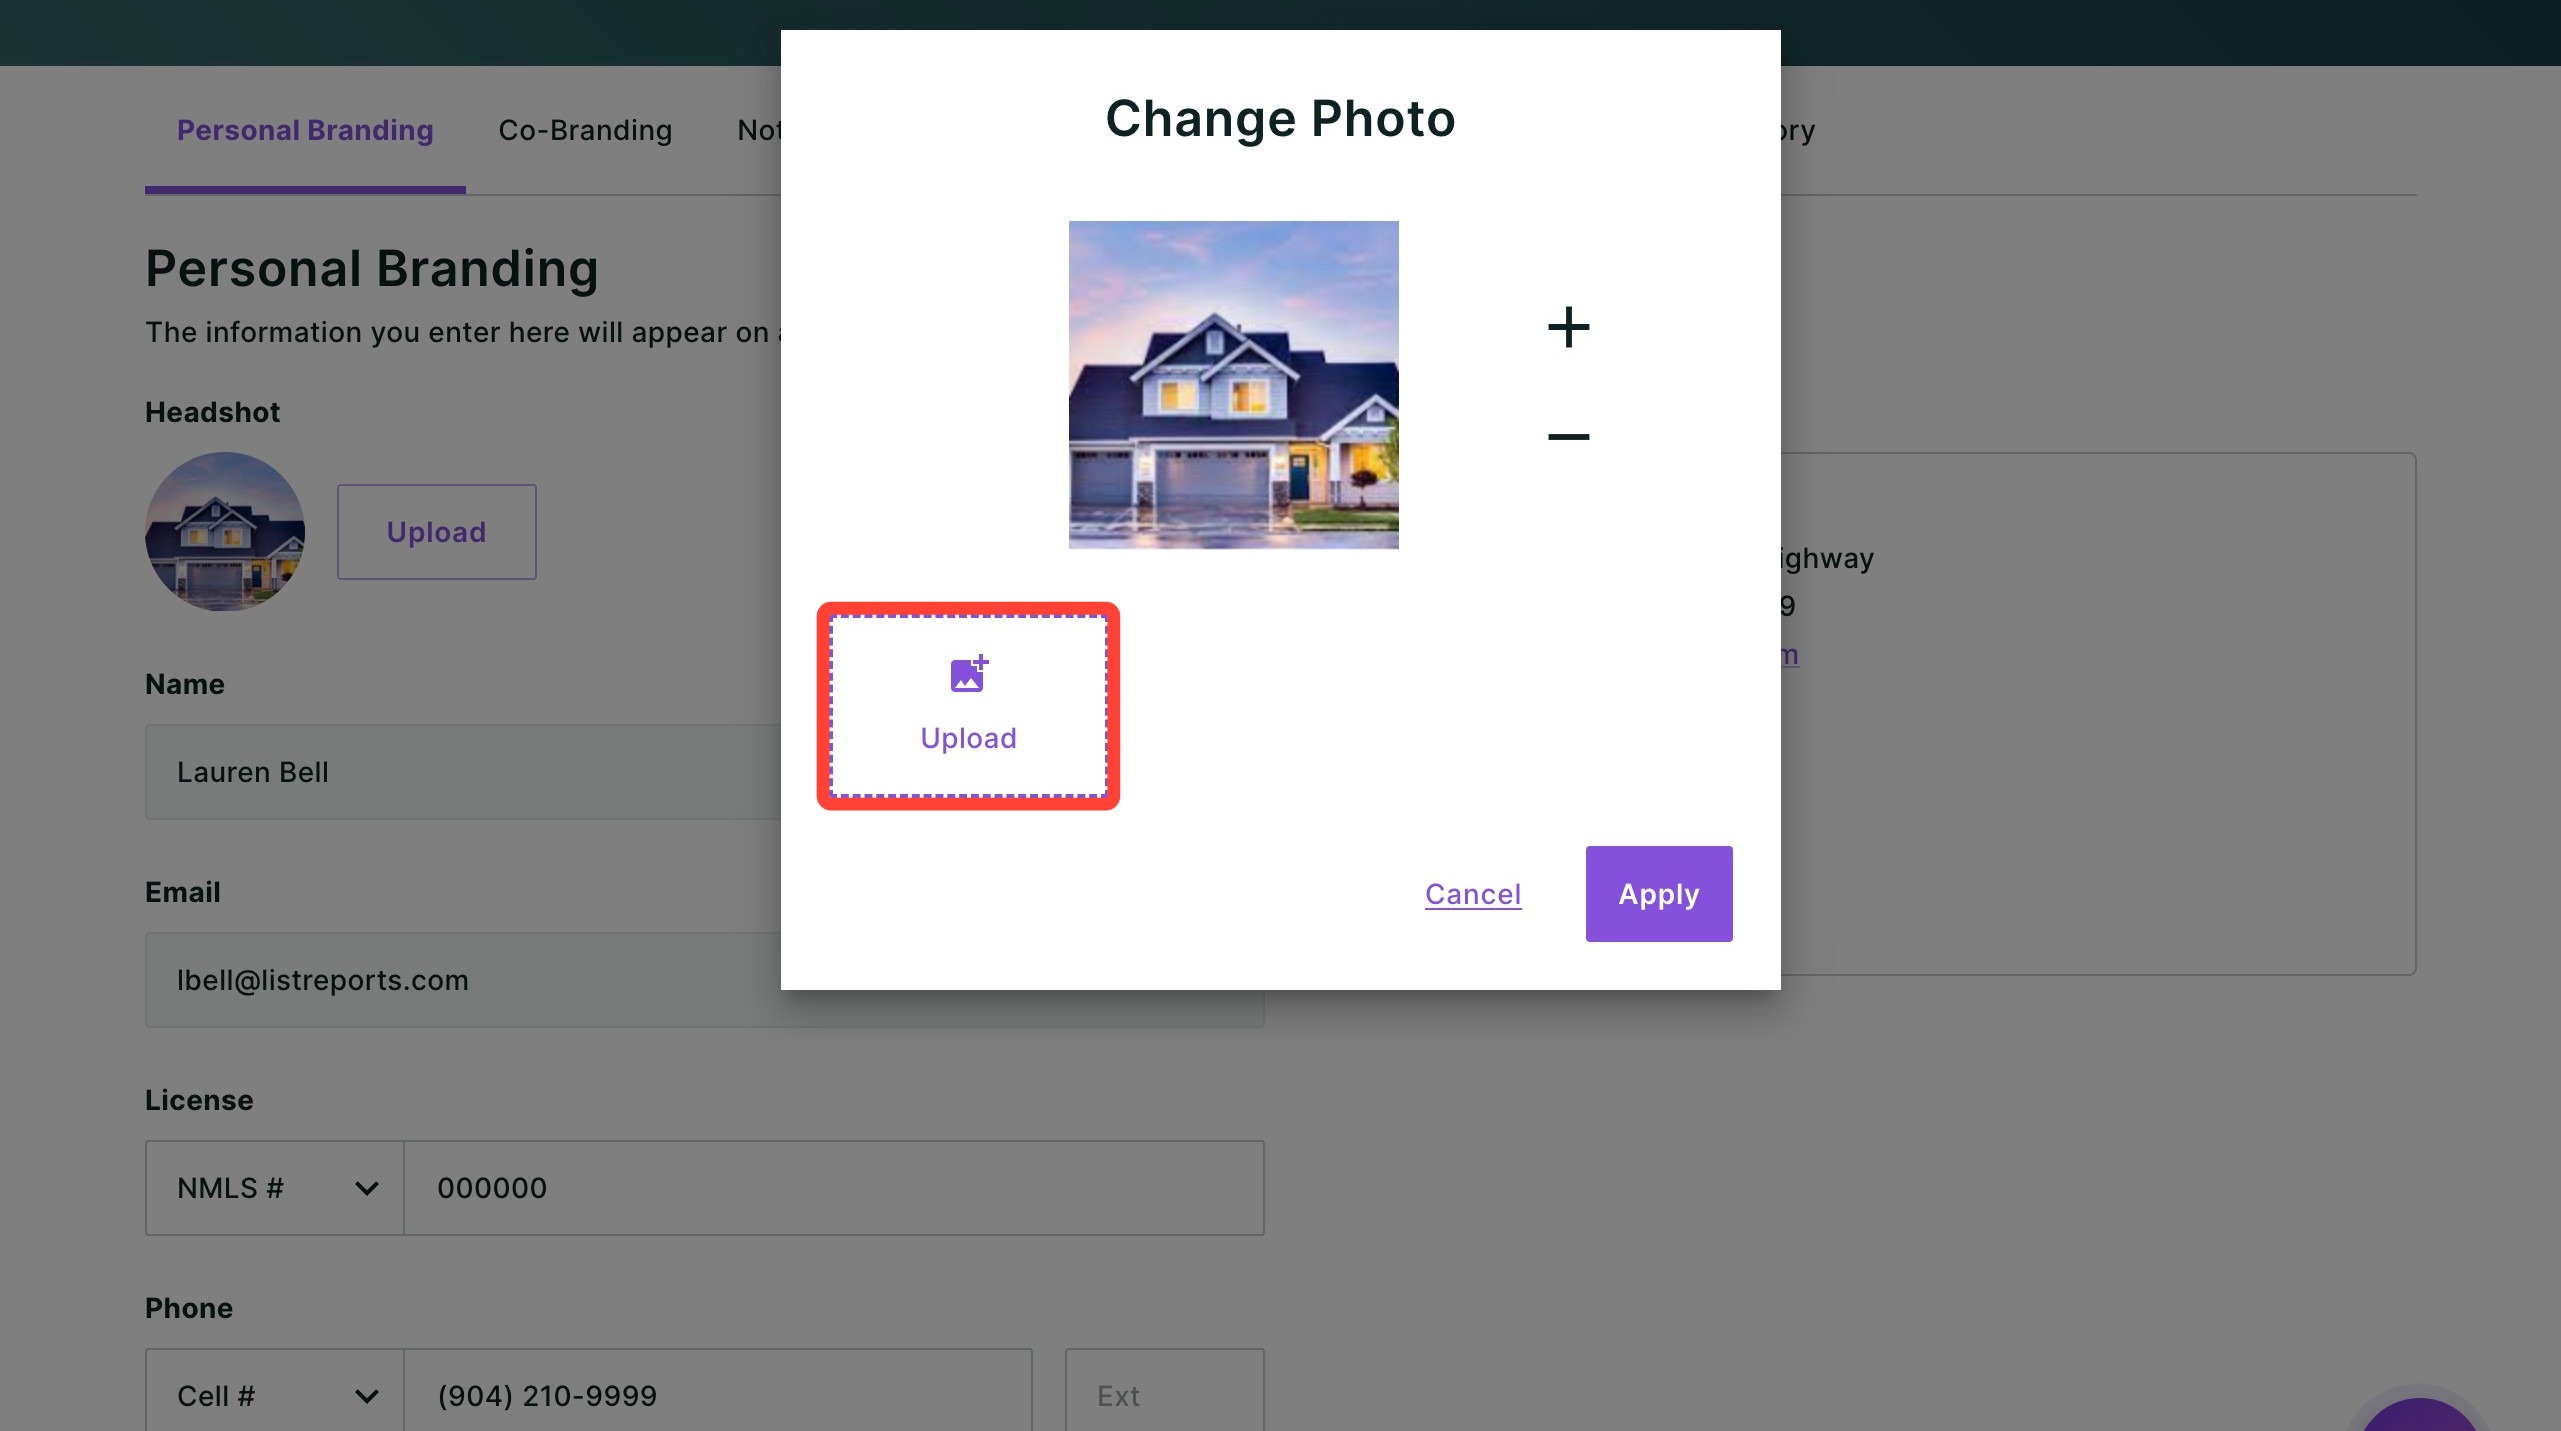
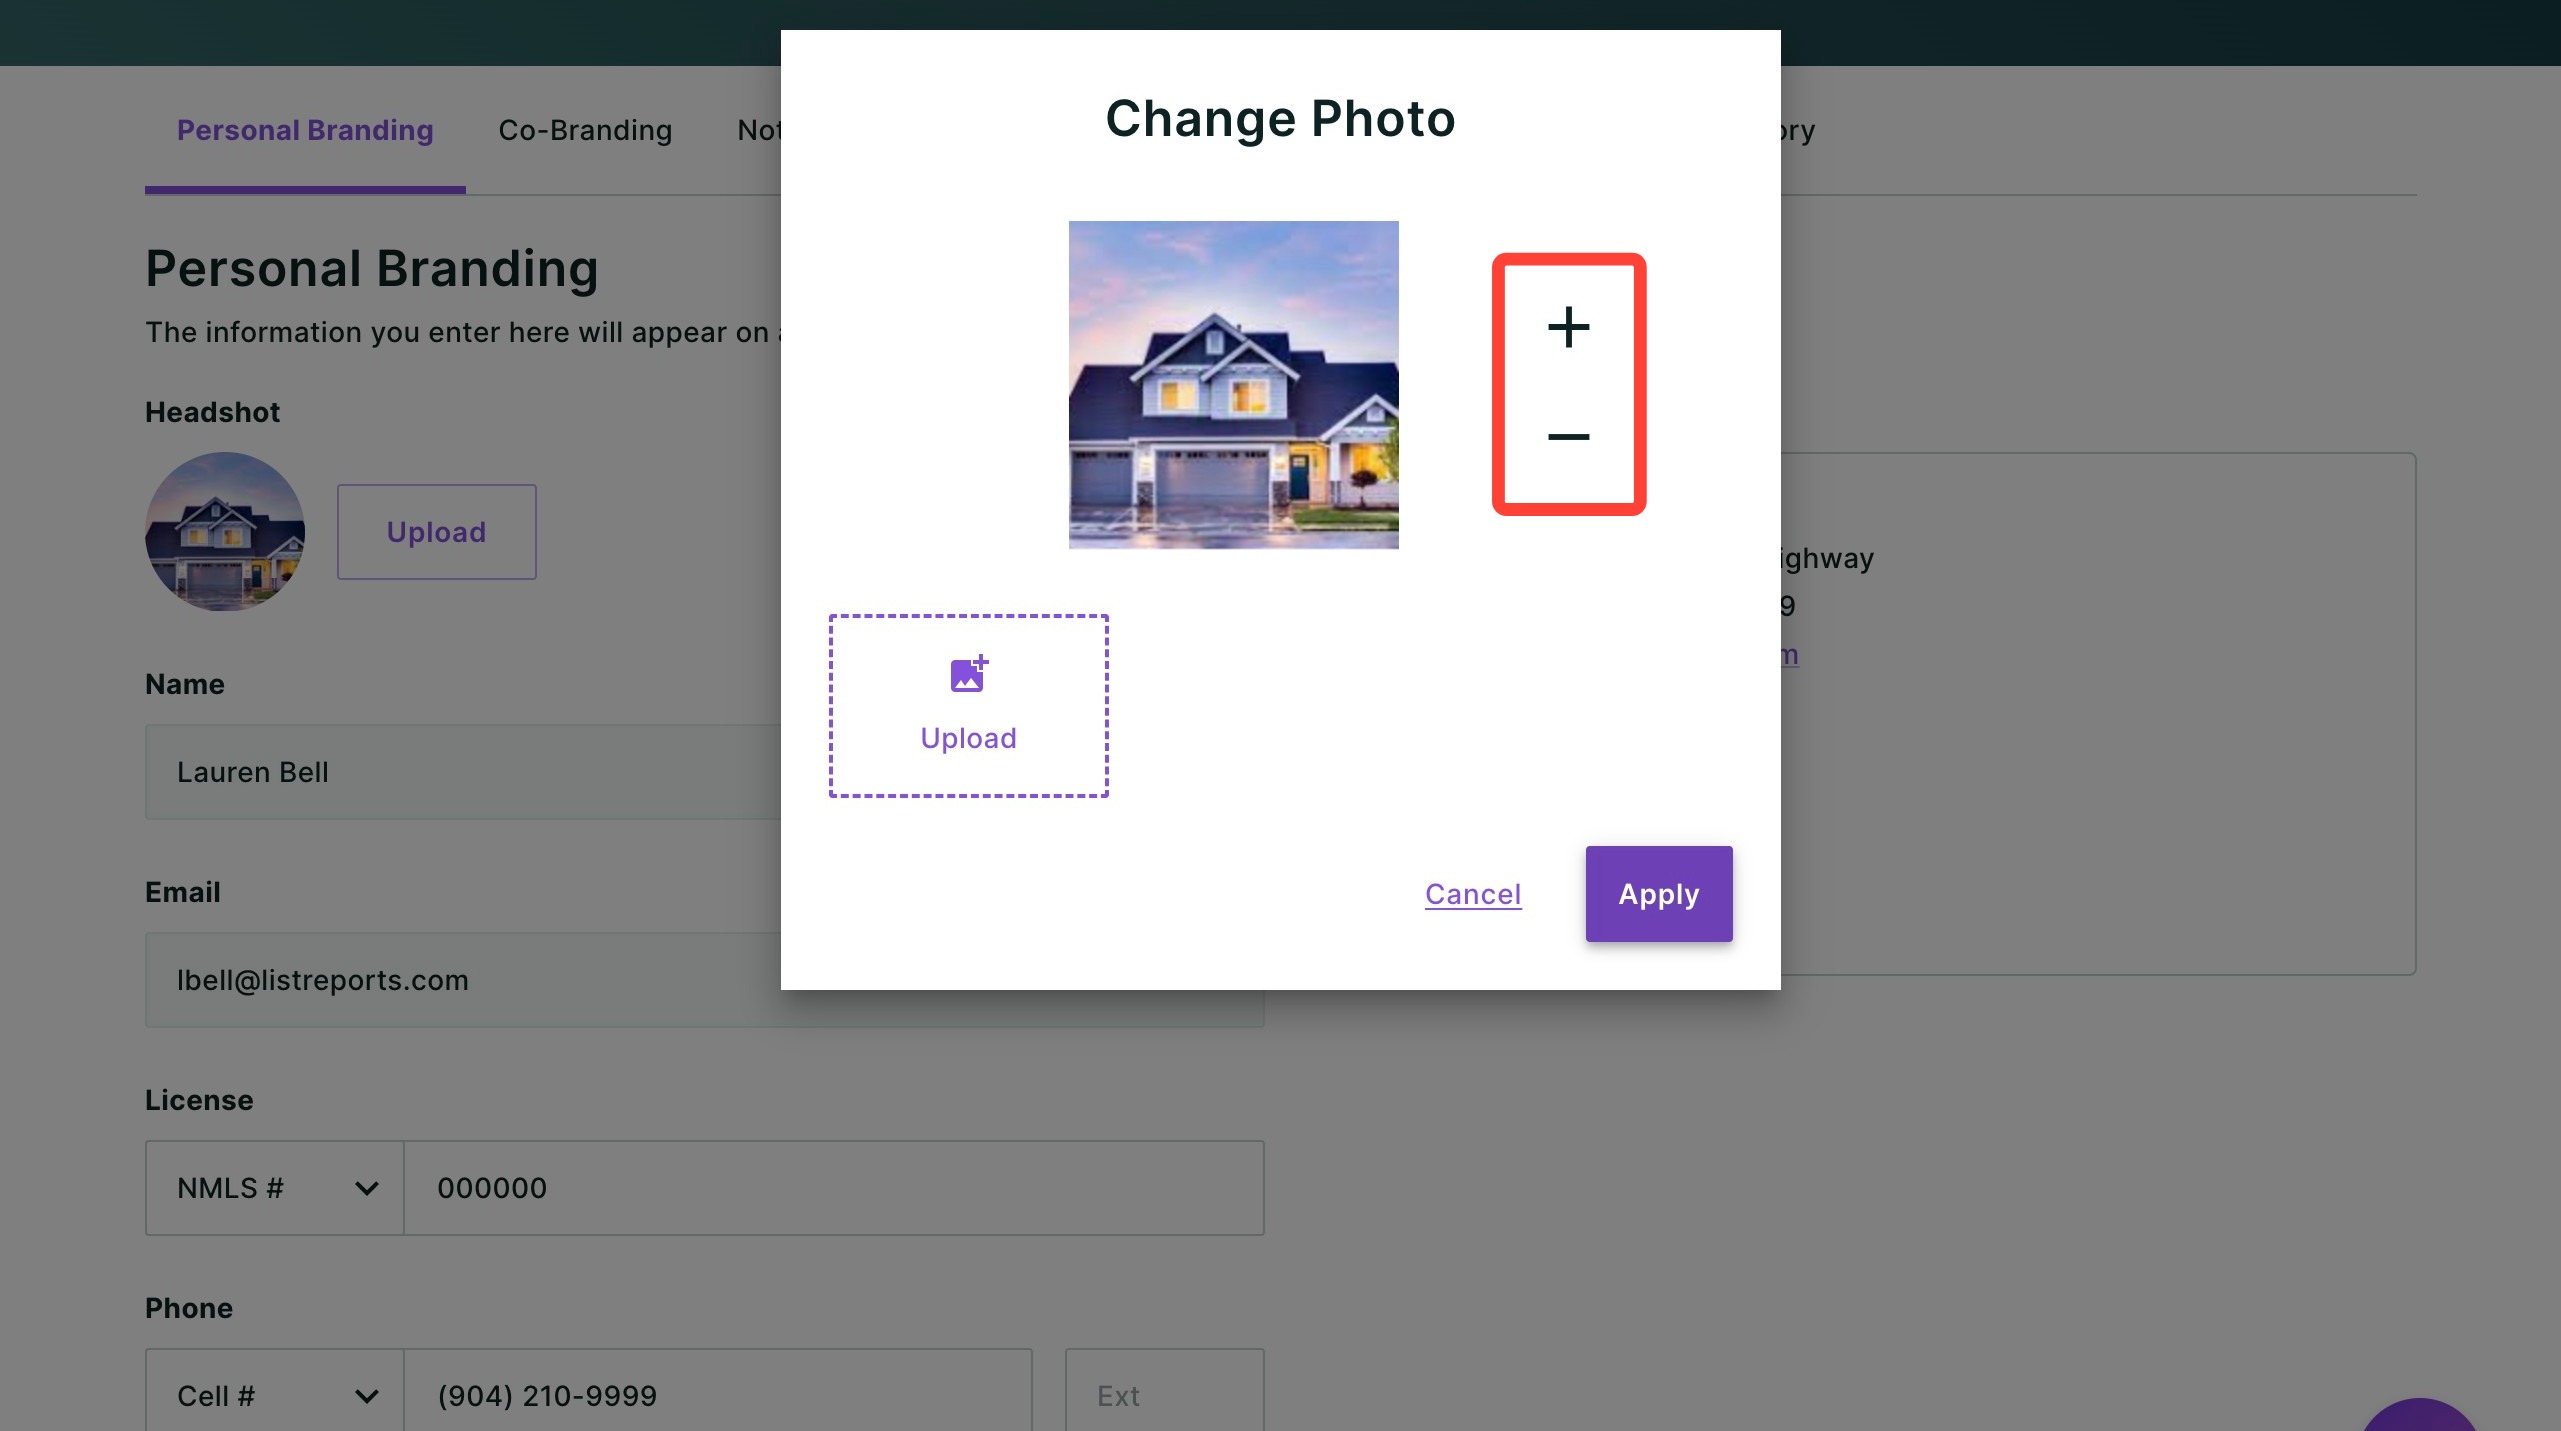
- Zoom in and out of the image by clicking the + or − symbols to the right of the image.
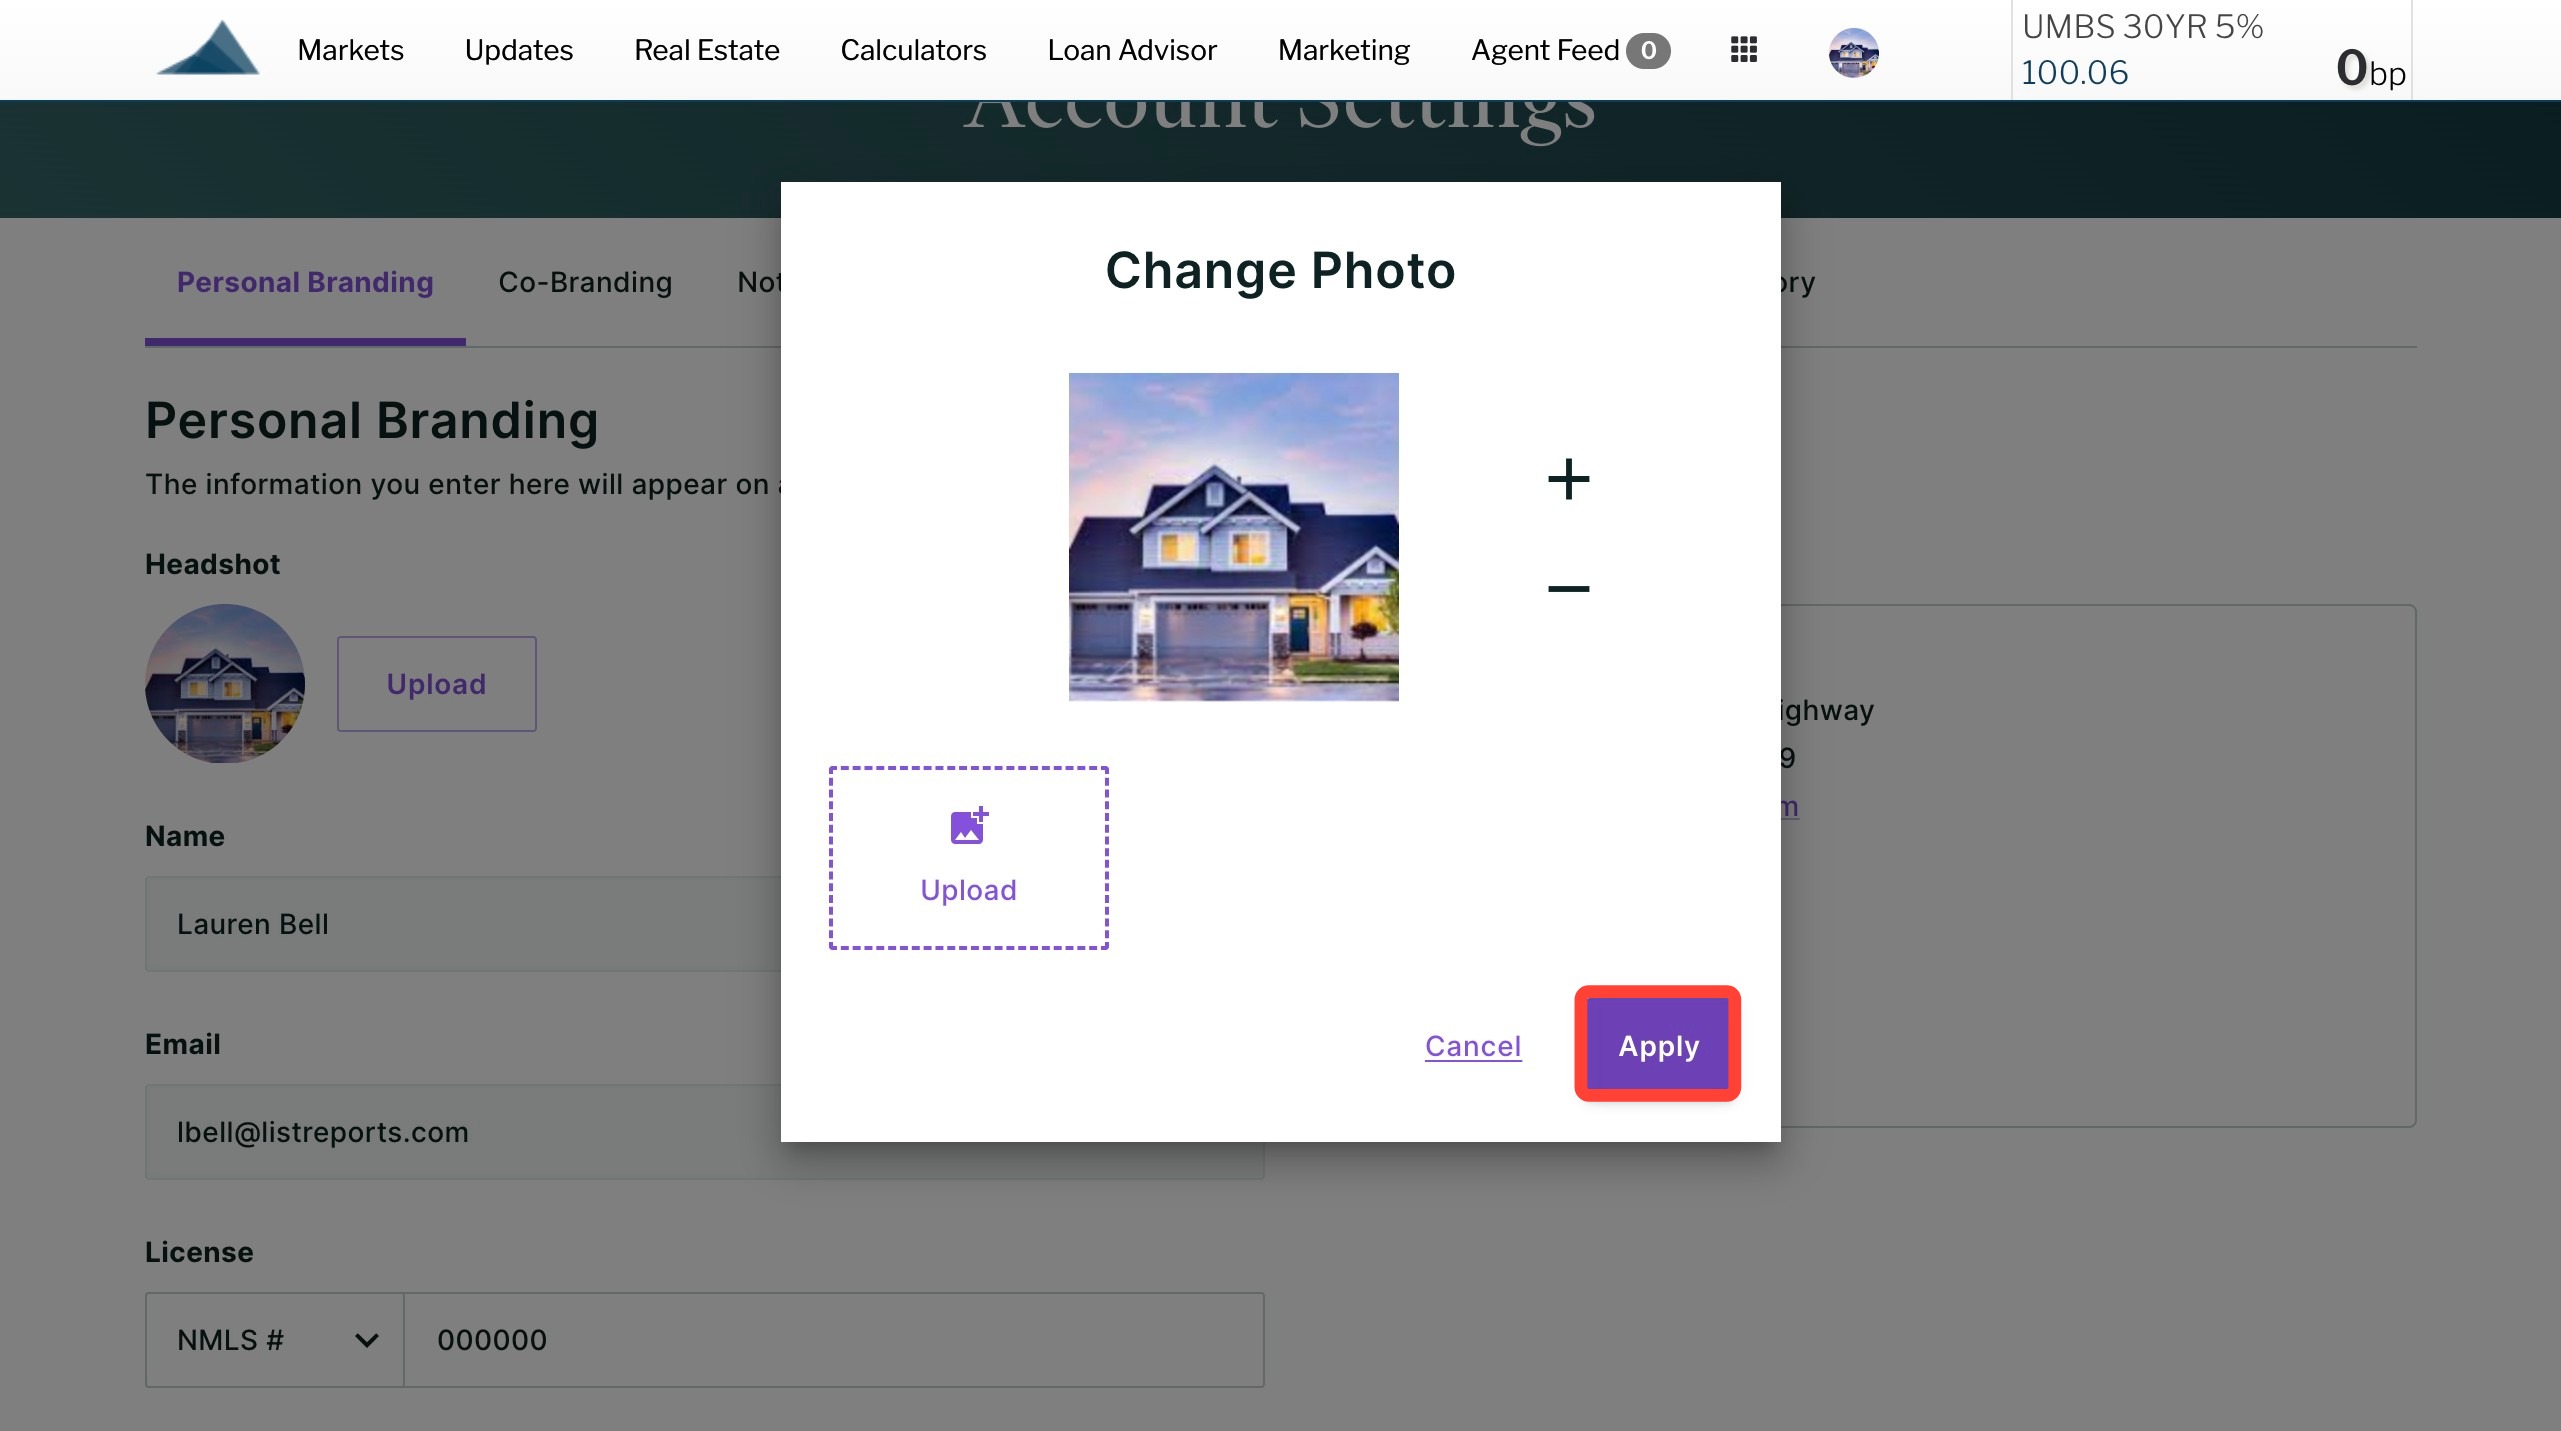
- Once your adjustments are complete, click Apply.
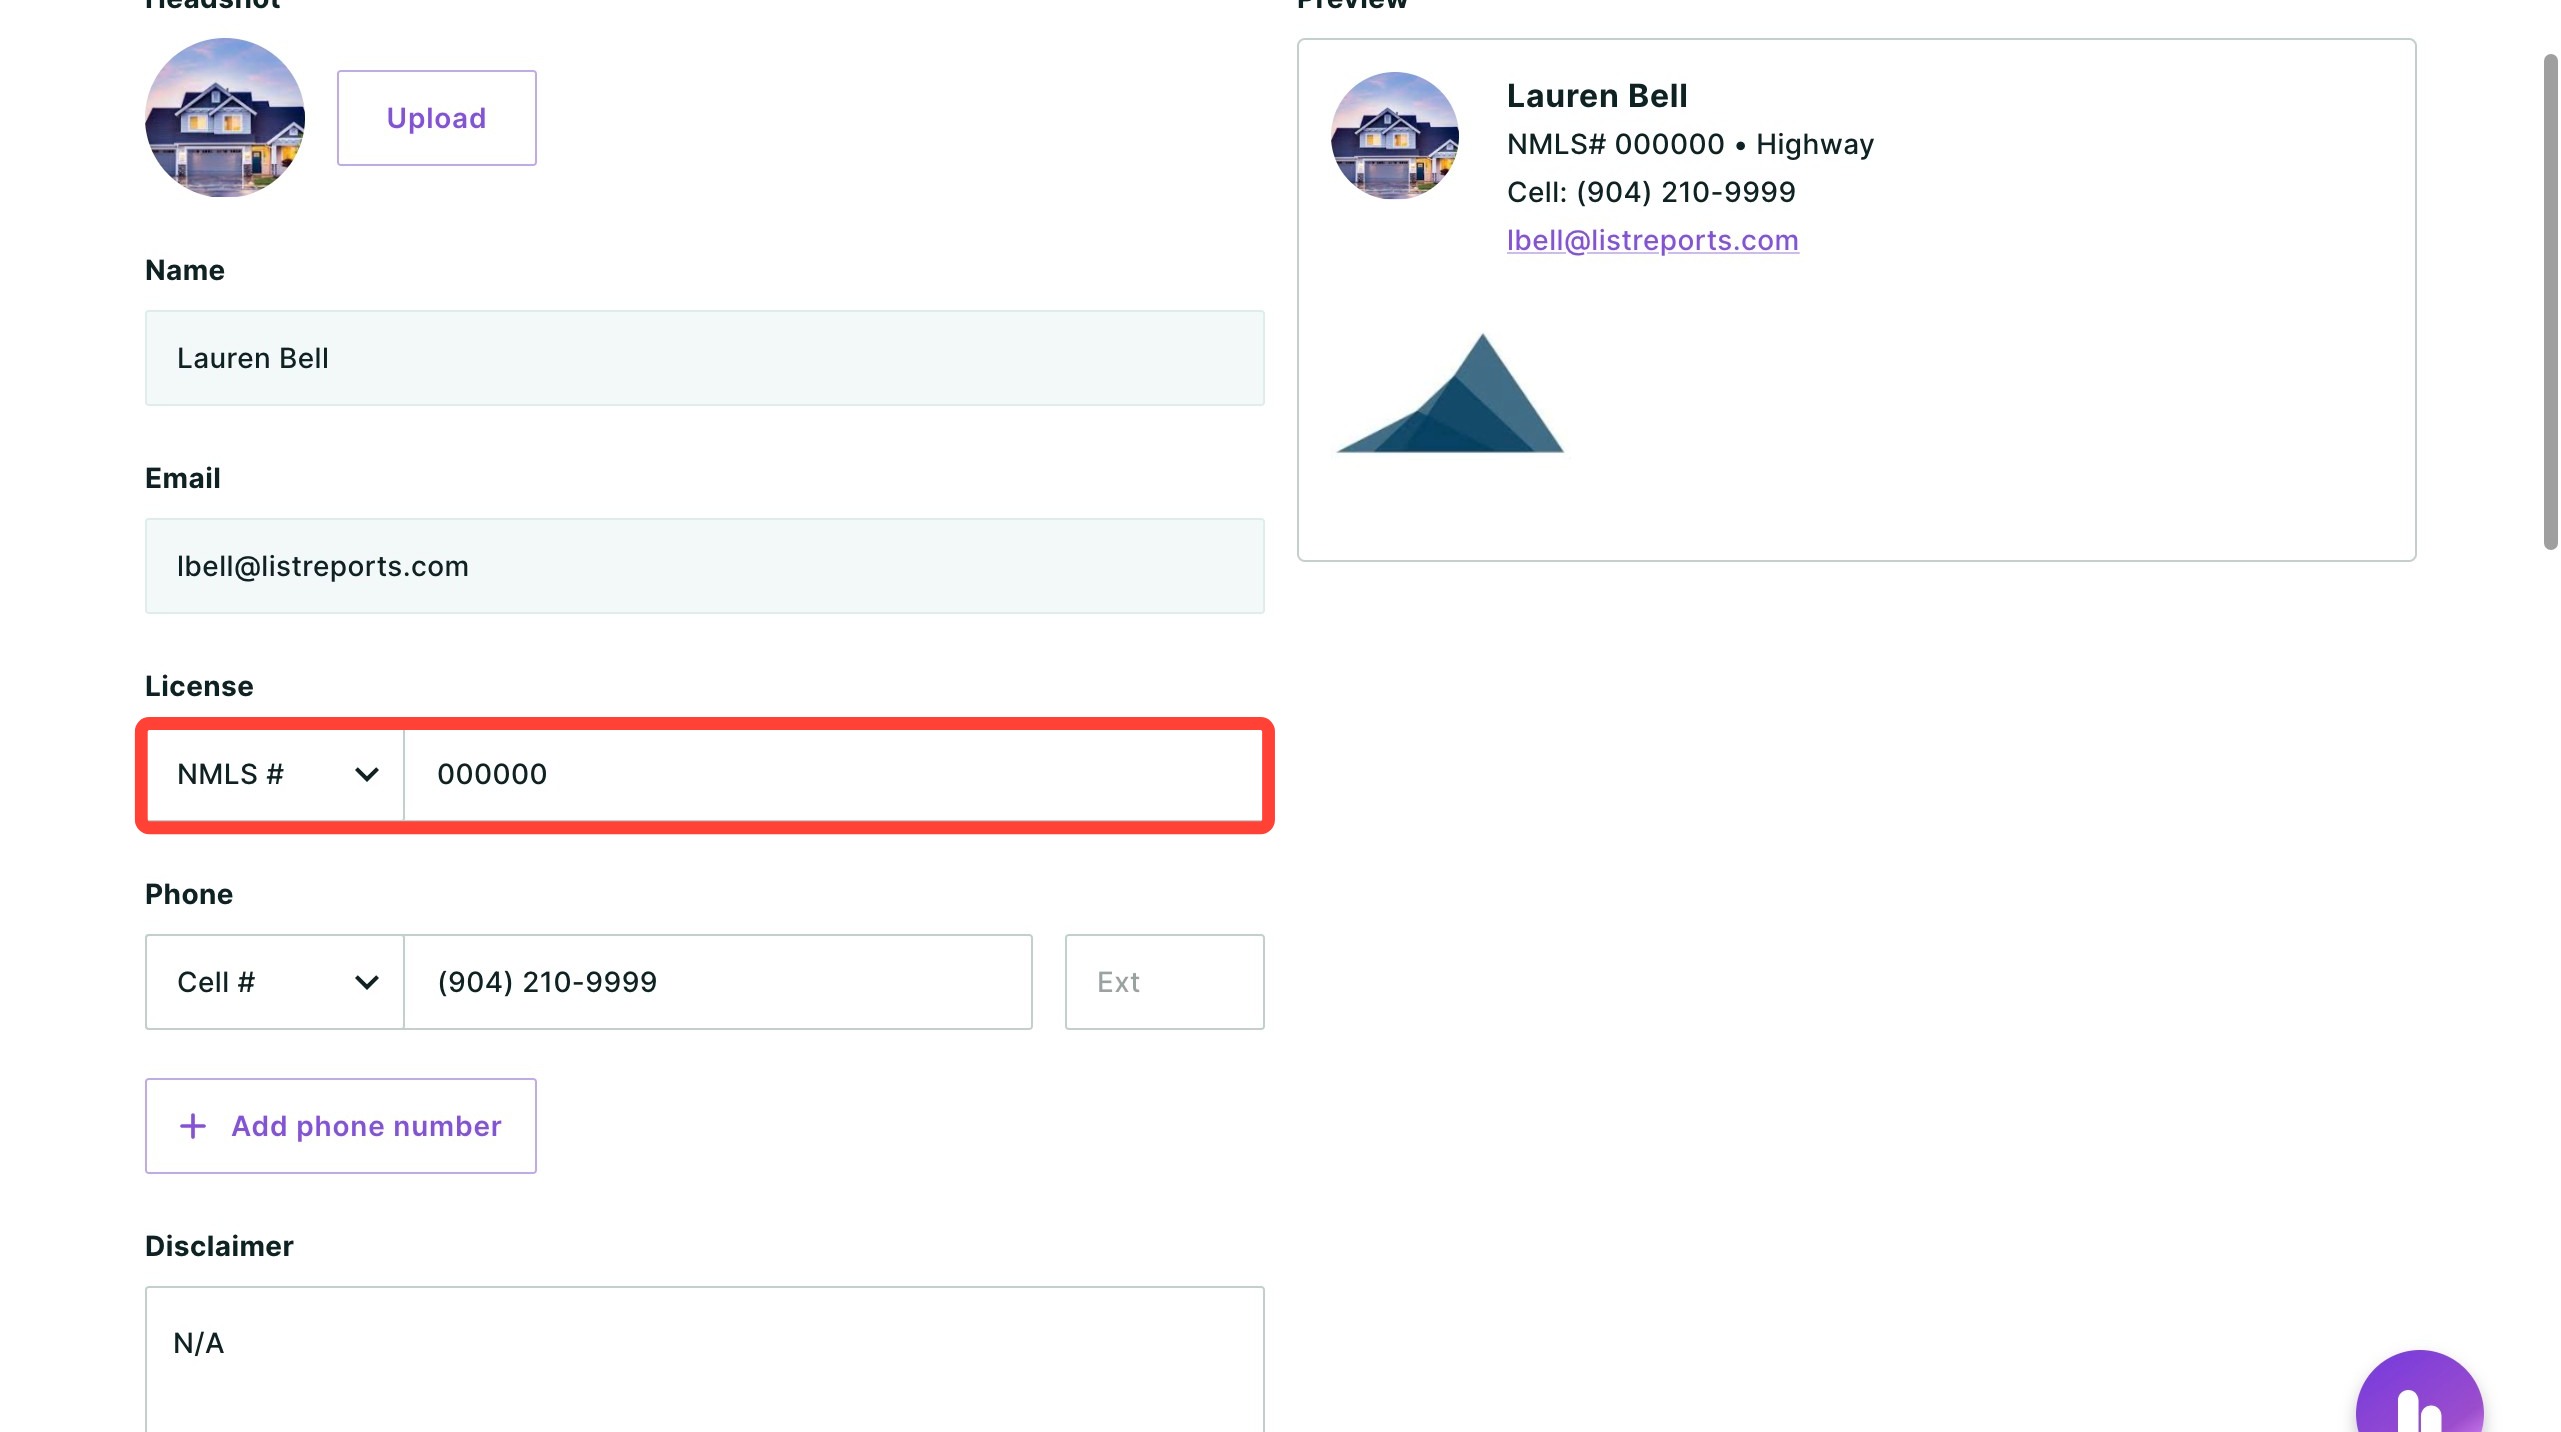
- Enter your NMLS number. Use the drop-down to select whether the branding displays as "License #" or "NMLS #". This is a required field.
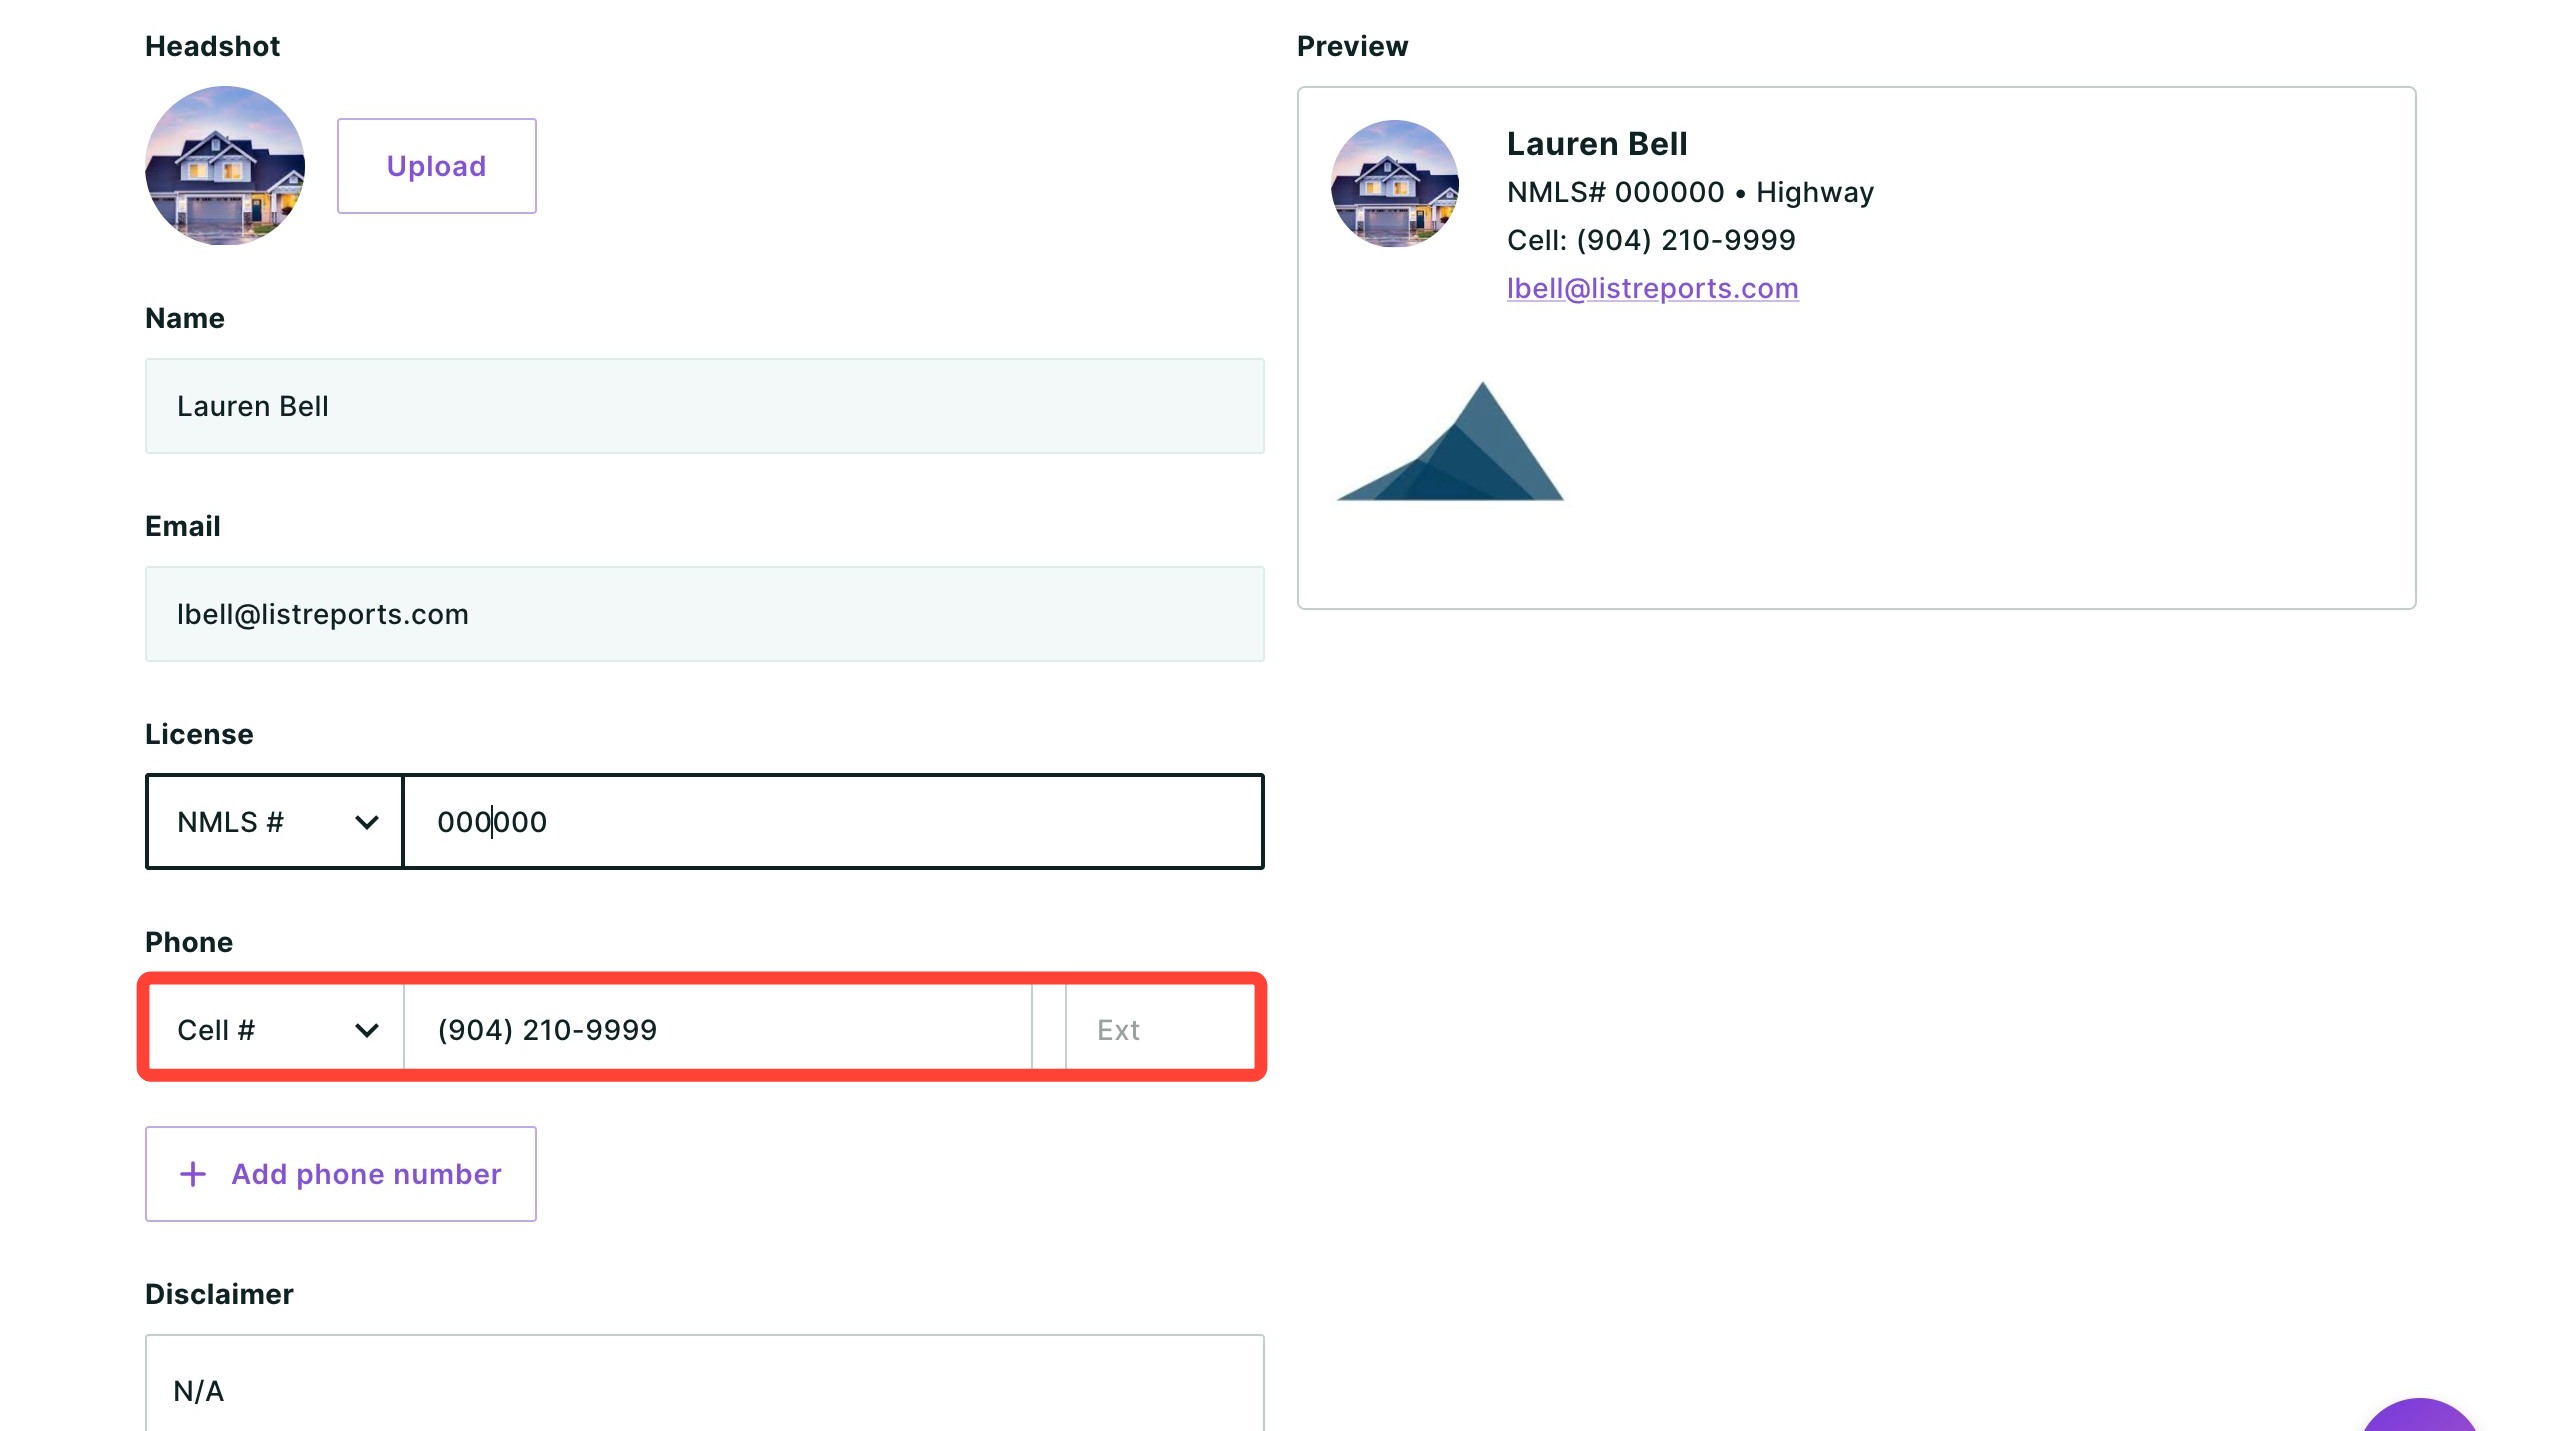
- Select the type of phone number from the drop-down and enter your phone number in the corresponding field. At least one phone number is required.
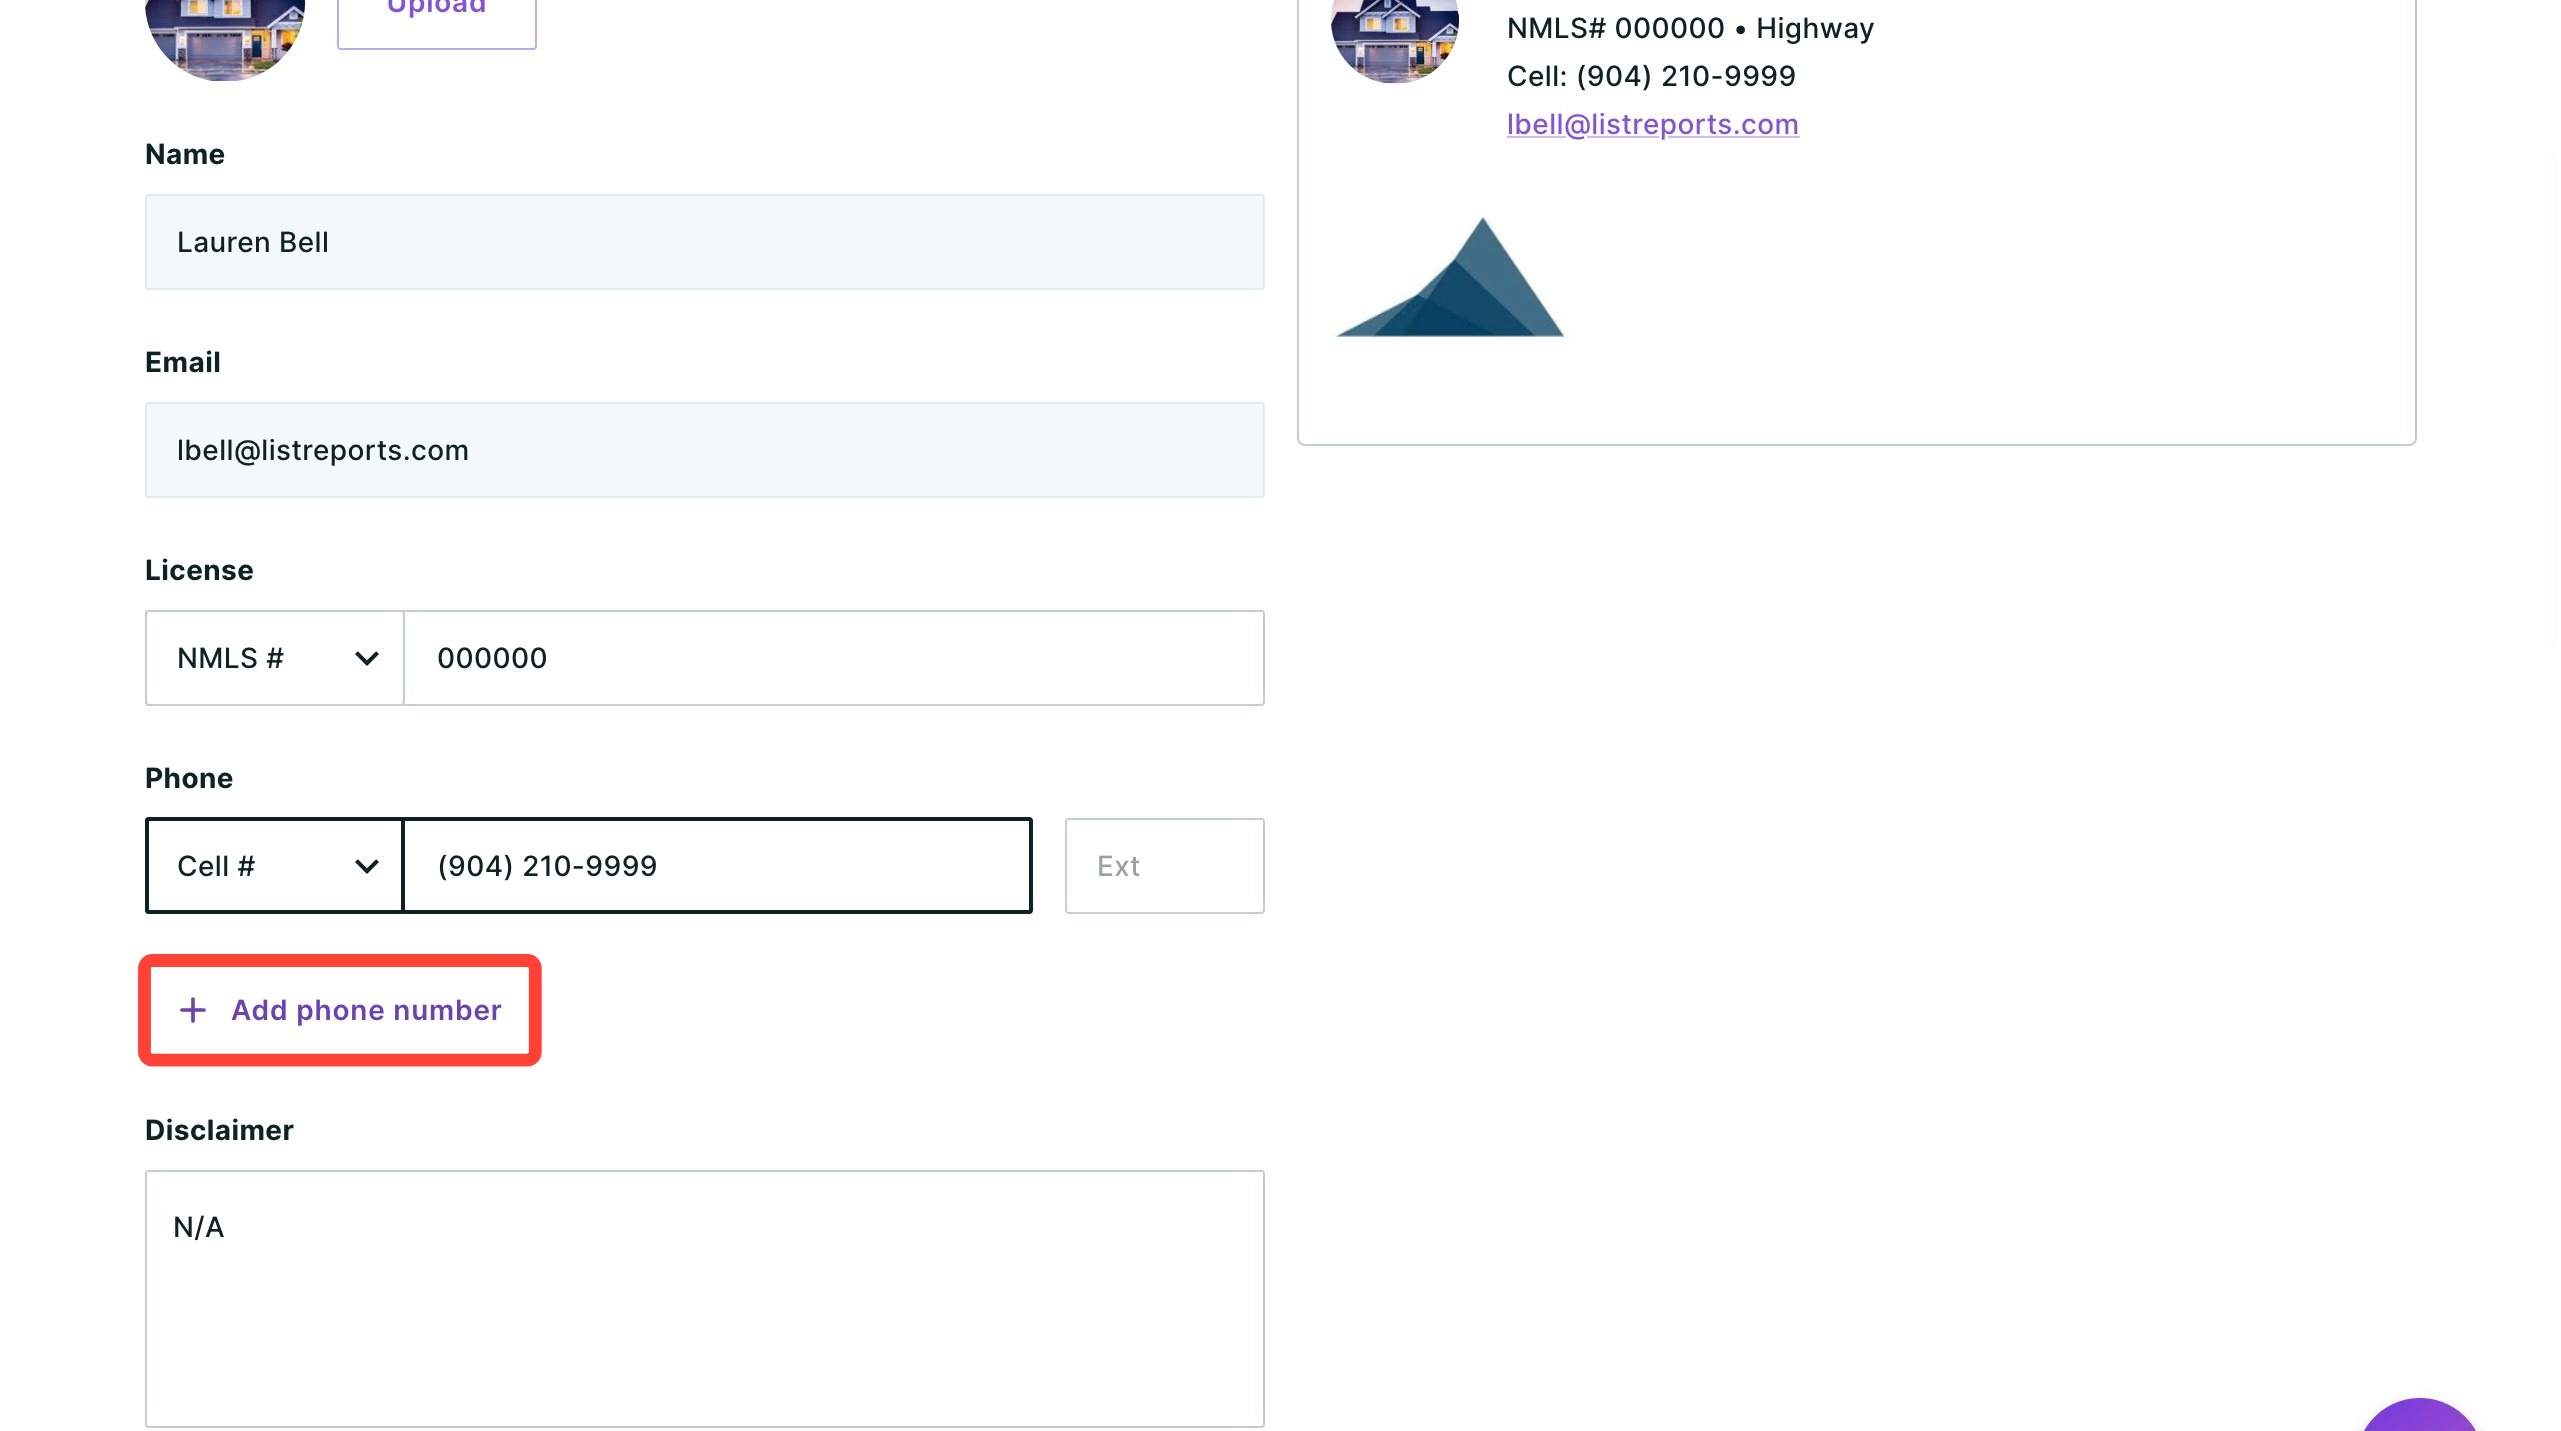
- Add additional phone numbers by clicking + Add phone number. You can add up to three.
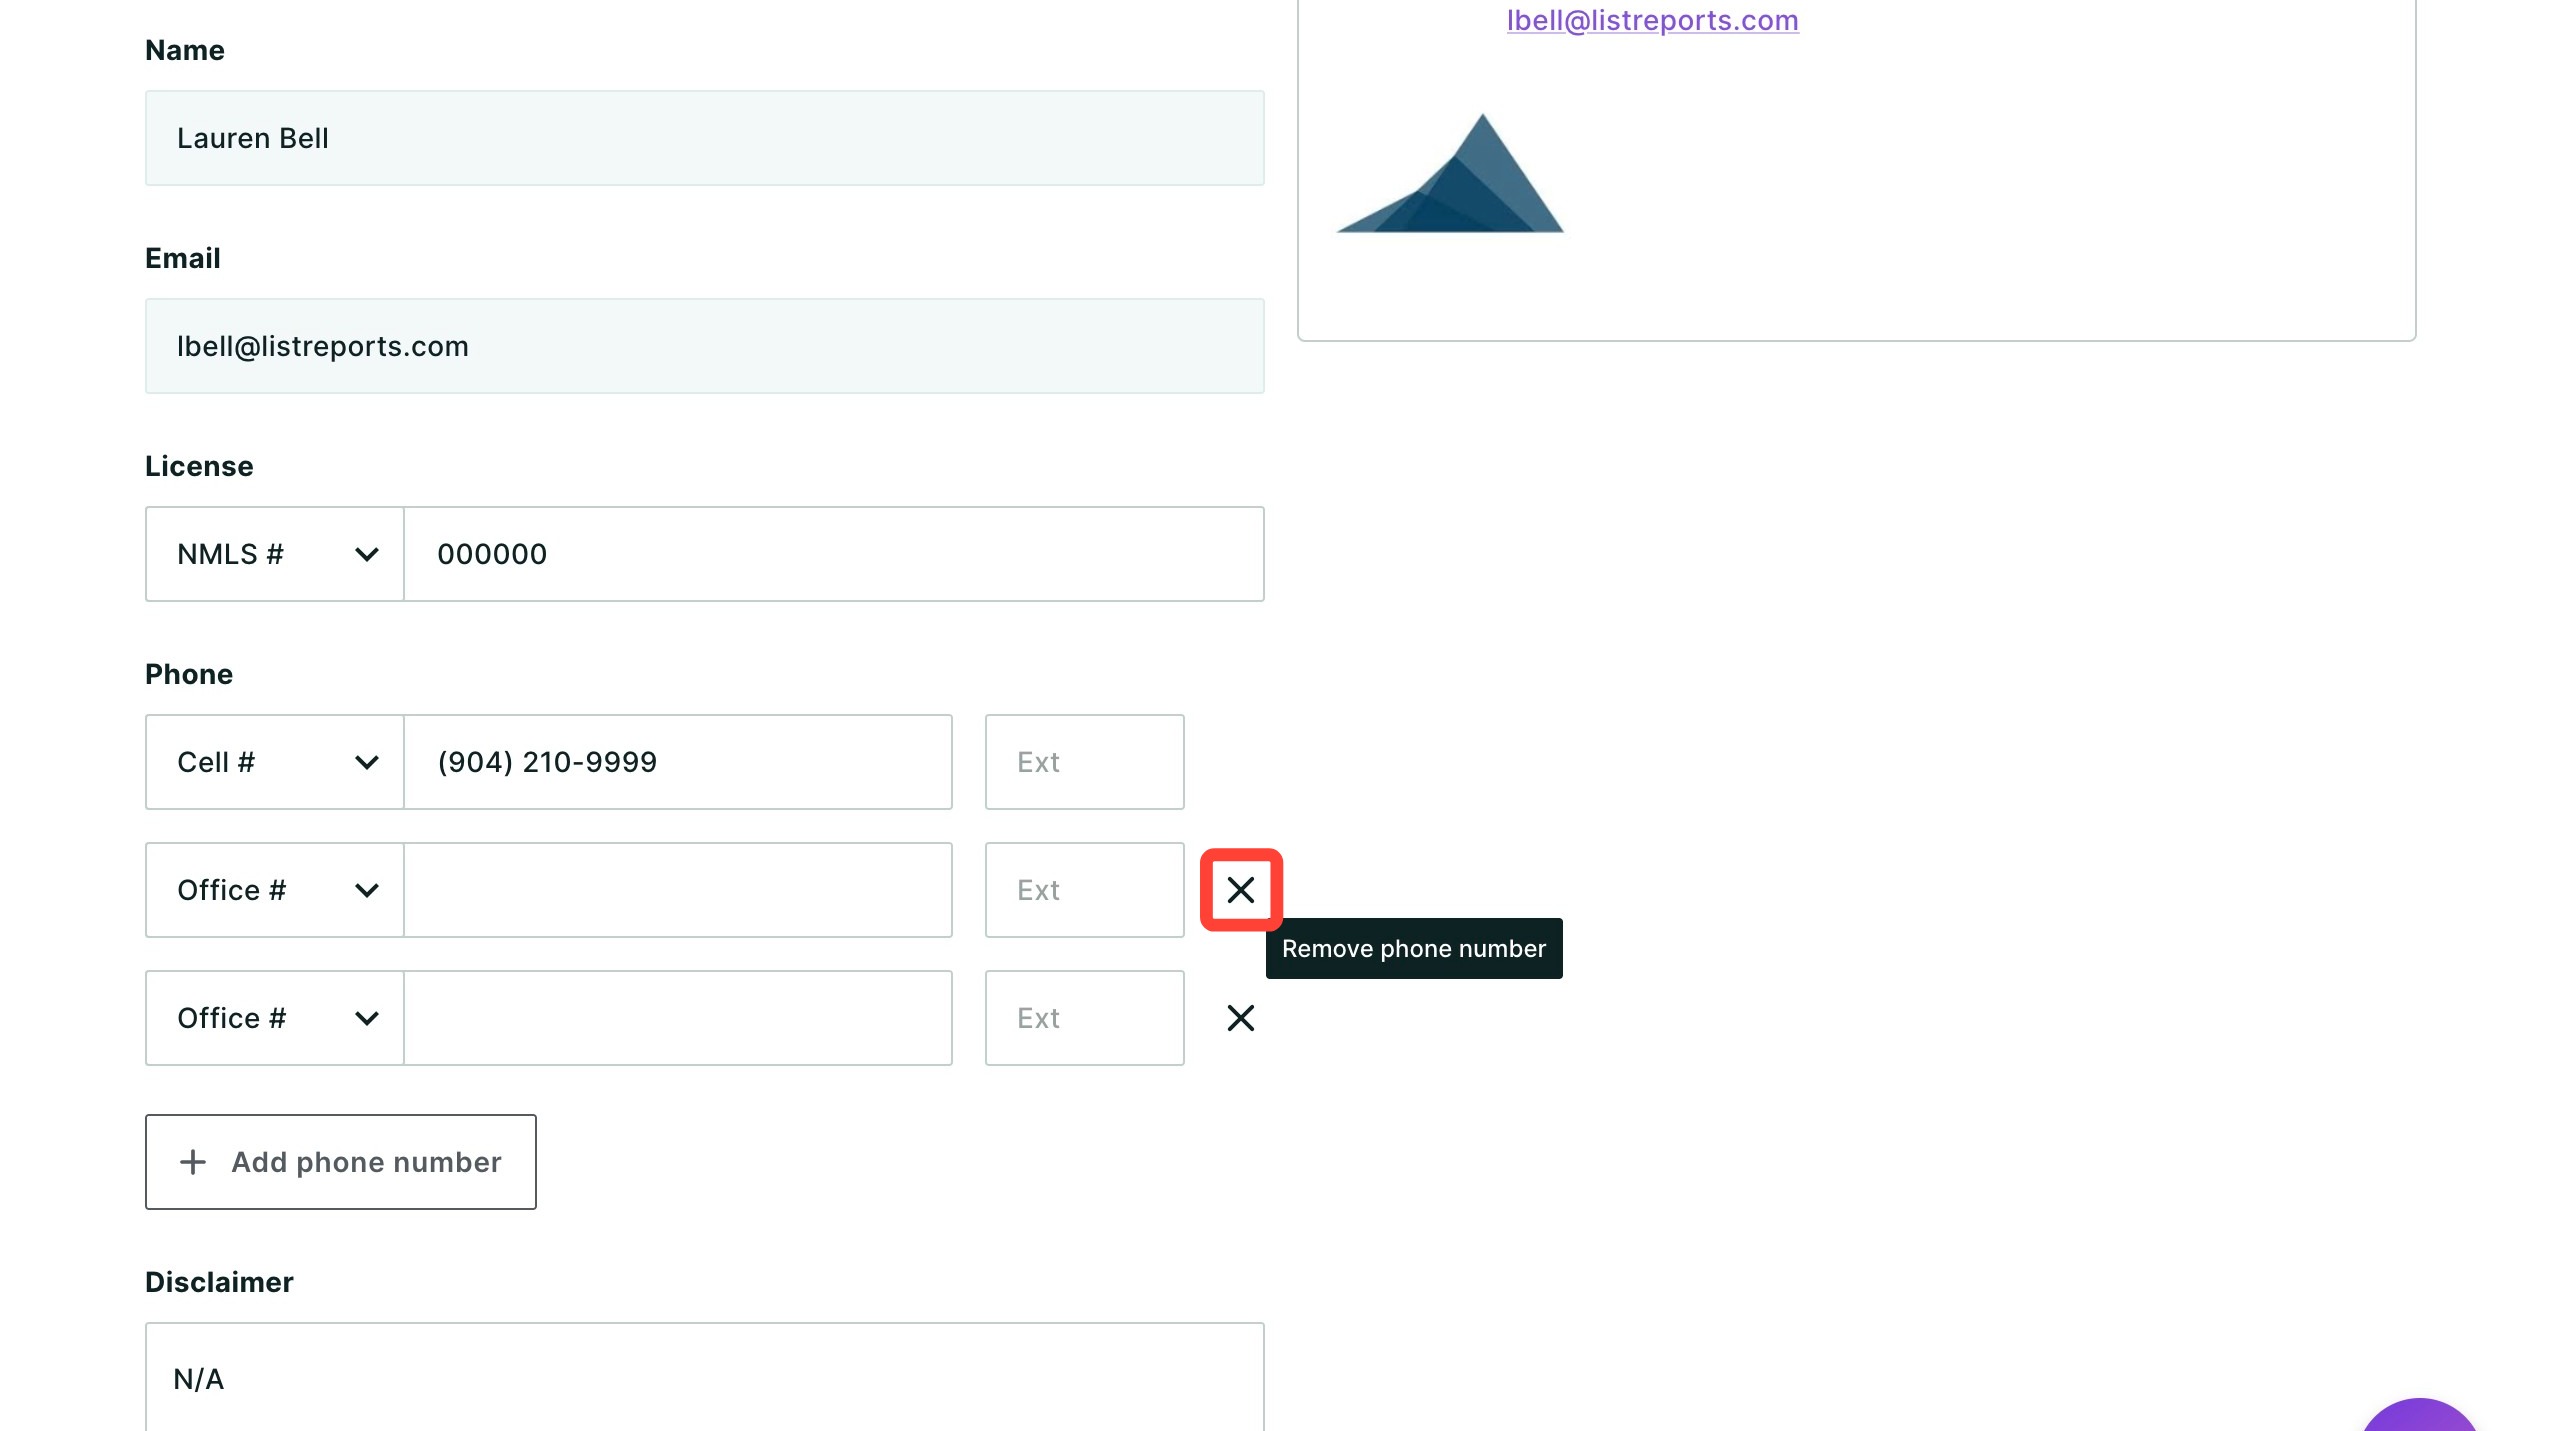
- To remove a phone number, click the corresponding x.
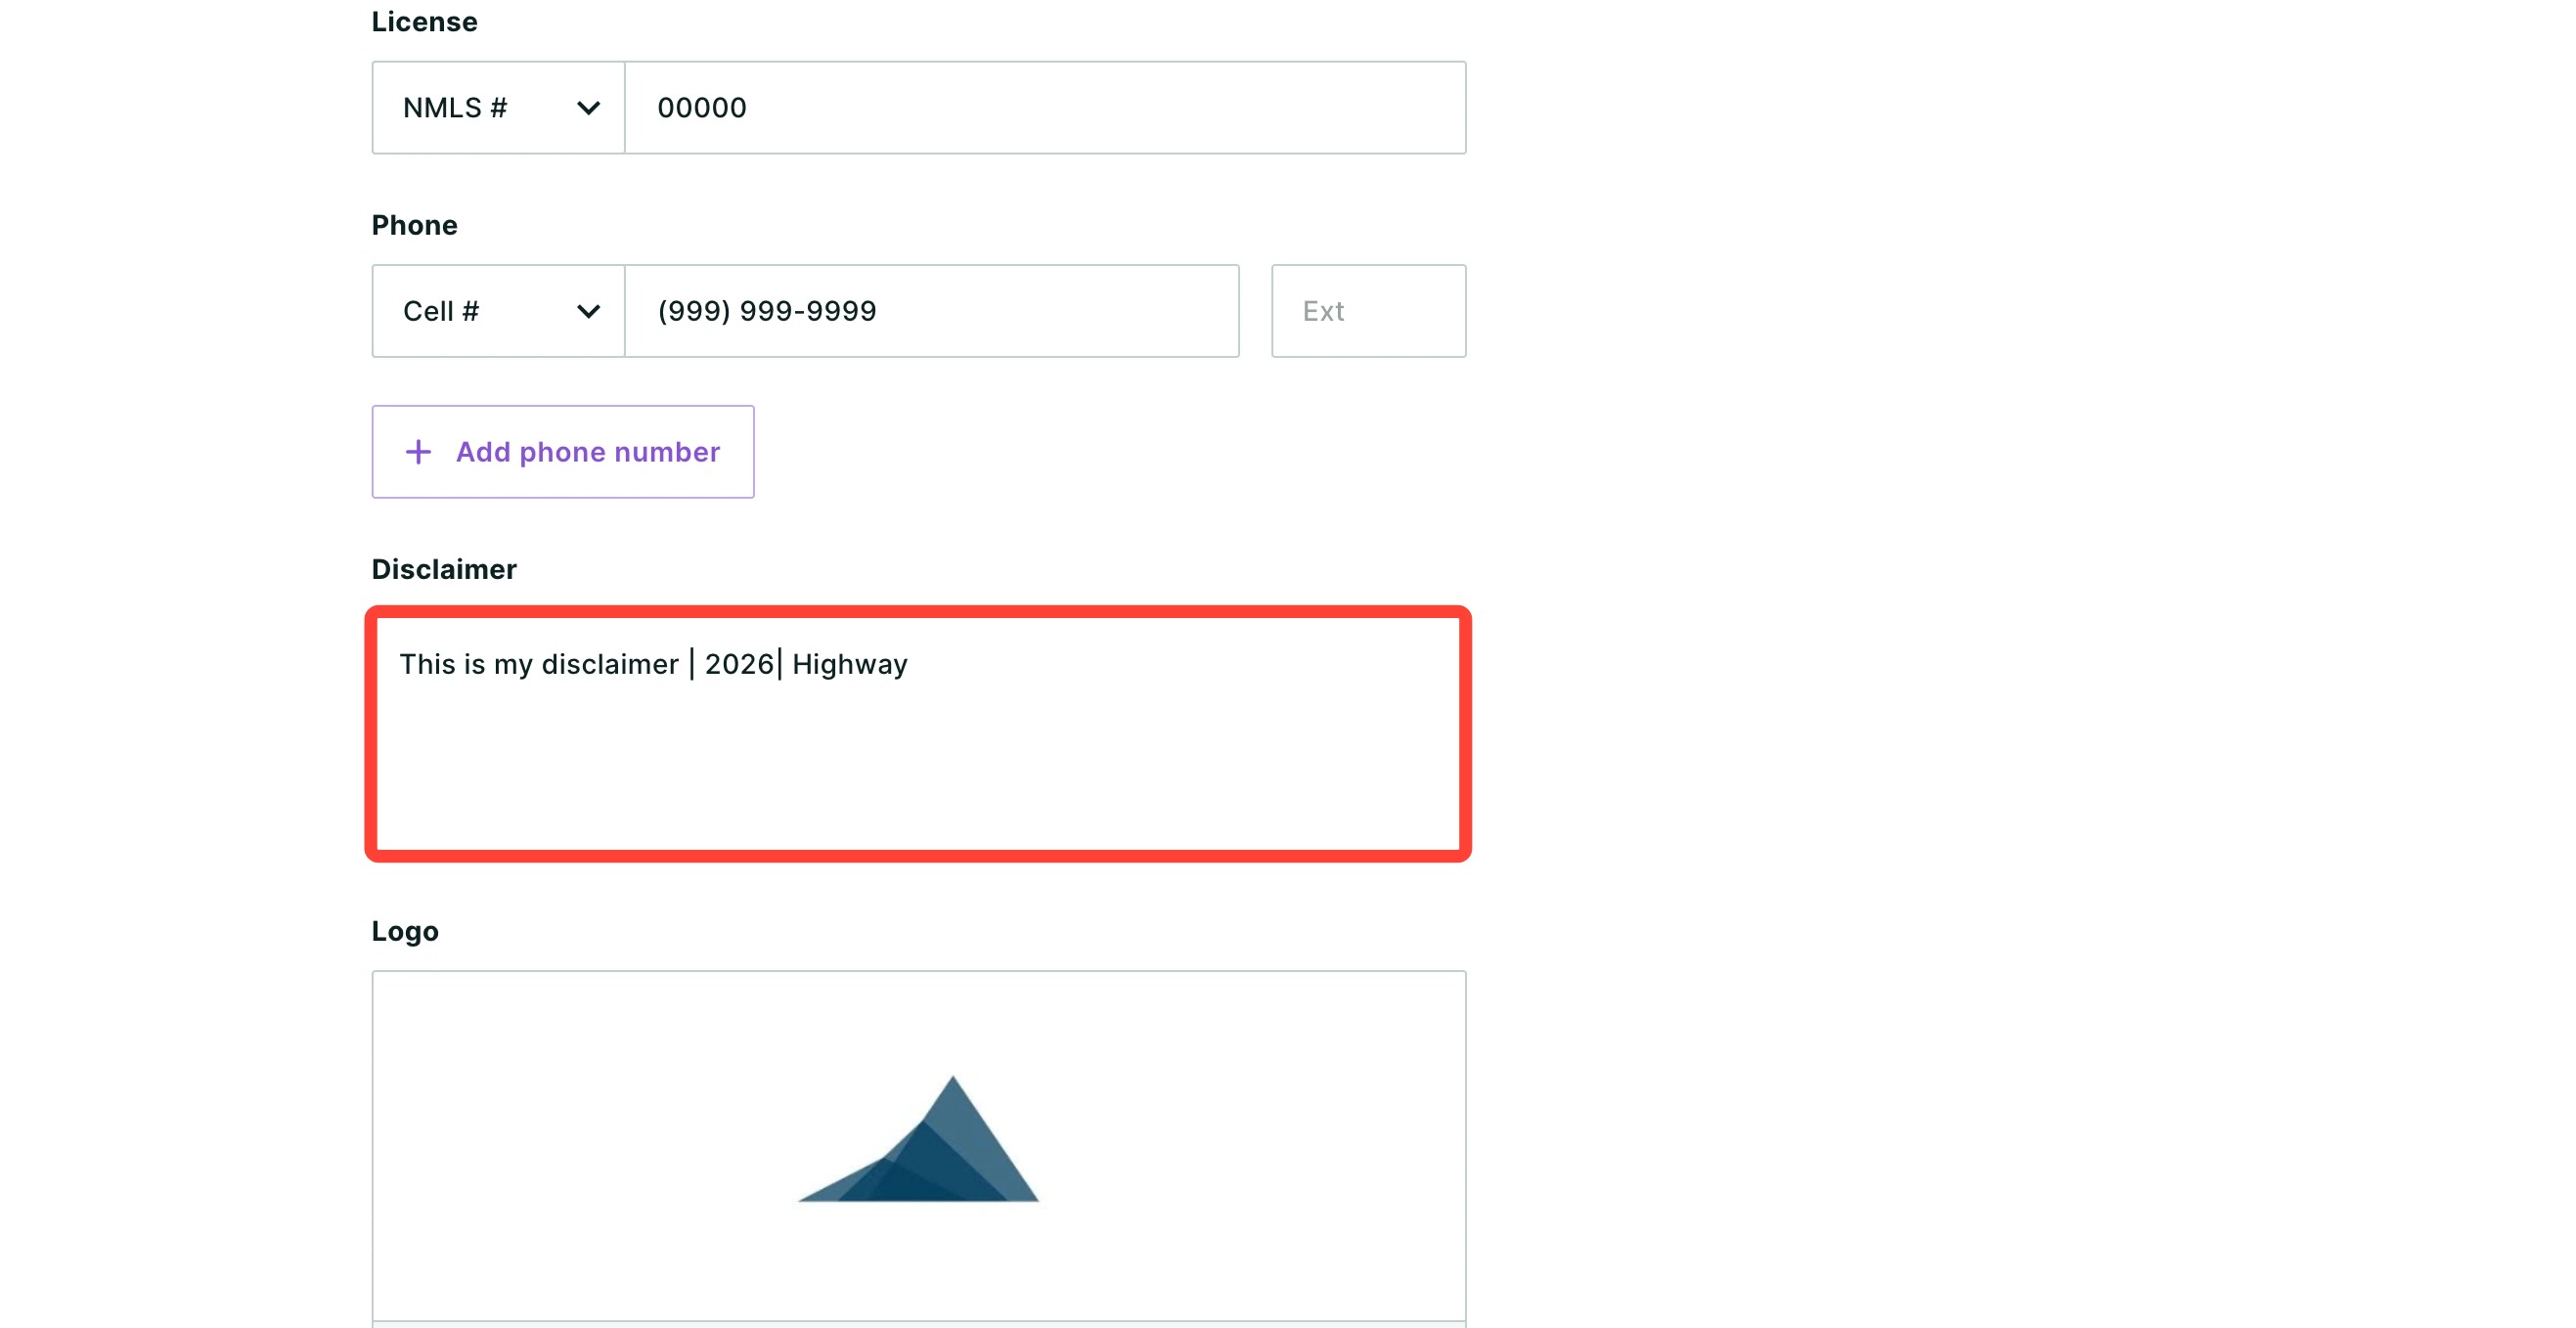
- Enter your disclaimer text into this field. This is a required field.
- Drag and drop an image of your logo, or choose one from your computer by clicking browse. This is optional, but highly recommended.
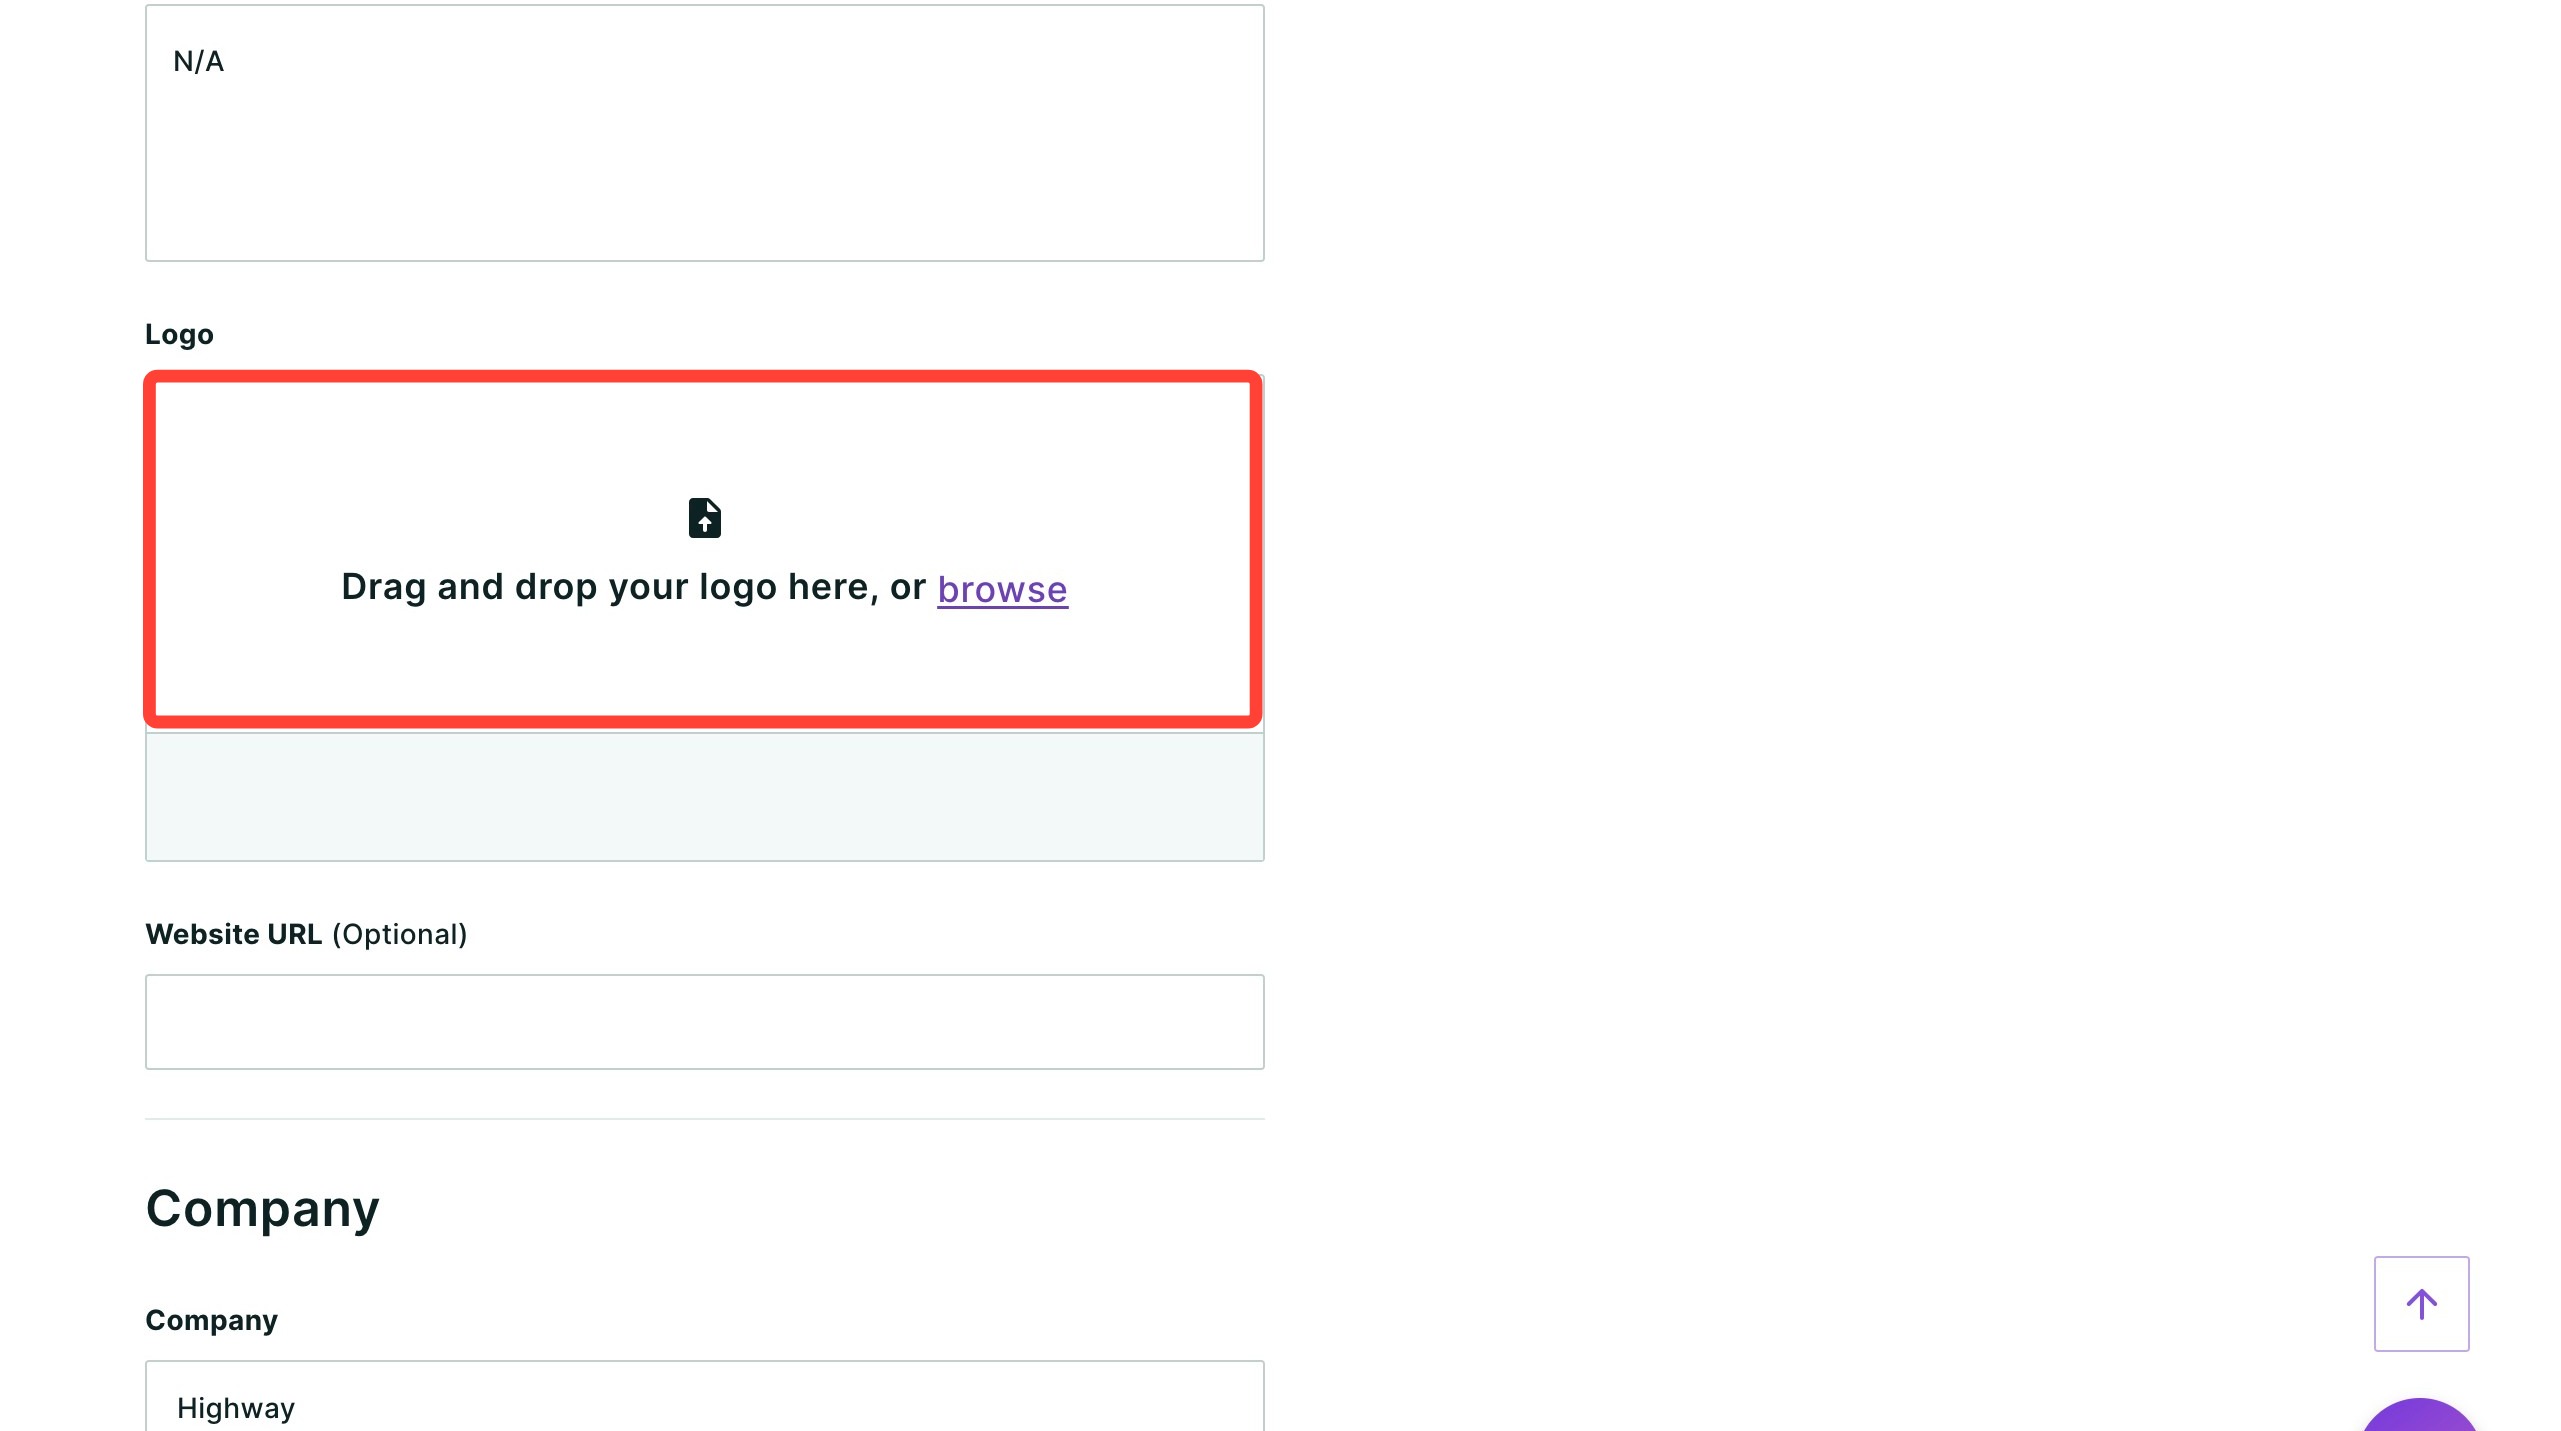
- Add a Website URL. This is optional.
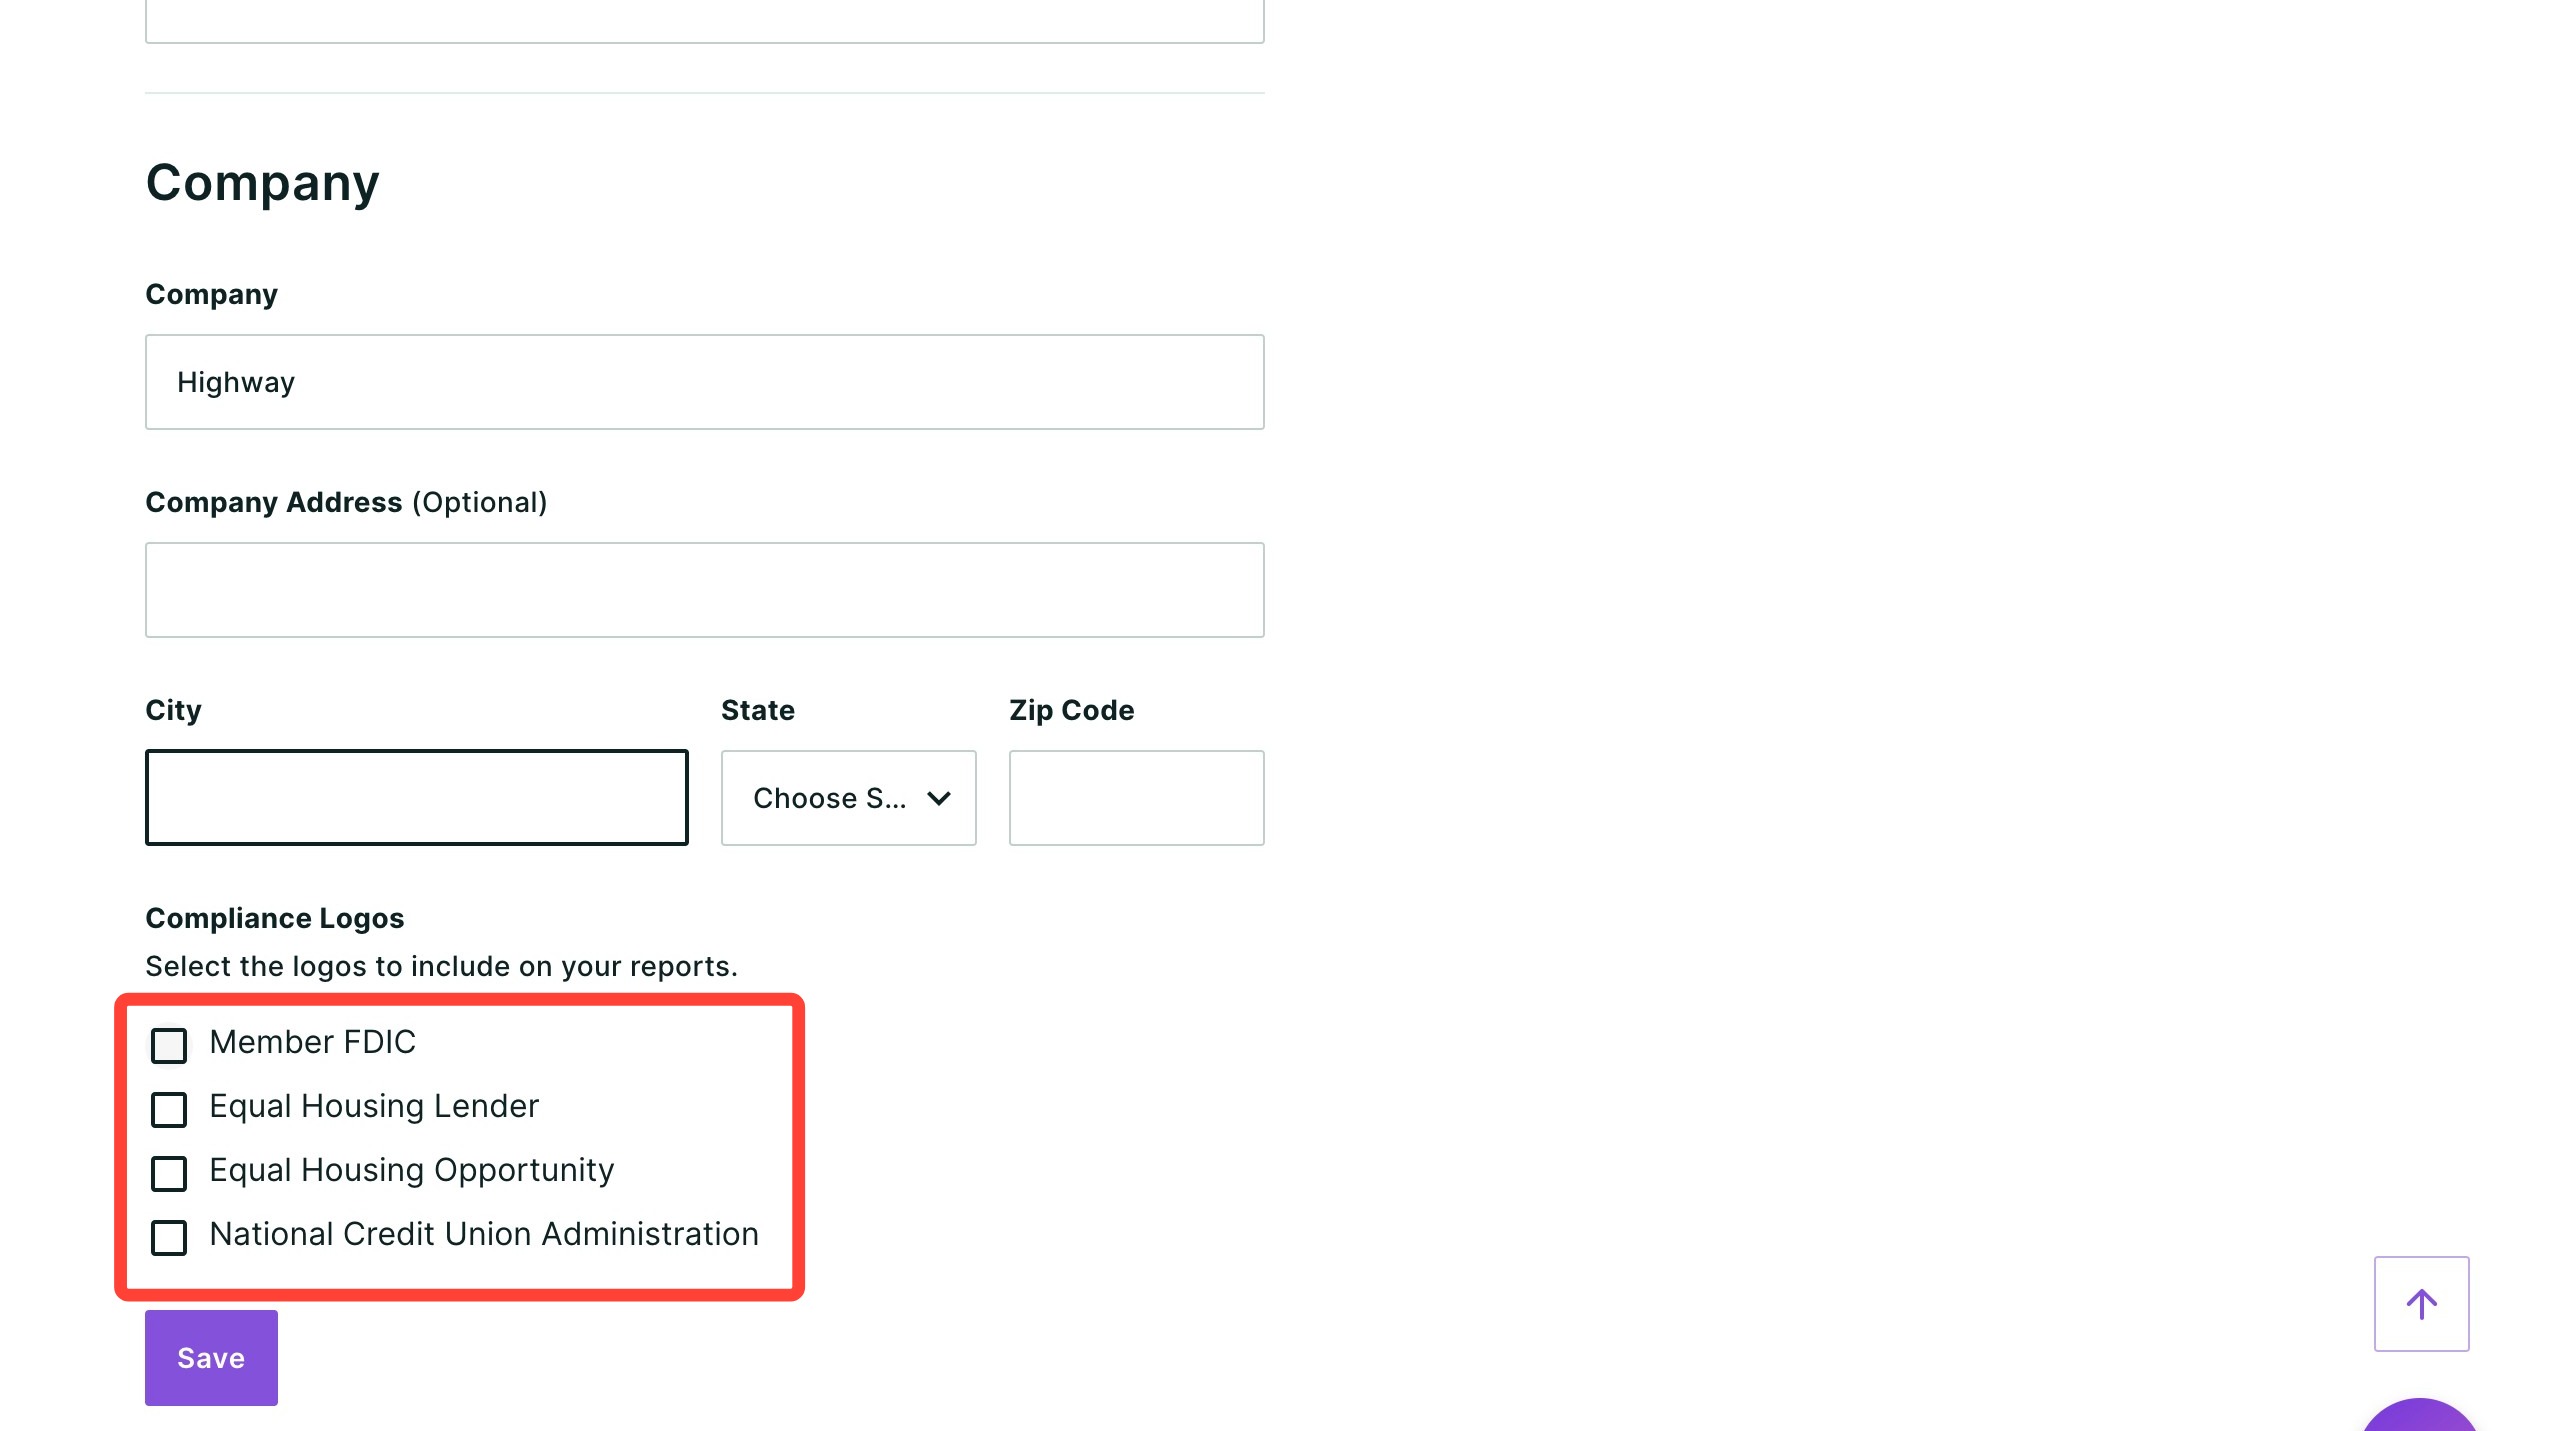
- Add your company information. Company is a required field; the address is optional.
- Select which compliance logos you would like included in your branding. This option may not be available if your company has pre-selected these for you.
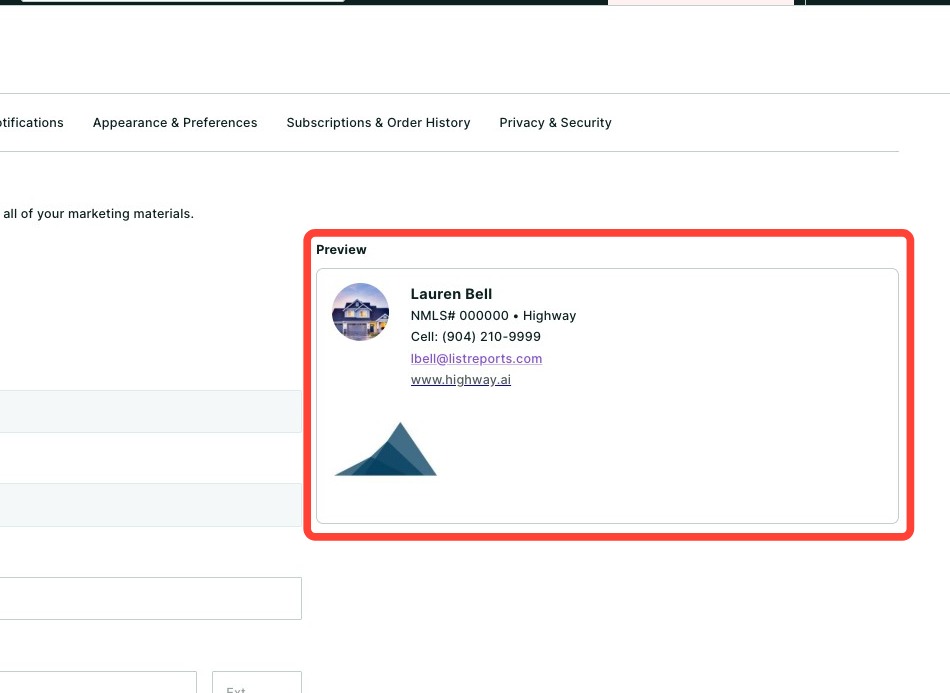
- Use the Preview to review your changes before saving.
- Once you are satisfied with your updates, click Save.
Need Help?
Have questions or want to learn more? Submit a ticket or call us today!