You can create, save, and load closing cost worksheets on the fly when creating some reports. To add your closing costs using a worksheet, simply follow the steps below:
Creating a New Worksheet
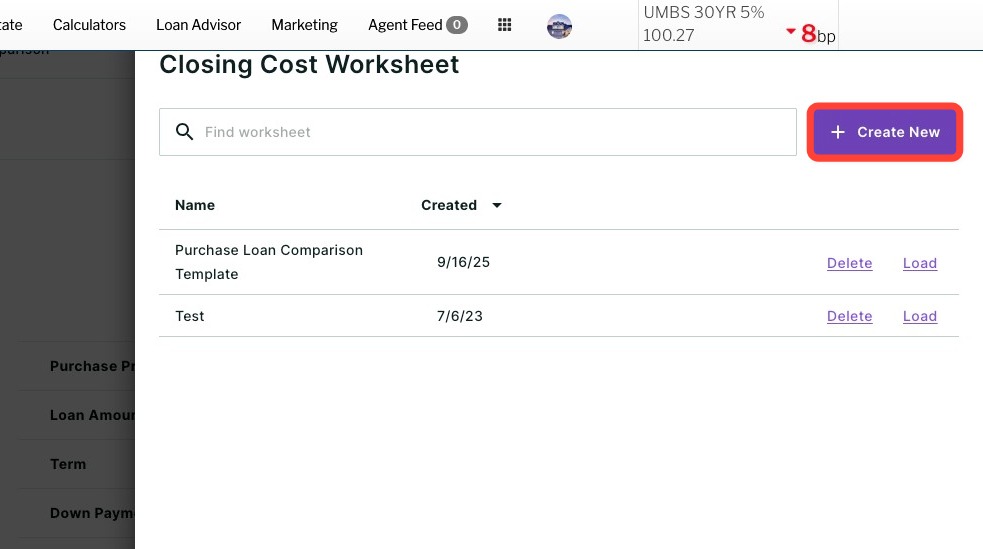
1. Click the Use worksheet link that appears below Closing Costs field of your report.
2. Click + Create New.
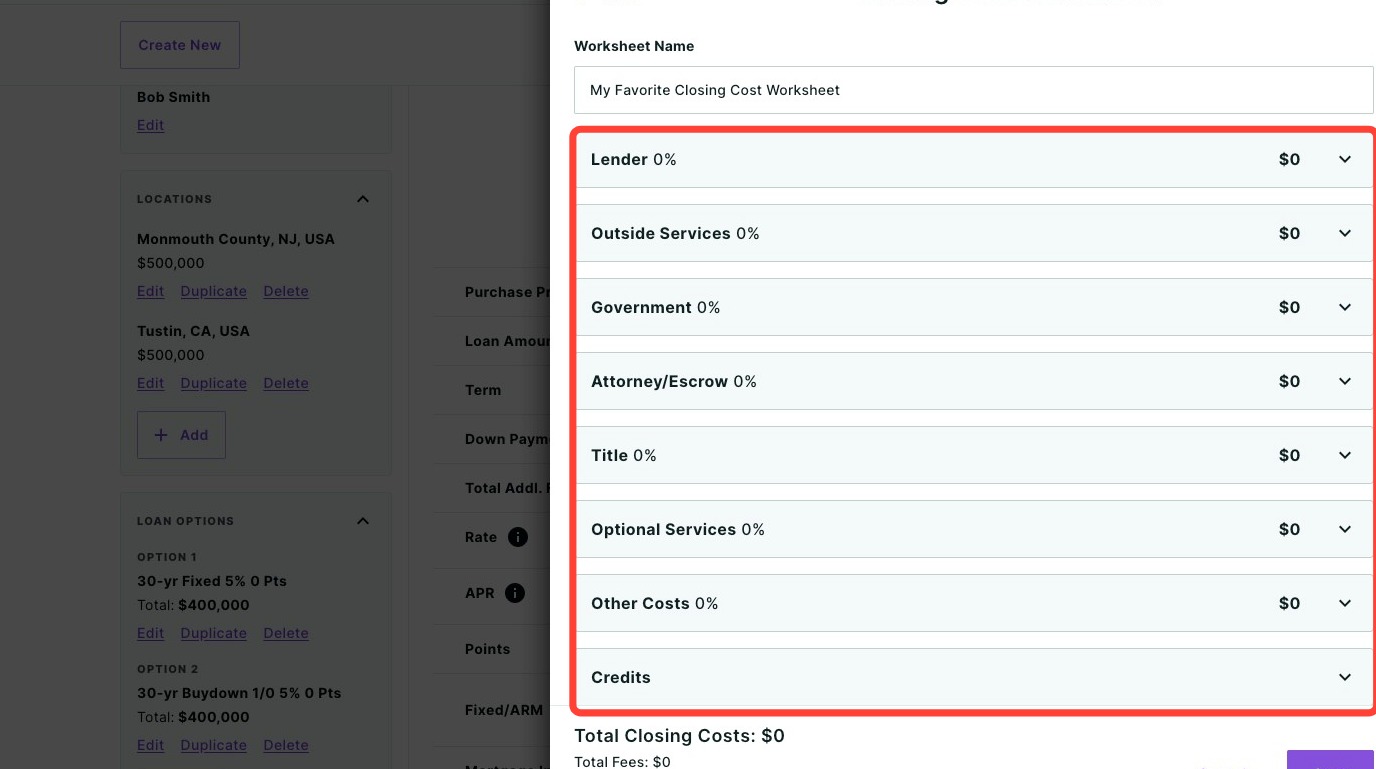
3. Give your worksheet a unique name.
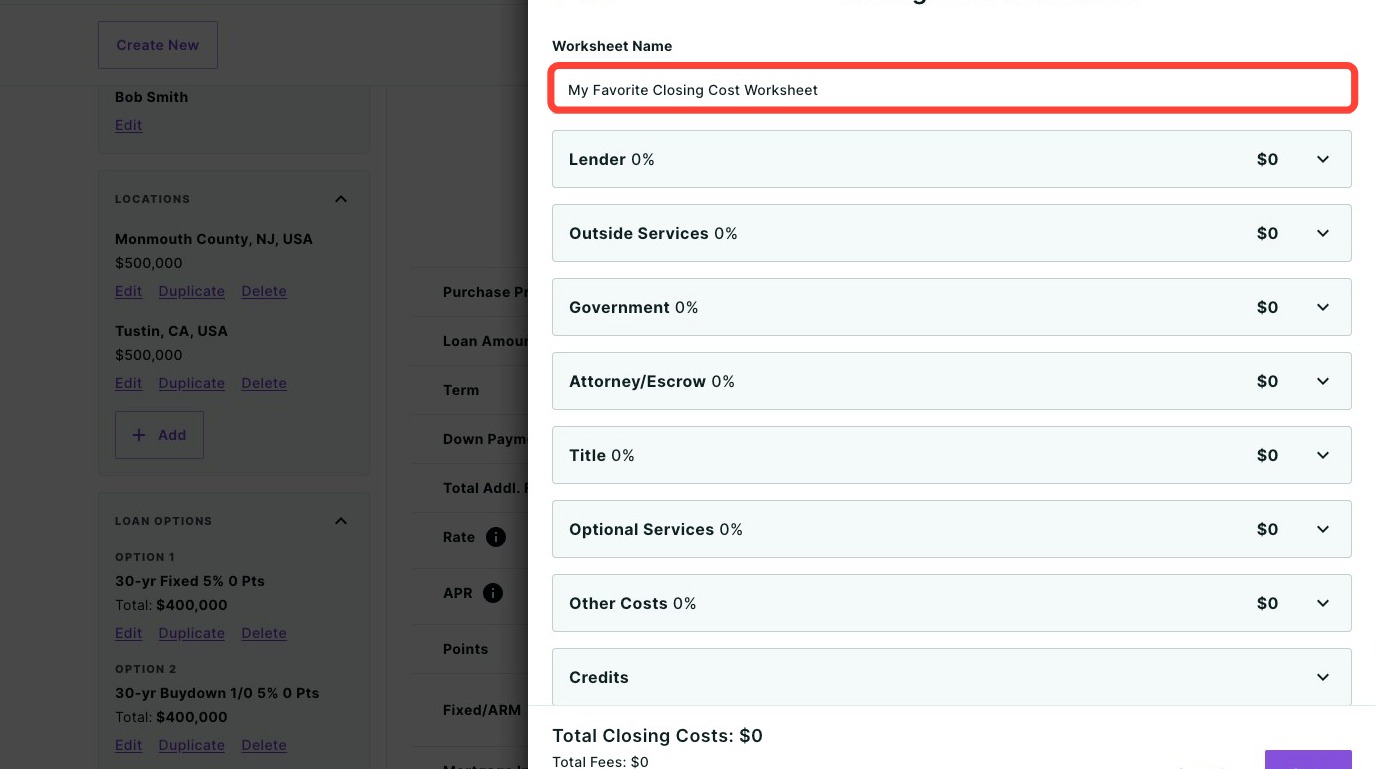
4. Click on each section to expand the list of fees and enter the appropriate amounts.
- Each fee can be entered as a dollar amount or as a percentage of the purchase price or loan amount, as desired.
- A checkbox titled “Include in APR” appears under each fee. Checking this box will include the fee in the APR costs of the loan.
- Don’t see the fee you need? Each section allows for custom fees as well! Simply click the + Add fee button at the bottom of the desired section to create a new fee with the name and amount of your choosing.
5. When finished, click the Save button.
How to Load a Saved Worksheet
Click the Use Worksheet below the Closing Costs field.
Click Load and select your preferred worksheet template.
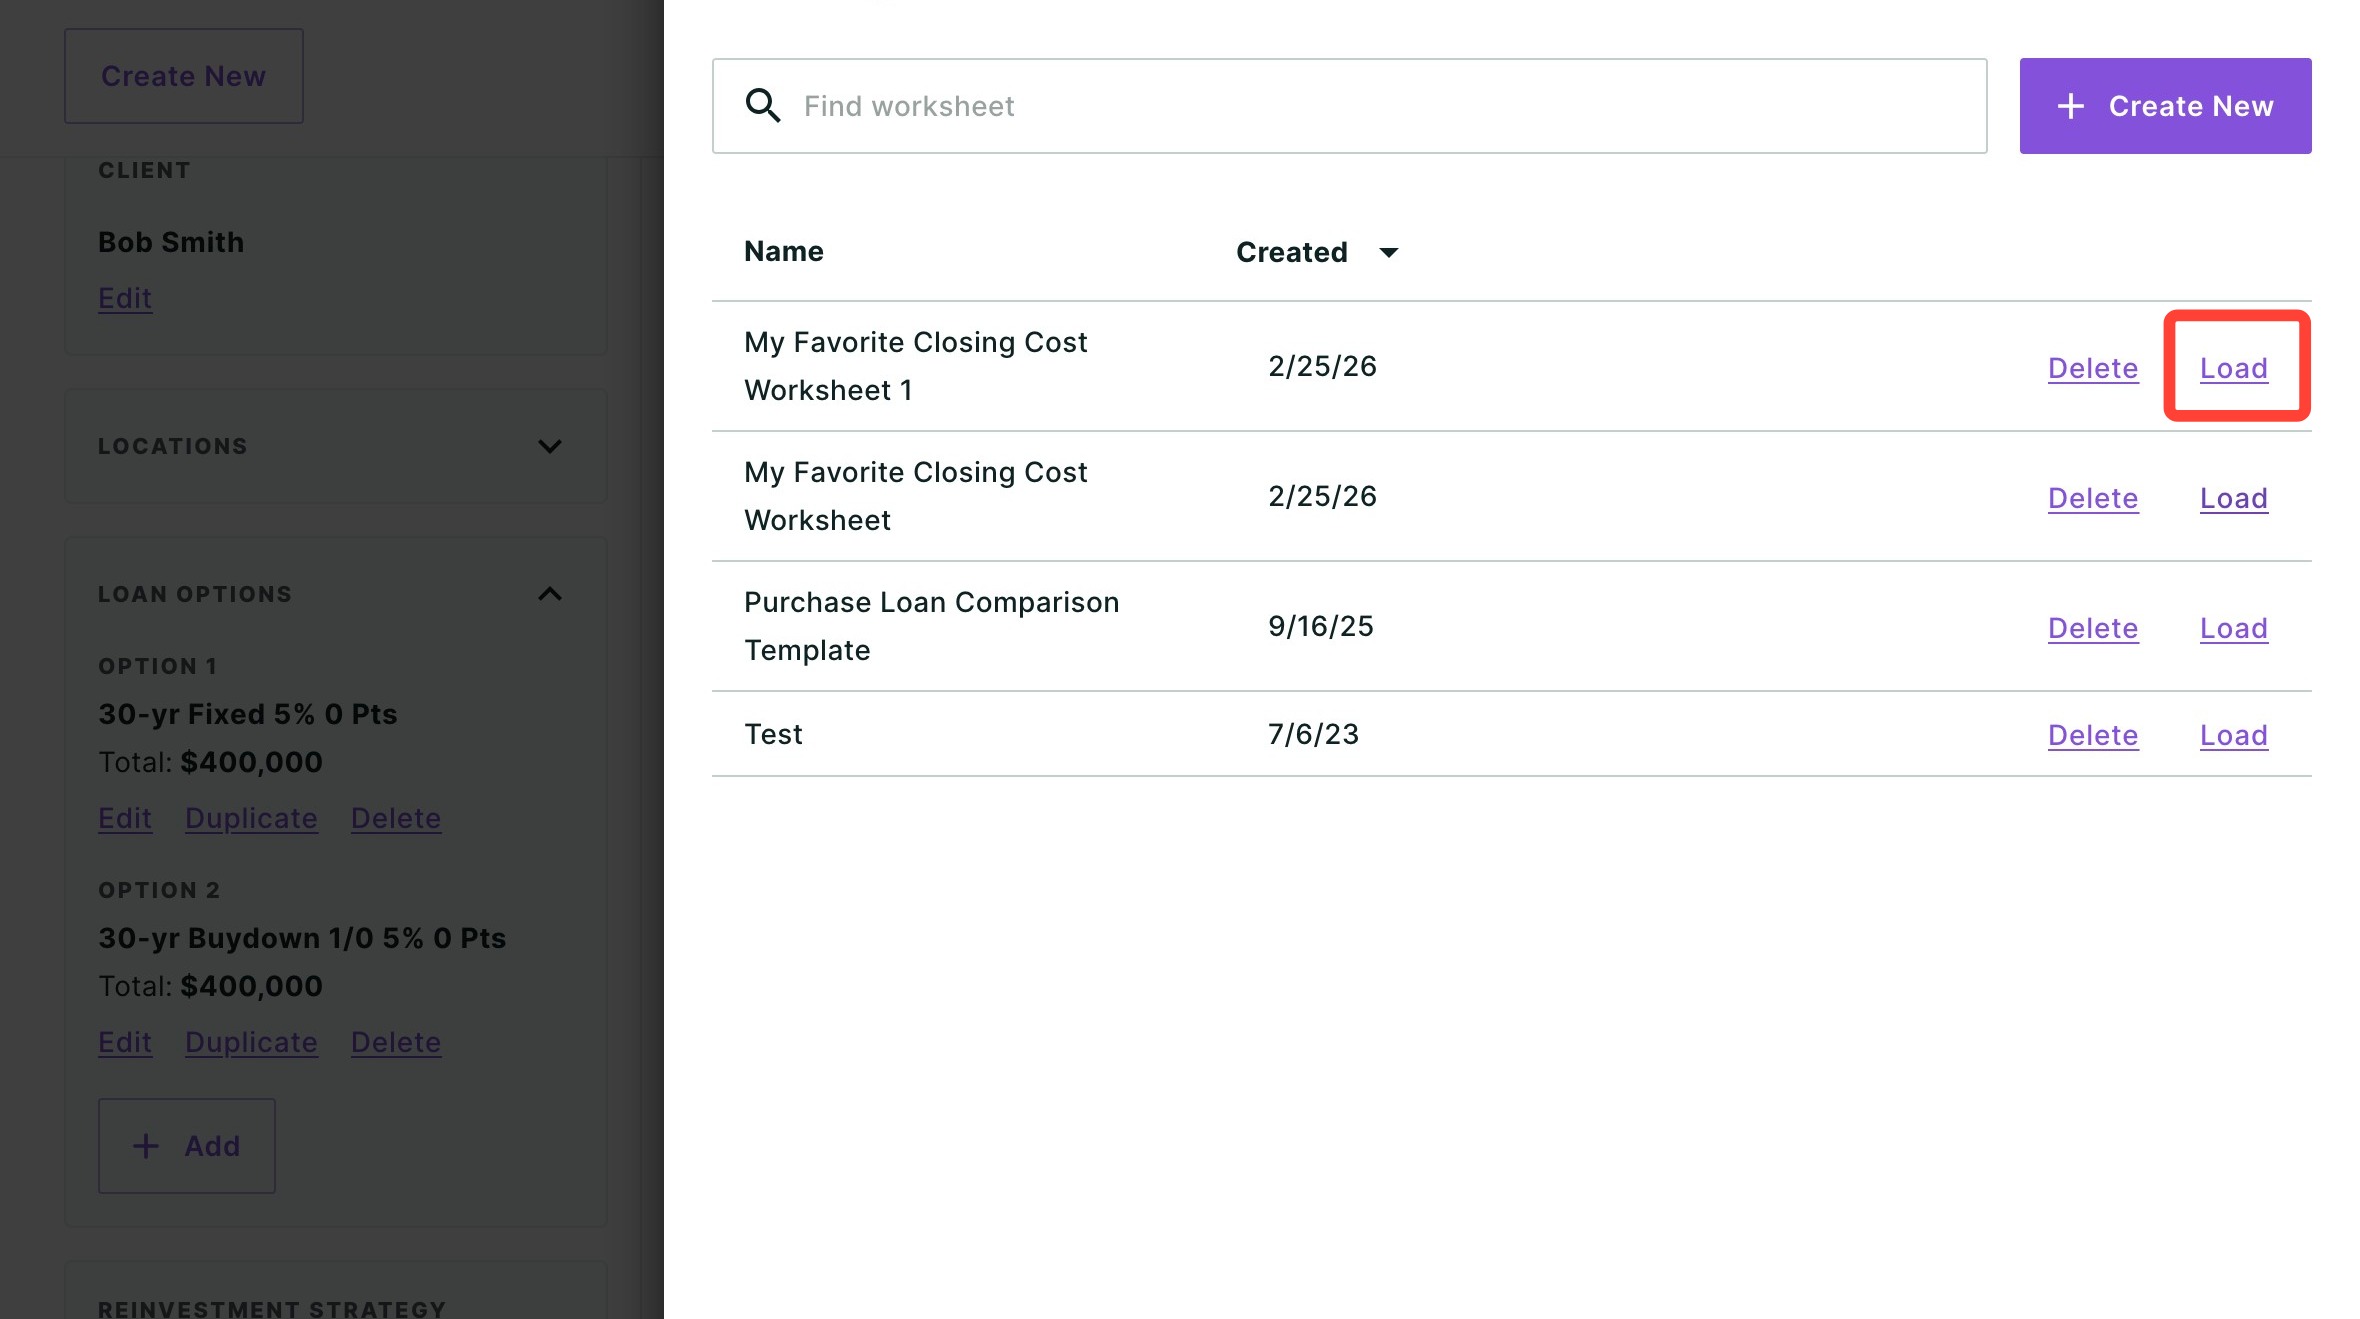
Make any updates needed to reflect your client’s specific closing costs.
-
Click Save to apply the worksheet to the loan scenario and update the closing costs.
➥ The Closing Cost Worksheets also include fields to enter a Lender Credit or Seller Credit. They can be found under the Credits section.
Have questions or want to learn more? Submit a ticket or call us today!
Related to